The Post and Photos within may contain Amazon or other affiliate links. If you purchase using links in this post I do earn a small commission but without additional charge to you. Thank you for your support!
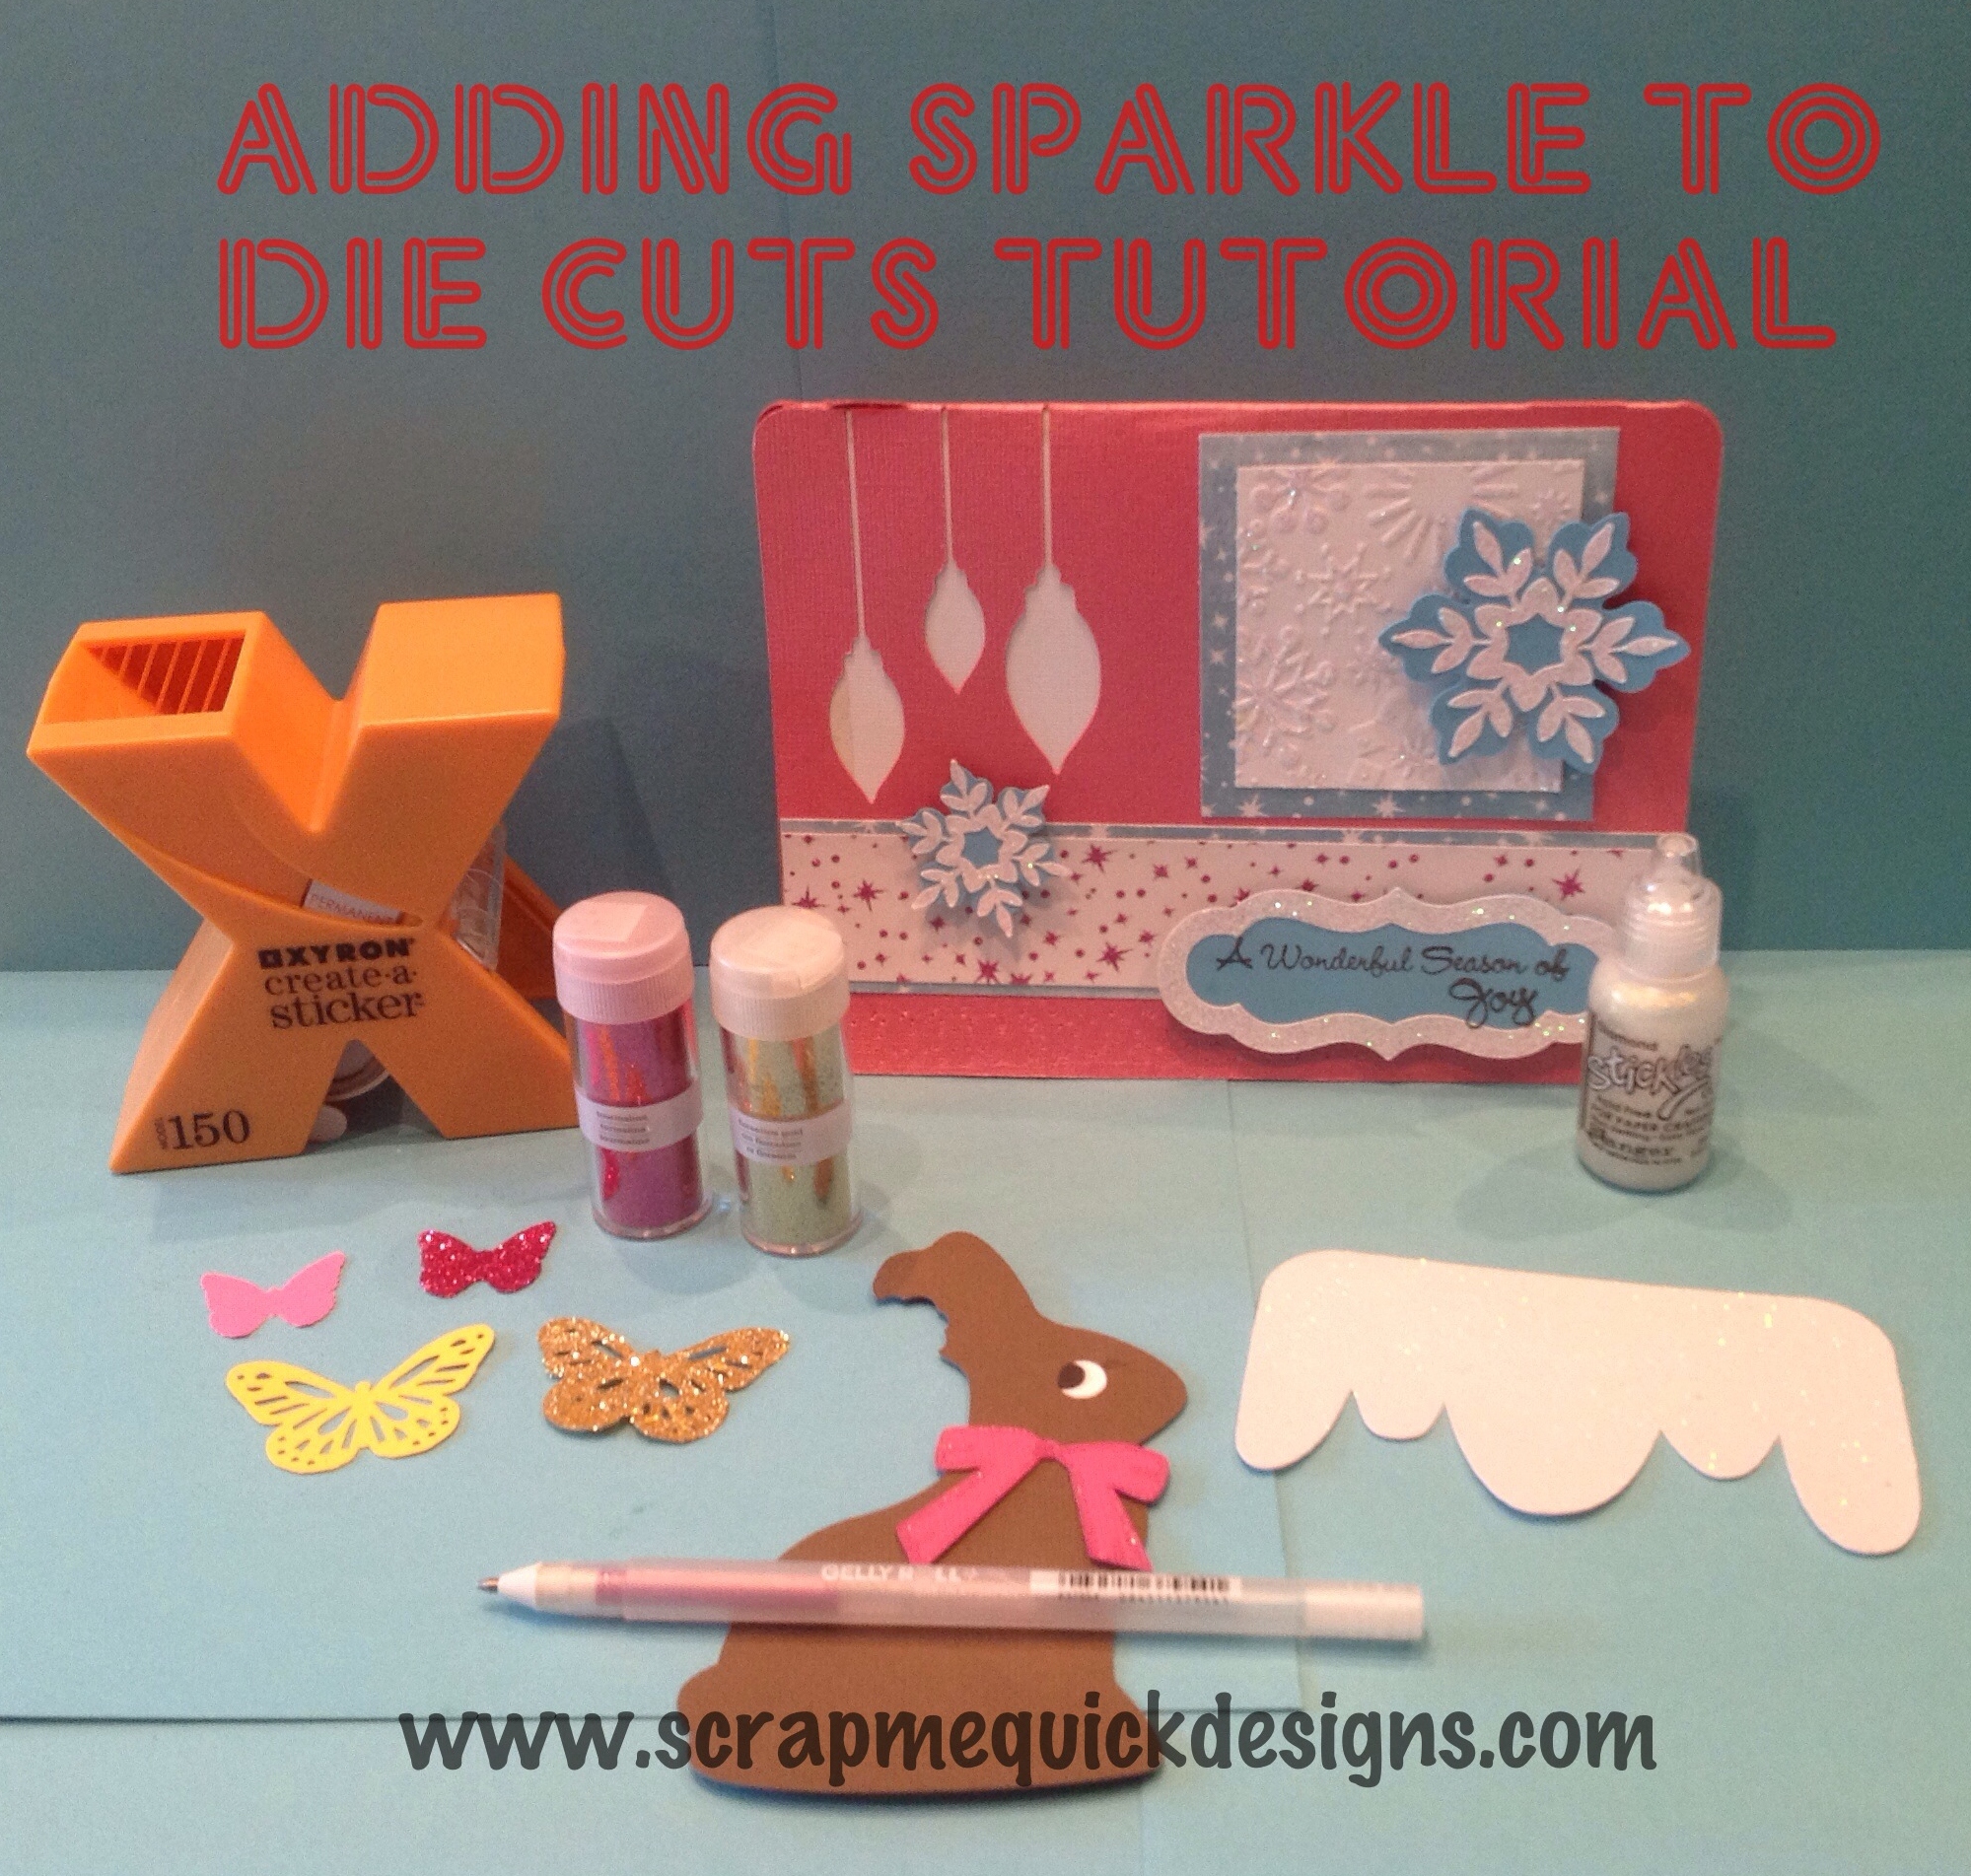
Sometimes as you are working on a project, you may think to yourself…SELF, I need a bit of SPARKLE here. Admit it, I know you do. We all need a little bit of shine in our projects now and again. But how to achieve that is something you may NOT think to do with your die cut shapes. And SPARKLE doesn’t just have to be on a girly page…you can use SPARKLE on any die cut element such as stars, moon, suns, bumper of cars, apples, snowflakes, butterflies…you name it, you can SPARKLE it with just a touch of glitter then use on any project type.
There are several ways to add a bit of SPARKLE to your die cuts.
1.USE GLITTER PAPER – Cut your die cut shape out of Glitter Paper. Simple enough. Grab the glitter paper color that works well with your project colors and cut out your selected die cut shape.
TIPS: I have one of my die cut machine blades set aside just for cutting glitter paper because it dulls the blade so fast. Plus I have started using the new Cricut Strong Grip Adhesive that PC sells now. This mat is great for helping keep the heavier weight of glitter paper from sliding around on that mat as it cuts. If you want to read an unbiased review of the new Cricut Mats…check out my post HERE.
2. USE LOOSE GLITTER – grab that loose glitter you have laying around in your stash and put it on your die cut shape(s).
TIPS: I like to use ultra fine glitter, like Martha Stewart brand, because I get better coverage. I also prefer to use my Xyron adhesive machine to add the adhesive to the die cut shape and then shake on the glitter to cover it. Another tip is that I use a similar color of paper to cut the die cut shape as the color of glitter I want to use to improve the coverage.
3. USE GLITTER GEL PENS – Use glitter gel pens to trace around the edges of your die cut shape or to color them in. This is more subtle way to add glitter to your page but gives it some pretty glittery shine.
TIP: I like to add one layer of the glitter pen to my die cut shape, then wait a minute or so to make sure it is dry and go back over it again to add another layer.
4. USE GLITTER GLUE – Use glitter glue, like Stickles on your die cuts.
Example of a card where I used Stickles “Diamond” Glitter Glue
to add SPARKLE to the snowflakes, the frame border and even the embossed image paper
TIP: Be sure and use it in small controlled amounts. If you add it too thick it will take a long time to dry and could even warp your die cut image. Another thing I do is use a small desk top fan to help dry the glitter glue a little faster if I am in a hurry.
I hope this helps you think a little outside of the norm and encourages you to try something new on your die cut shapes. Do you ever use glitter on your projects?


Great ideas to be reminded of! We often get in a rut and then forget some of the fun ways to add some sparkle and bling. Remember friends, you don’t have to save sparkle and bling only for holidays! 🙂