

The Post and Photos within may contain Amazon or other affiliate links. If you purchase using links in this post I do earn a small commission but without additional charge to you. Thank you for your support!
Easter is Coming, Easter is Coming ! Oh wait, that means…The Family is Coming, the Family is Coming, right?
Your list this week may be a mile long as you think of what to serve your guest, what to pick up to fill those Easter baskets but most importantly, HOW ARE YOU GOING TO DECORATE YOUR TABLE TO HAVE THAT WOW factor ? Well hang on, I have an easy and fast idea for you to use your die cuts in your table decor ANY TIME OF THE YEAR.
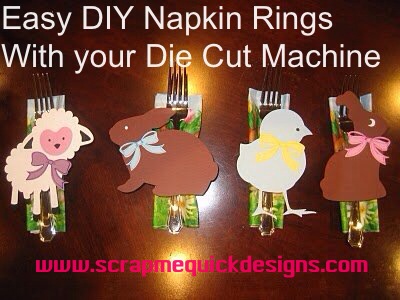
Everyone loves to see a little something special at their place at the table, right? Well how about making CUSTOM NAPKIN RINGS to bring a smile to their faces?
SUPPLIES NEEDED:
- Die Cut Images of your choice and your die cut machine
- Cardstock or Heavy Patterned Papers
- Stapler
- Glue Dots or Hot Glue Gun
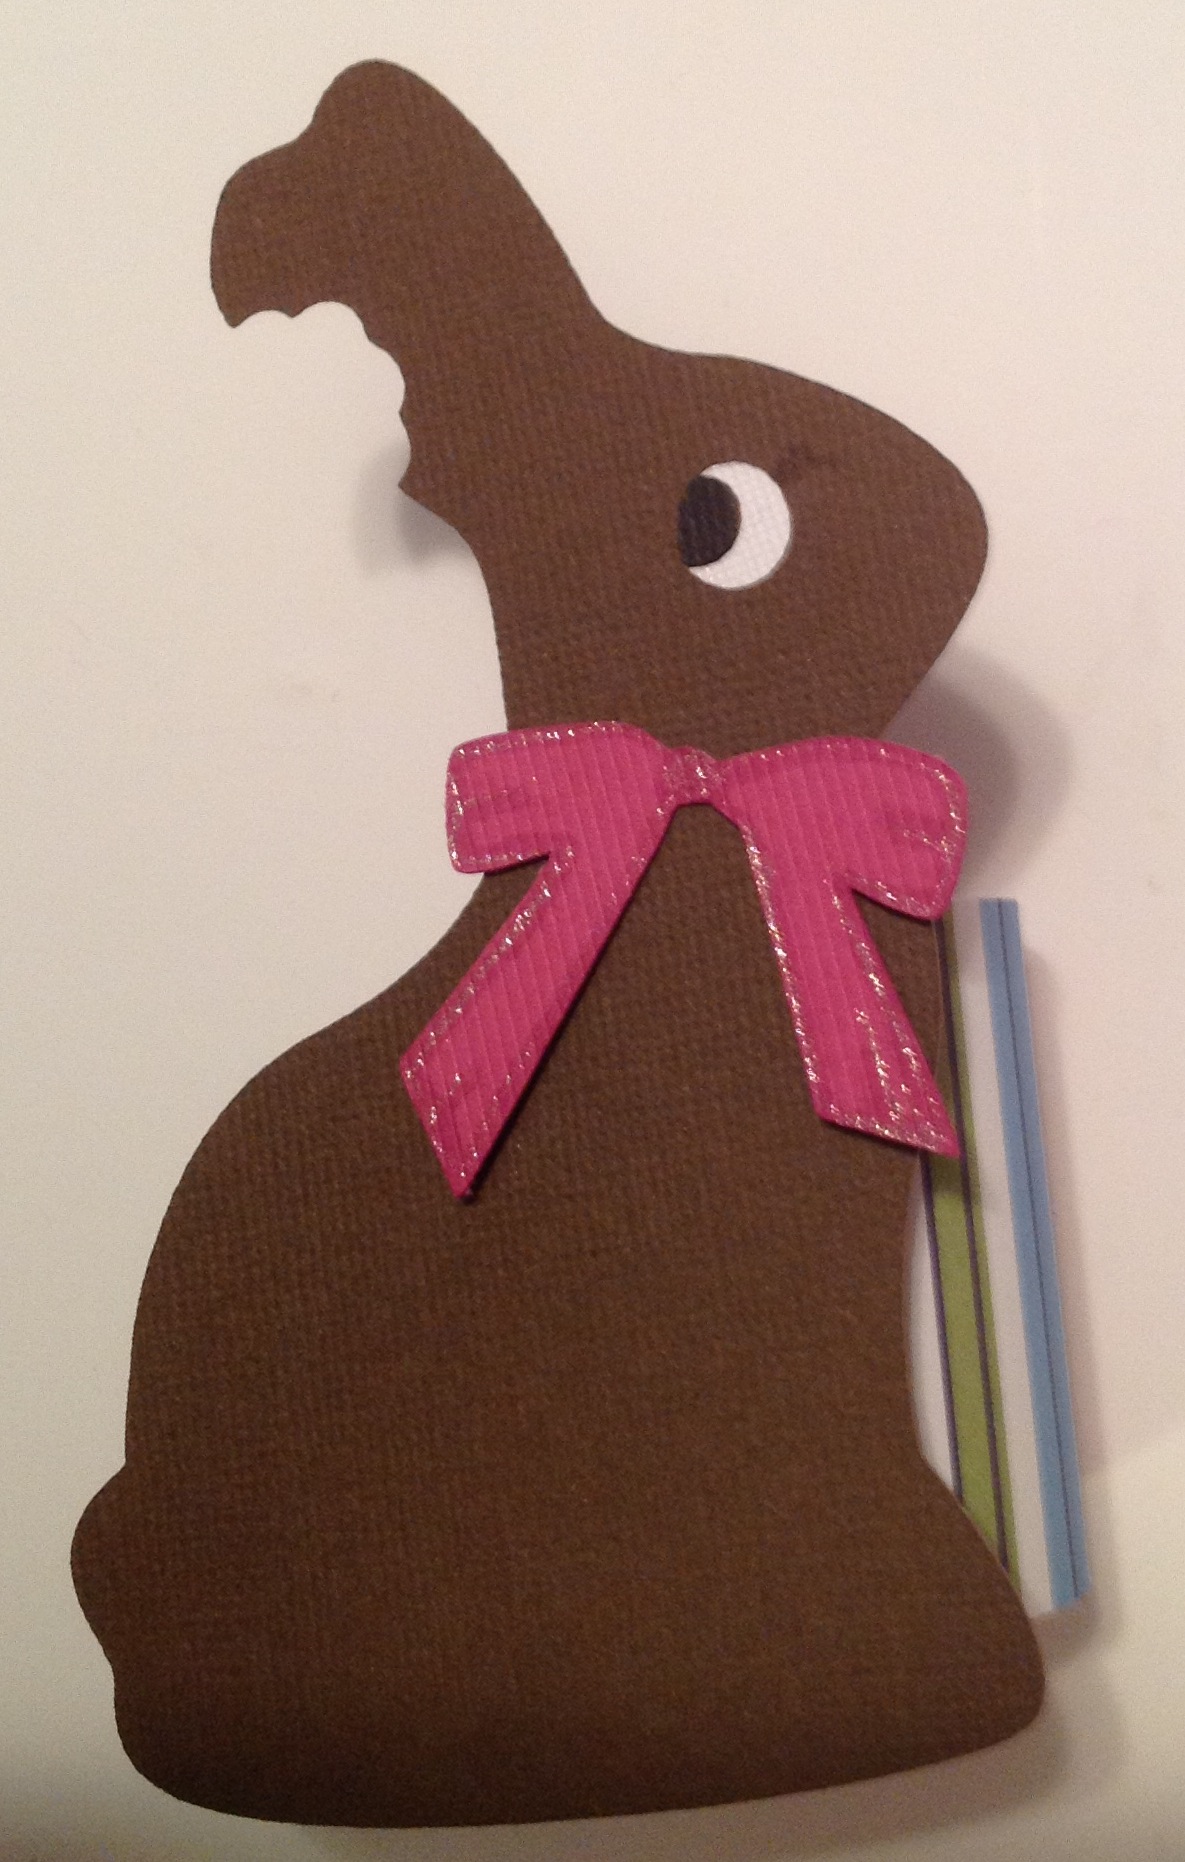
1) First start by selecting a few simple die cut images that fit your theme. For an Easter theme I selected A LAMB, A CHICK, and of course A CHOCOLATE BUNNY ! My images were from Cricut Easter 2010 cartridge but you could use any Easter image file you like for your type of die cut machine.
2) Cut the images at 5″ high out of cardstock or heavy patterned paper. The paper needs to be somewhat stiff so the image is supported on the napkin ring. Make as many as you need for your number of guest.
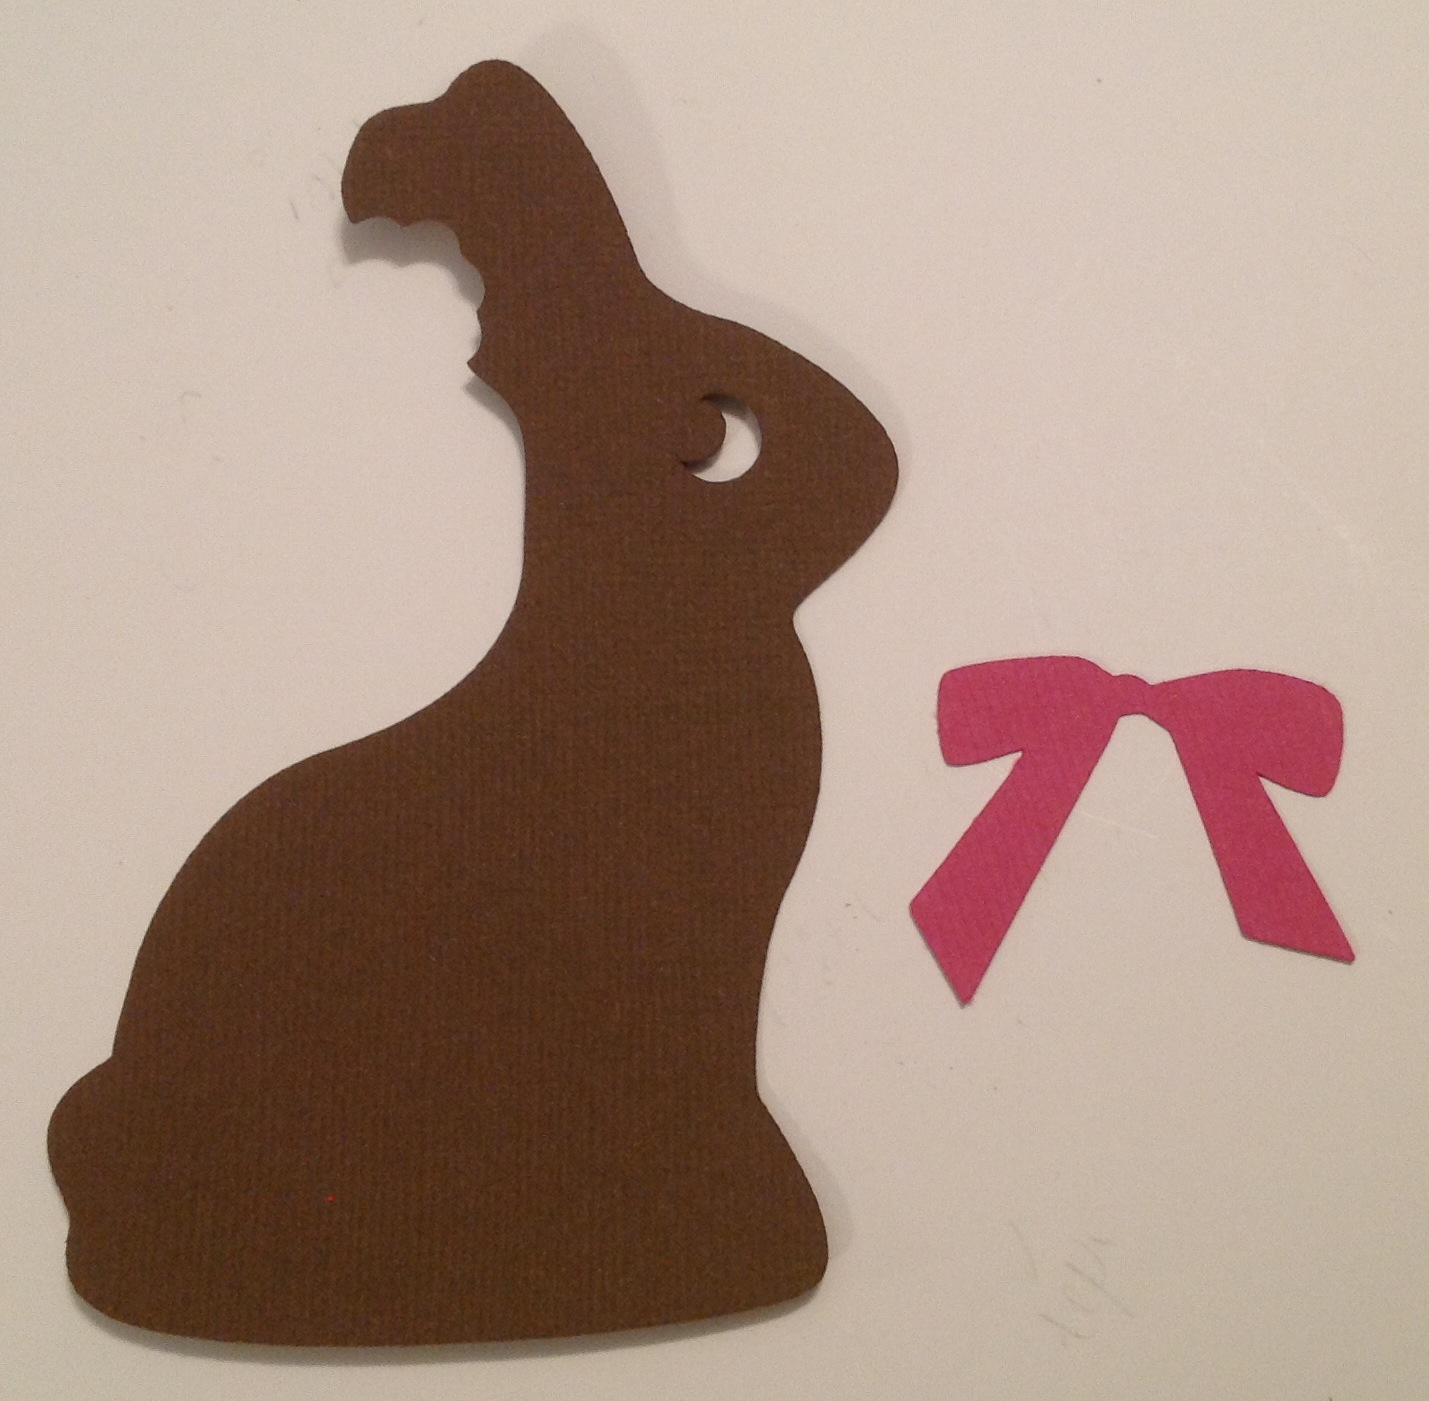
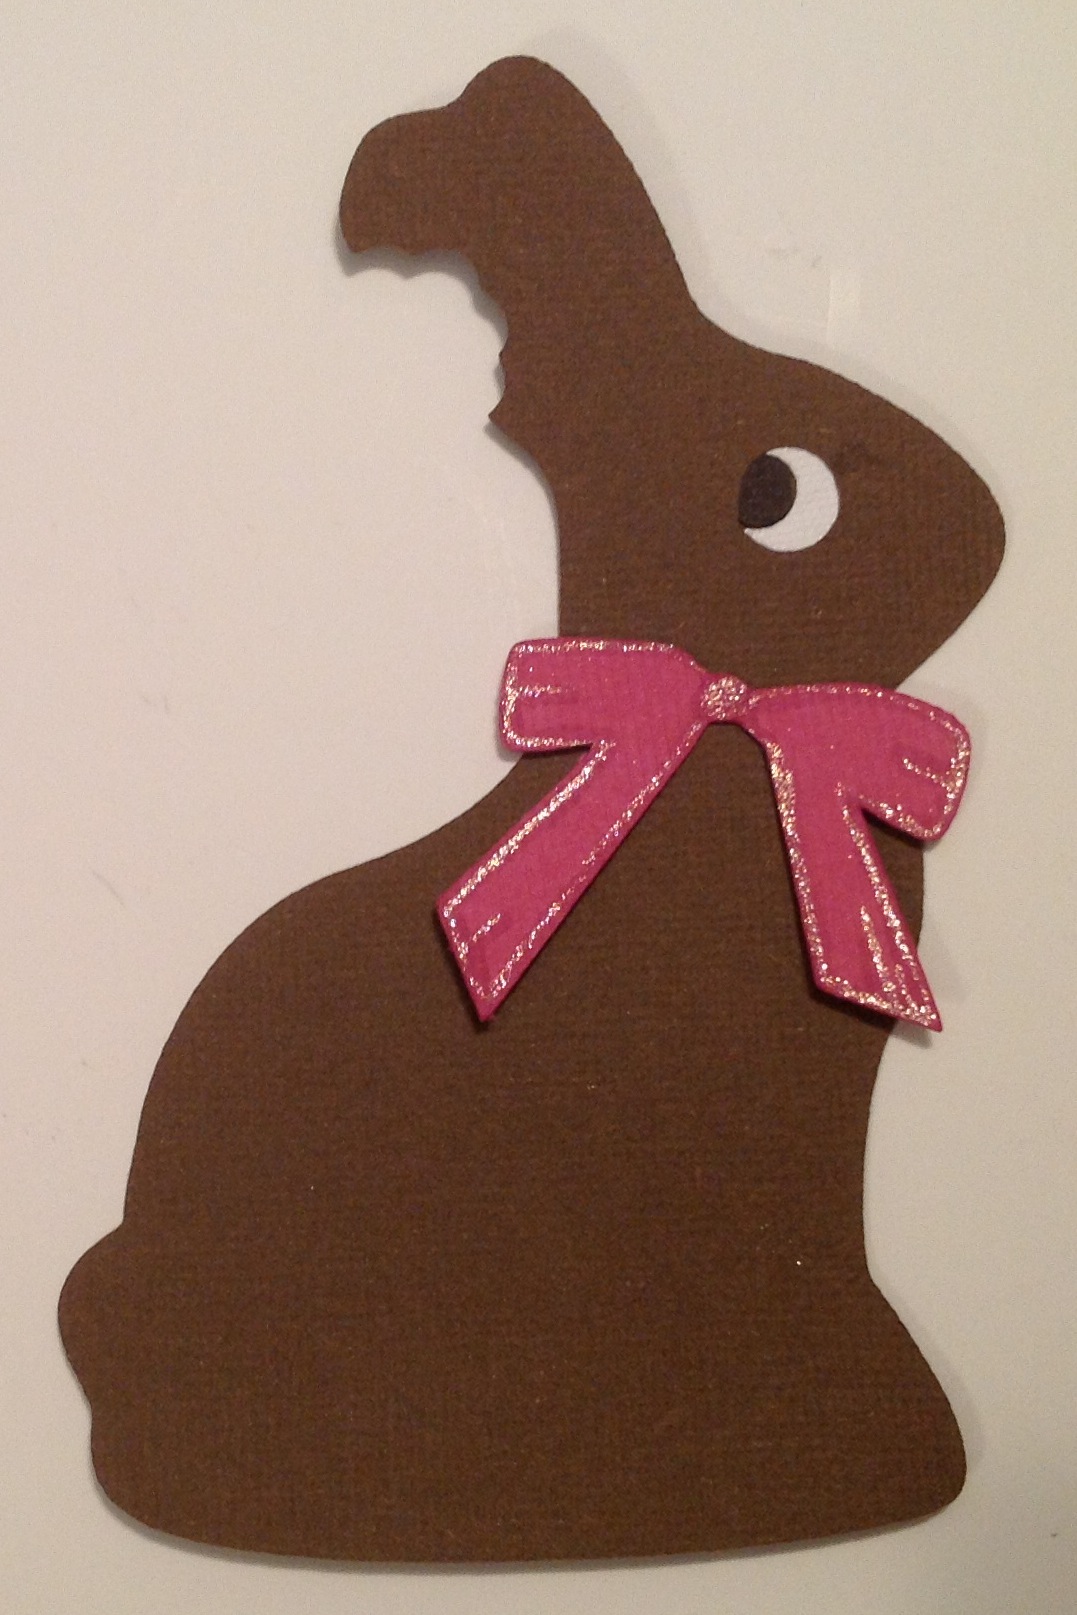
3) Assemble according to your die cut directions. Don’t forget to add a few extra touches to embellish..markers, gel pen, etc. to make the cuts stand out a little.
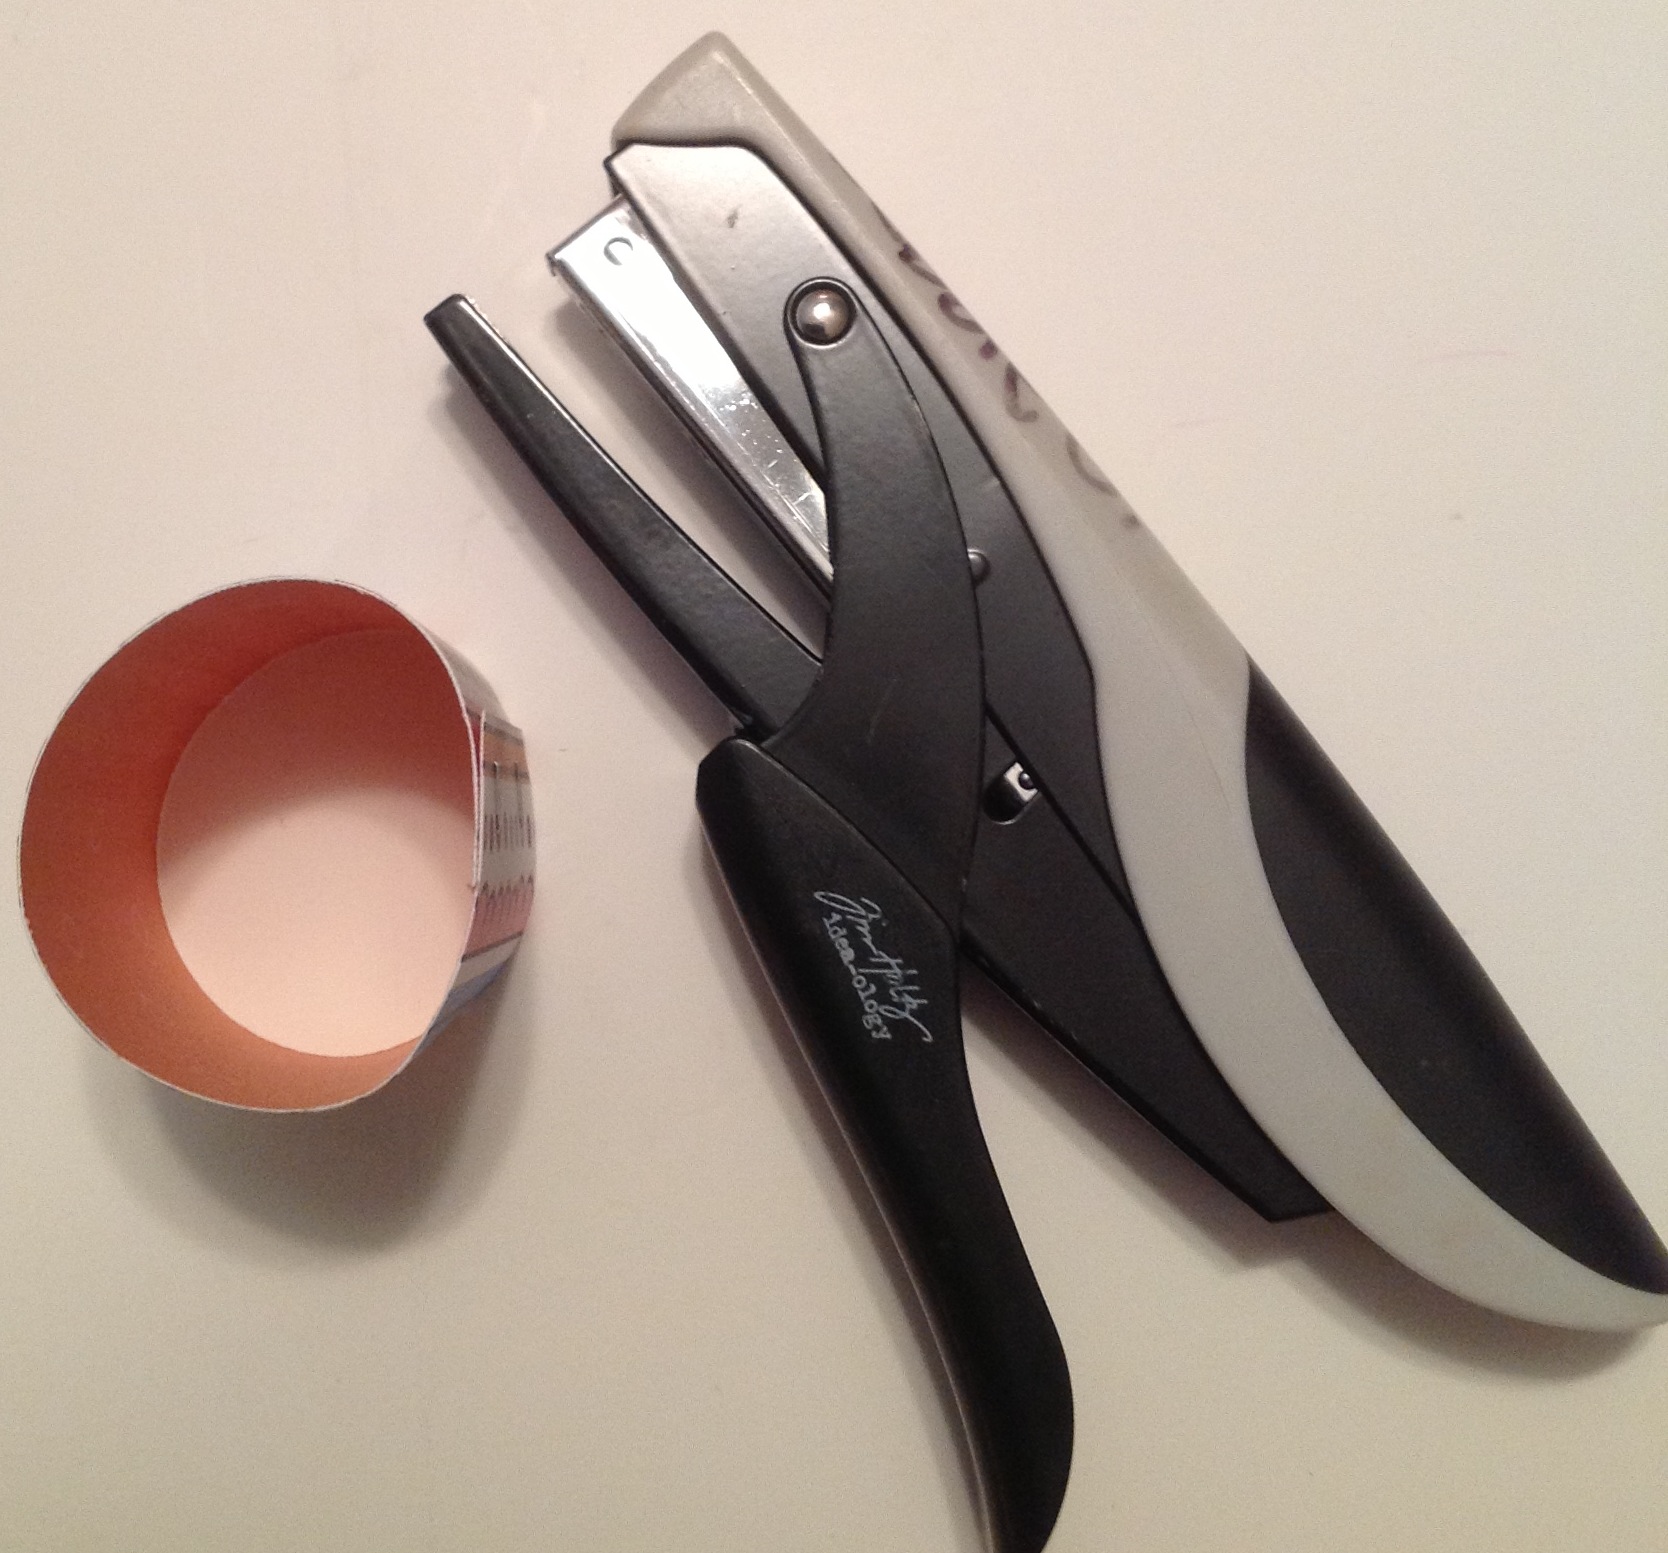
4) Cut 2″ X 6″ strip of cardstock or heavy patterned paper to use as the NAPKIN RING part for each die cut image you made. Roll the strip over until it over laps about 1/4″ and staple a couple of times. Notice this creates a flat side to the circle.
5) Next, using Glue Dots or a Hot Glue Gun to adhere the Die Cut Image to the top of the paper ring (not the flatter side of the circle)
6) Now you have a completed DECORATIVE NAPKIN RING. Just insert your napkin in the ring and add to your place setting. Look how cute this looks?
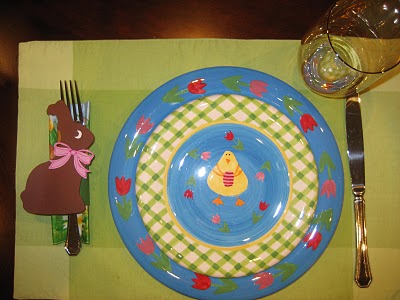
And it could not have been quicker or easier to add to to my holiday table. Try it with any kind of die cut shape for Birthday Parties, Mother’s Day or any Holiday where you want to set a special table. Will you try this? What occassion would work best for you to try this?
If you make a project, I’d love to see it! Please share in our Facebook Group Community where you will find others sharing their projects, tips and inspiration.