The Post and Photos within may contain Amazon or other affiliate links. If you purchase using links in this post I do earn a small commission but without additional charge to you. Thank you for your support!
If you want to know how easy it is to make a custom sublimation t-shirt, then you are in the right place. In this post I will share with you step-by-step what you need to do to get successful results every time and the supplies you need to have on hand. It is fun using sublimation to be able to create something special for any occasion.
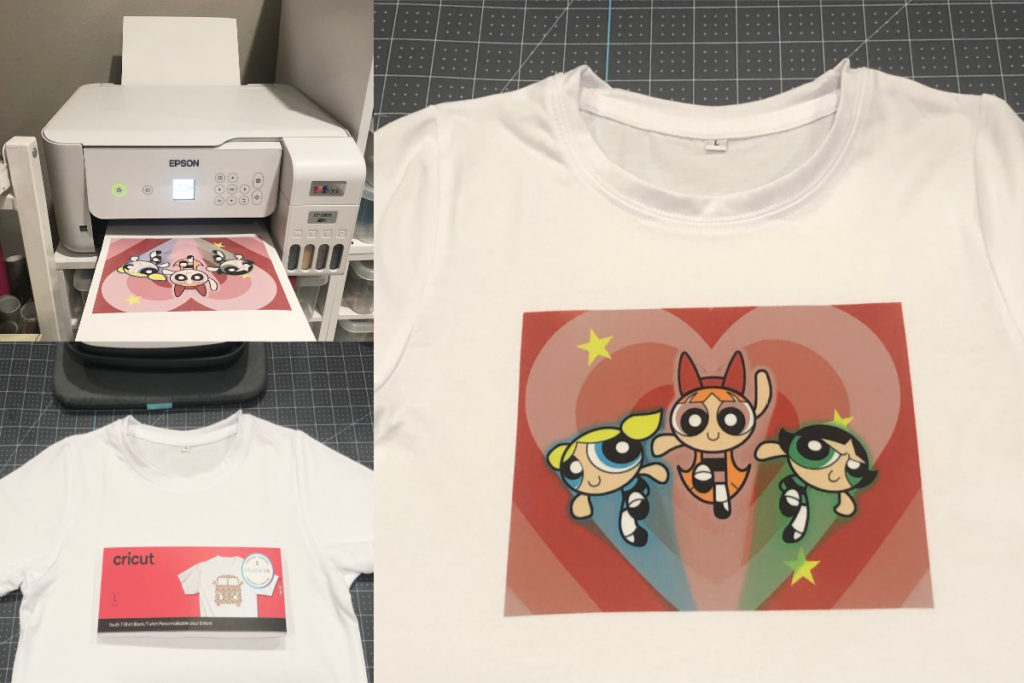
For this project we will be sublimating a design on to a white sublimation compatible t-shirt. If you are not sure what sublimation is please check out my Sublimation Basics for Beginners post to learn more about sublimation.
Creating a custom sublimation t-shirt is fun and easy to do. Below you will find a supply list and step-by-step instructions to walk you through each step so you can understand the whole process and be able to make your own sublimation t-shirts.
Lets get started with the supply list.
SUPPLIES TO MAKE SUBLIMATION T-SHIRT
SETTING UP YOUR SUBLIMATION T-SHIRT IMAGE TO PRINT
- Select an image to use for your sublimation project. Using an image that is a .png which is ready for printing will work best.
- You can purchase sublimation designs from various marketplaces like Etsy, Creative Fabrica, Design Bundles or other places. You can also design your own image in design software like Cricut Design Space (free), Silhouette Designer (free or paid version), Canva (free or paid), Adobe Illustrator (paid), Adobe Photoshop (paid), Corel Draw (paid), etc. If you design your own sublimation image just make sure to save it in .png format.
- Upload your image to the the software program you choose to use to print from. Suggested programs that are easy to print from are Cricut Design Space, Silhouette Designer Software, Google Doc, Microsoft Word, etc.
- Size your image to fit on the sublimation paper and your t-shirt size.
- Select the printer profile you set up on your printer with the correct ICC code for your sublimation ink and sublimation paper. If you need help with this step, check out my post HERE.
- Don’t forget to make sure printer is set for the image to best quality print and MIRROR the image.
- Place the sublimation paper in the printer in the rear feed paper tray on a converted Epson EcoTank printer or in the paper tray of the specific sublimation printer. Make sure you place the paper in the correct orientation to print on the white side of the sublimation paper.
- Then Hit Print. Remember the print will come out in duller in color so don’t worry about that. It will brighten up to true color when the heat is applied.
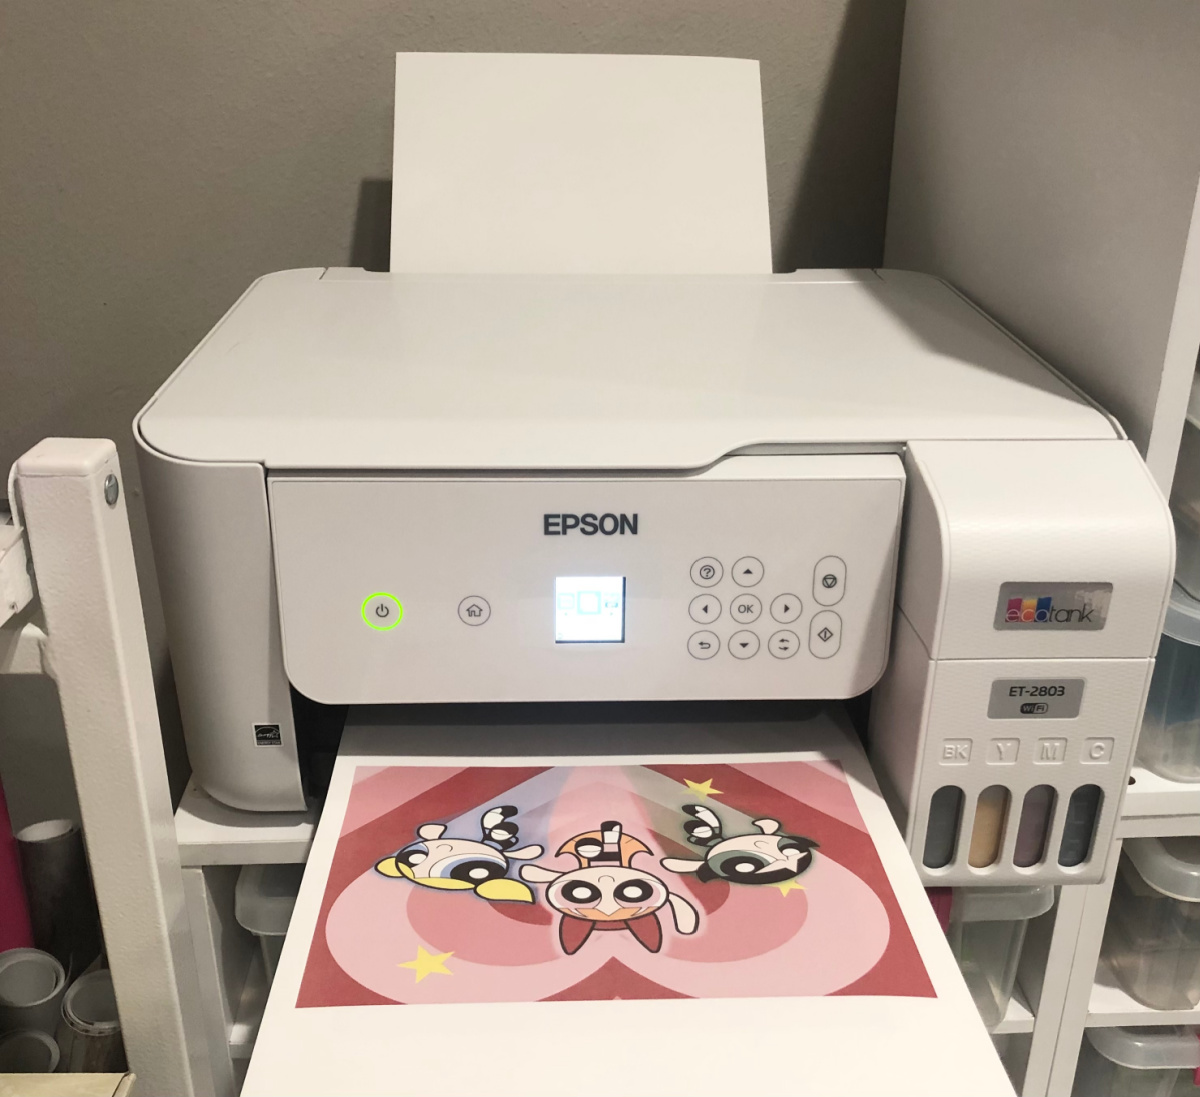
STEPS TO SUBLIMATION T-SHIRT MAKING
STEP 1:
Carefully tear around the printed image to avoid having unwanted sharp lines on your finished product.
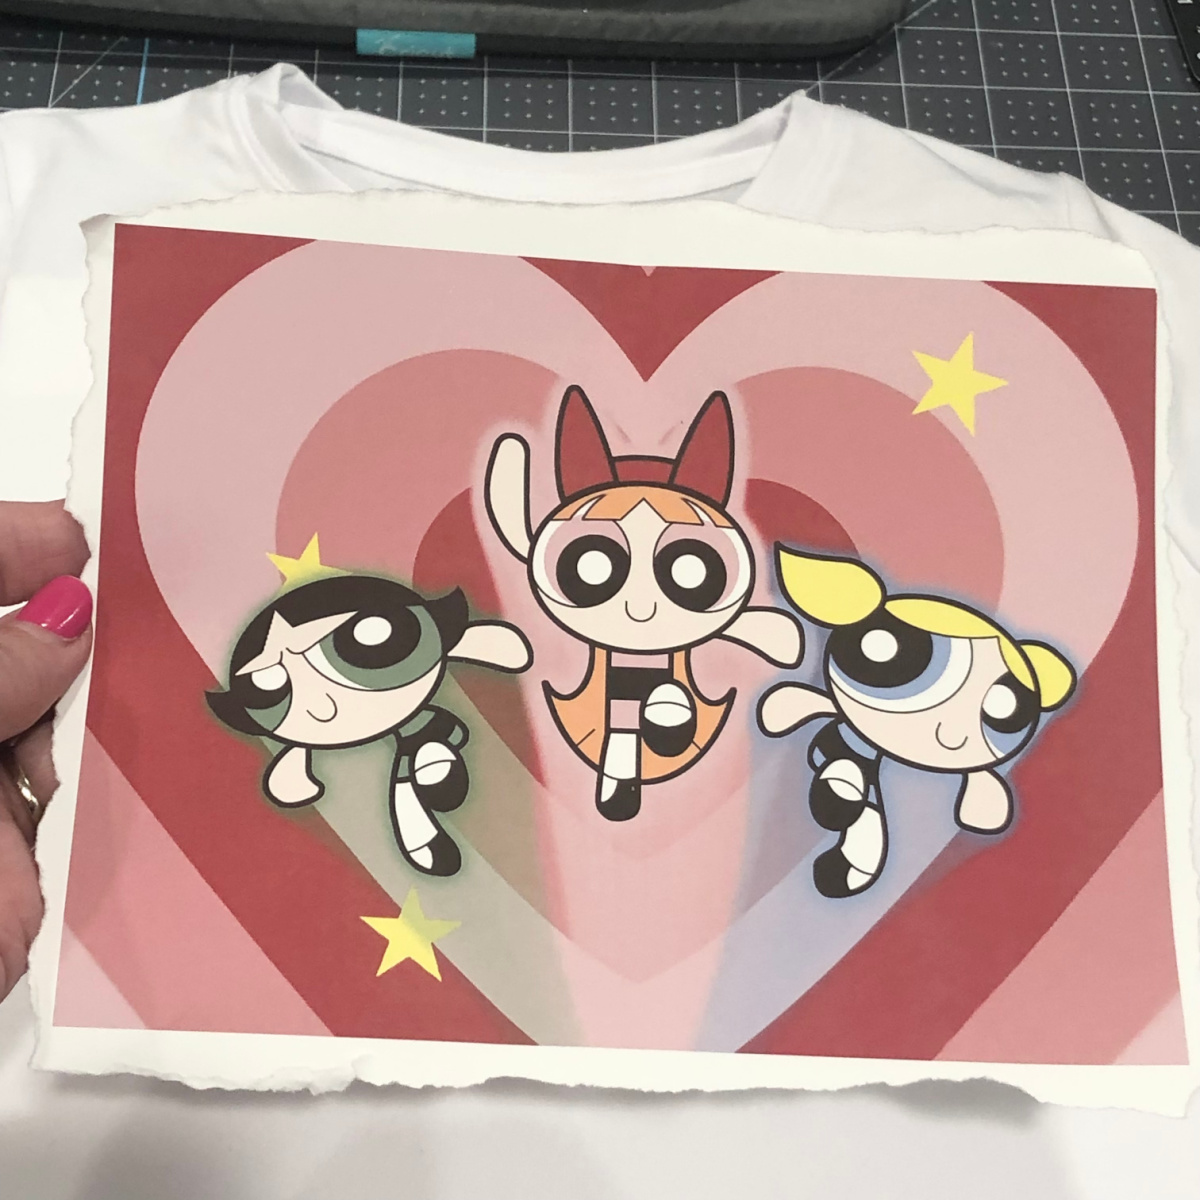
STEP TWO:
Use a sublimation compatible t-shirt that is atleast 70% polyester or higher and either white or light color. I will be using a Cricut sublimation compatible t-shirt.
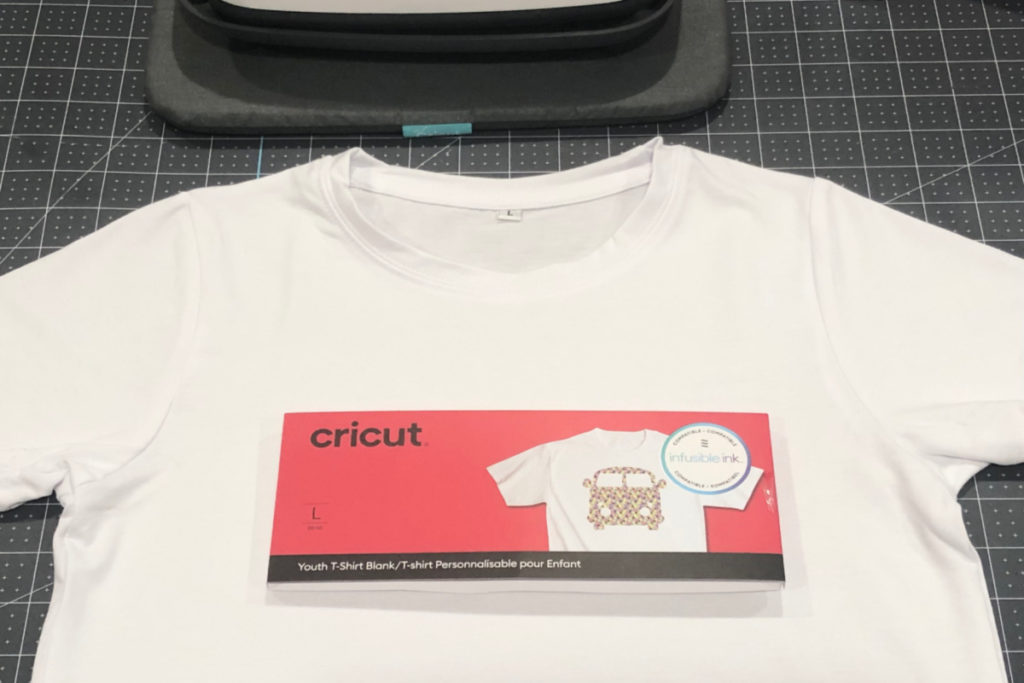
STEP THREE:
Place a Heat Resistant Mat on your table surface. I am using a Cricut Easy Press Mat.
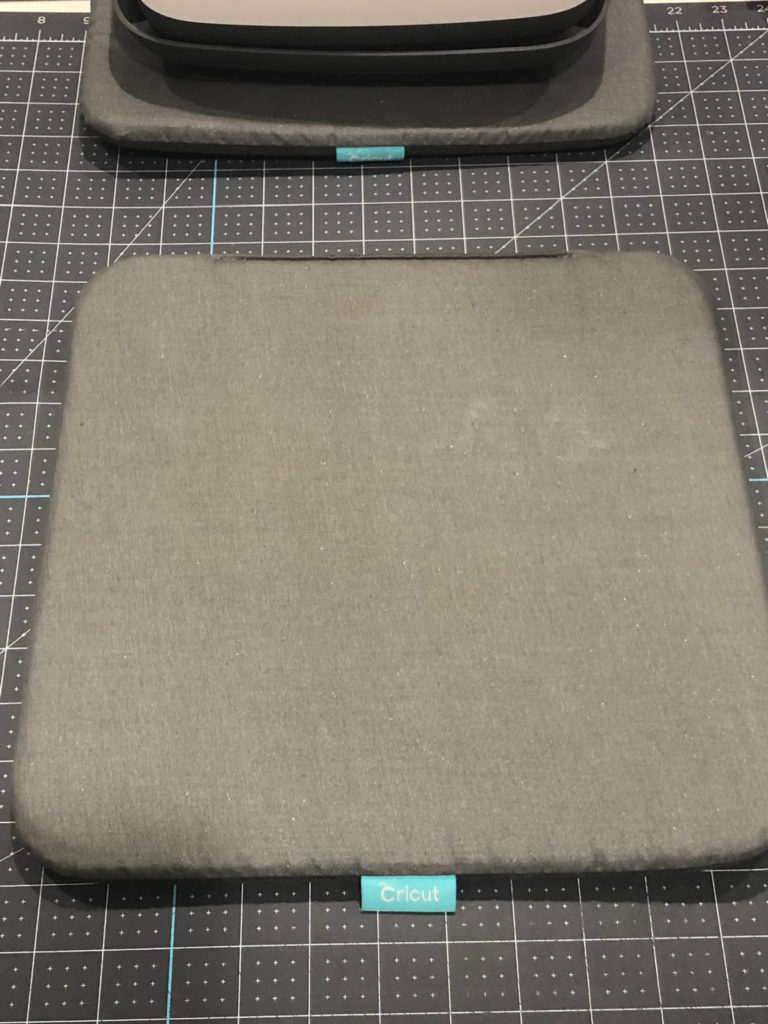
STEP FOUR:
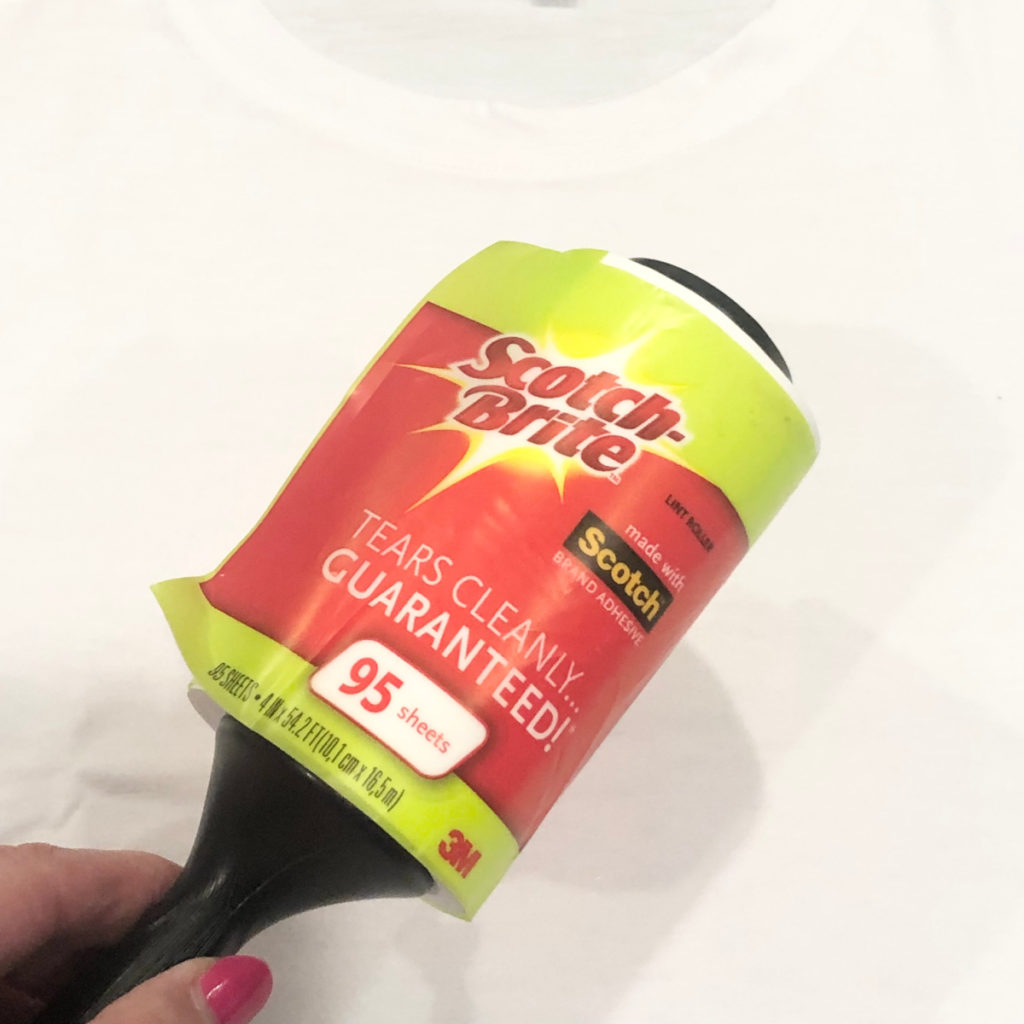
Place t-shirt on top of Heat Resistant Cricut Easy Press Mat. Use a lint roller across the front of the shirt to remove any lint.
STEP FIVE:
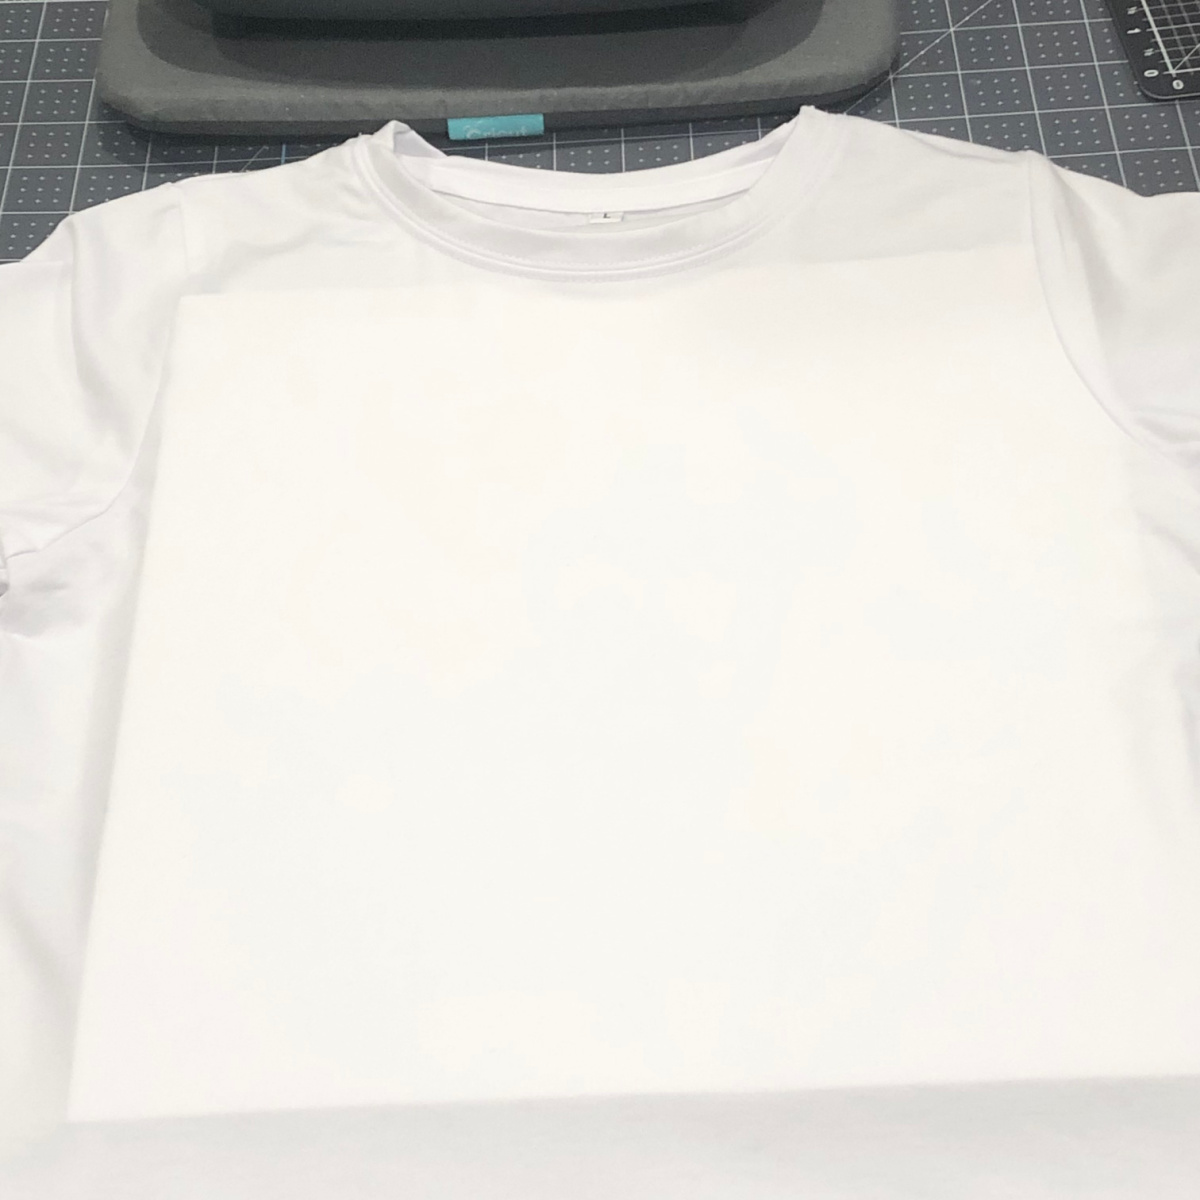
Place a sheet of 12×12 White cardstock inside of the t-shirt. This will prevent any transfer of ink between the layers. You must use white cardstock so avoid bleeding of dye from paper transferring on shirt.
STEP SIX:
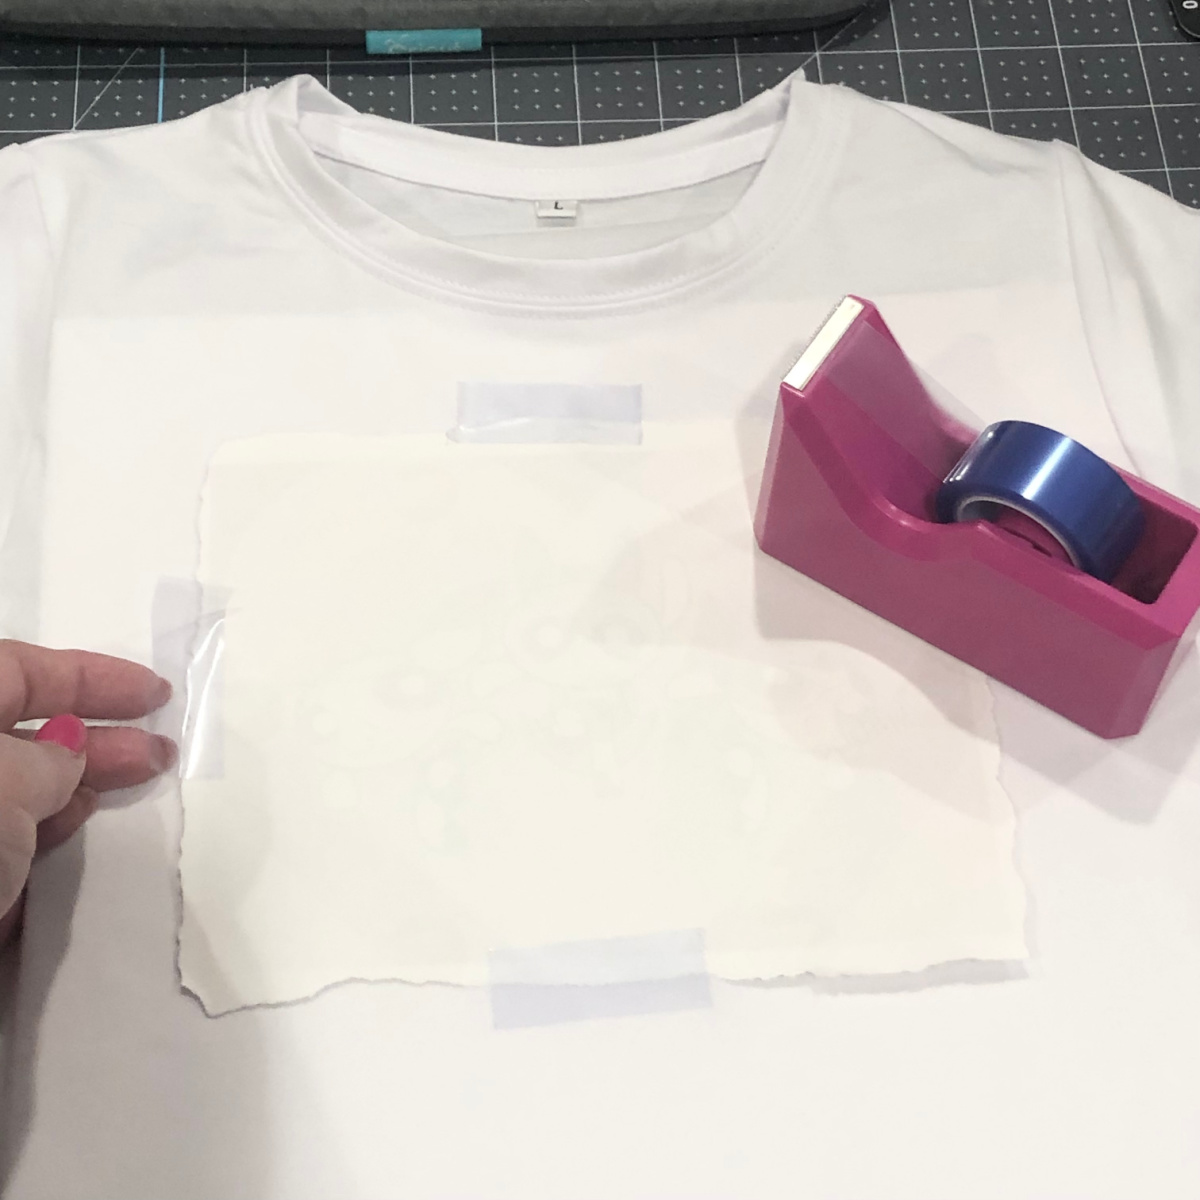
Place sublimated printed image face down on shirt in position you prefer on the shirt. Tape down the 4 edges with heat resistant tape to keep in place. Do NOT use any other type of tape as it will melt onto your shirt.
STEP SEVEN:
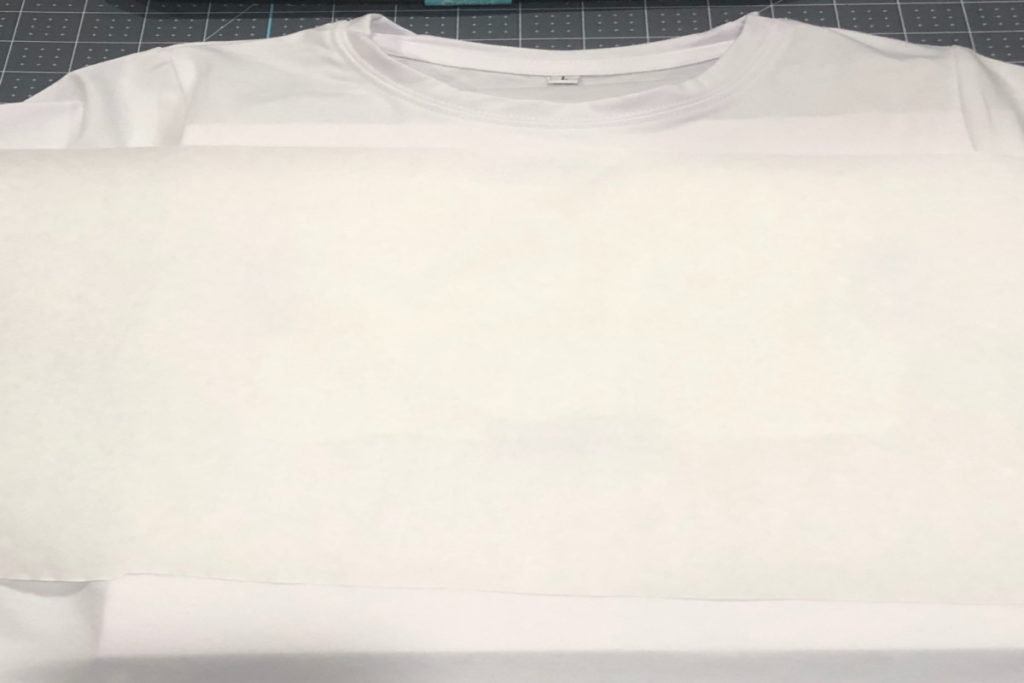
Cover image with a sheet of unwaxed butcher paper. This protects the heat press from getting the sublimation ink on it and surrounding areas.
Remember, sublimation ink turns in to a gas to adhere to the fibers of the shirt. So little wisp of the gas could escape around the edges of the print and transfer where you don’t want it to. The butcher paper helps with this.
STEP EIGHT:
Heat the heat press or Cricut Easy Press to the desired time and temperature for sublimation on fabric setting.
For a heat press settings you can check the manufacturers recommendation for correct time and temp settings for sublimation.
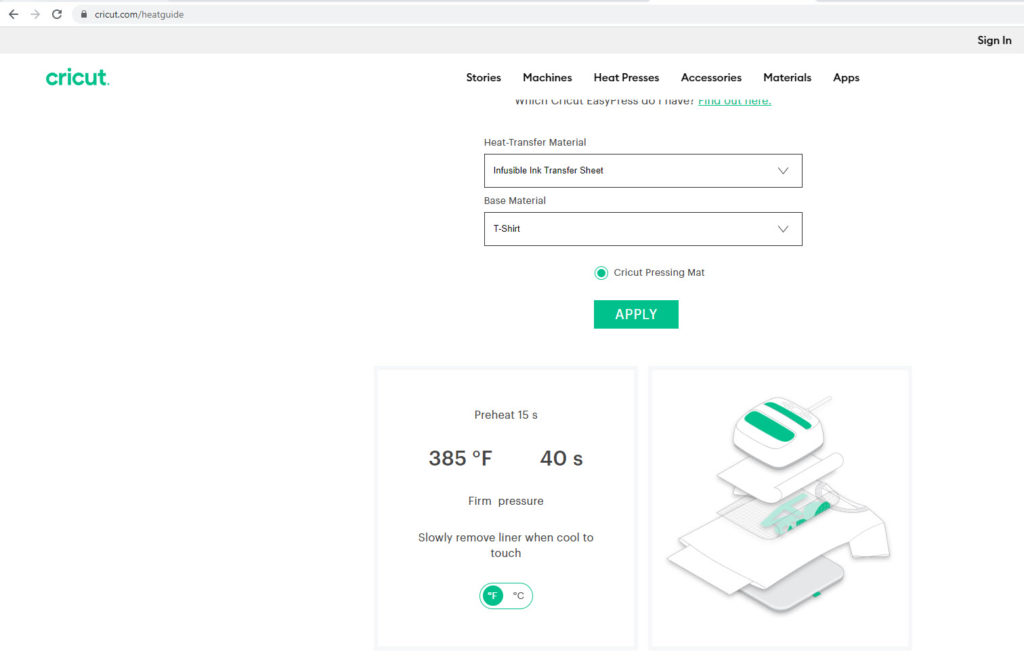
The Cricut Easy Press setting chart can be found at cricut.com/heatguide. You can use the infusible transfer sheet setting which is 385 degrees for 40 seconds.
Also, most sublimation papers have heat set recommendations you may use.
I am using a Cricut Easy Press with Hiipoo Sublimation paper. So the Cricut settings worked perfectly for me.
STEP NINE:
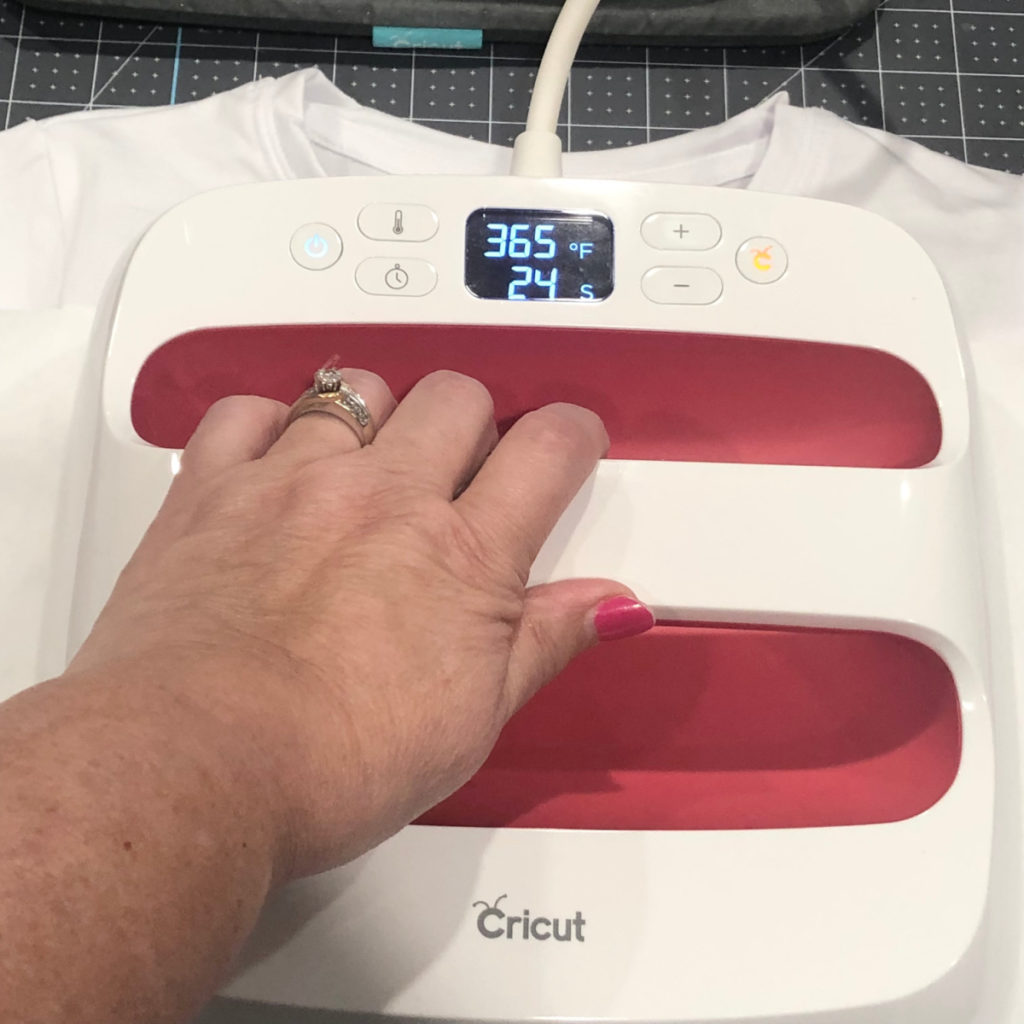
Place the heated heat press (Cricut Easy Press) directly on top of butcher paper on the t-shirt straight down. Make sure you cover the image completely with the heat press. Do not move the heat press. Then hit the GO button to start the countdown.
When completed, lift the heat press (Cricut Easy Press) straight up and place back in the holder.
STEP TEN:
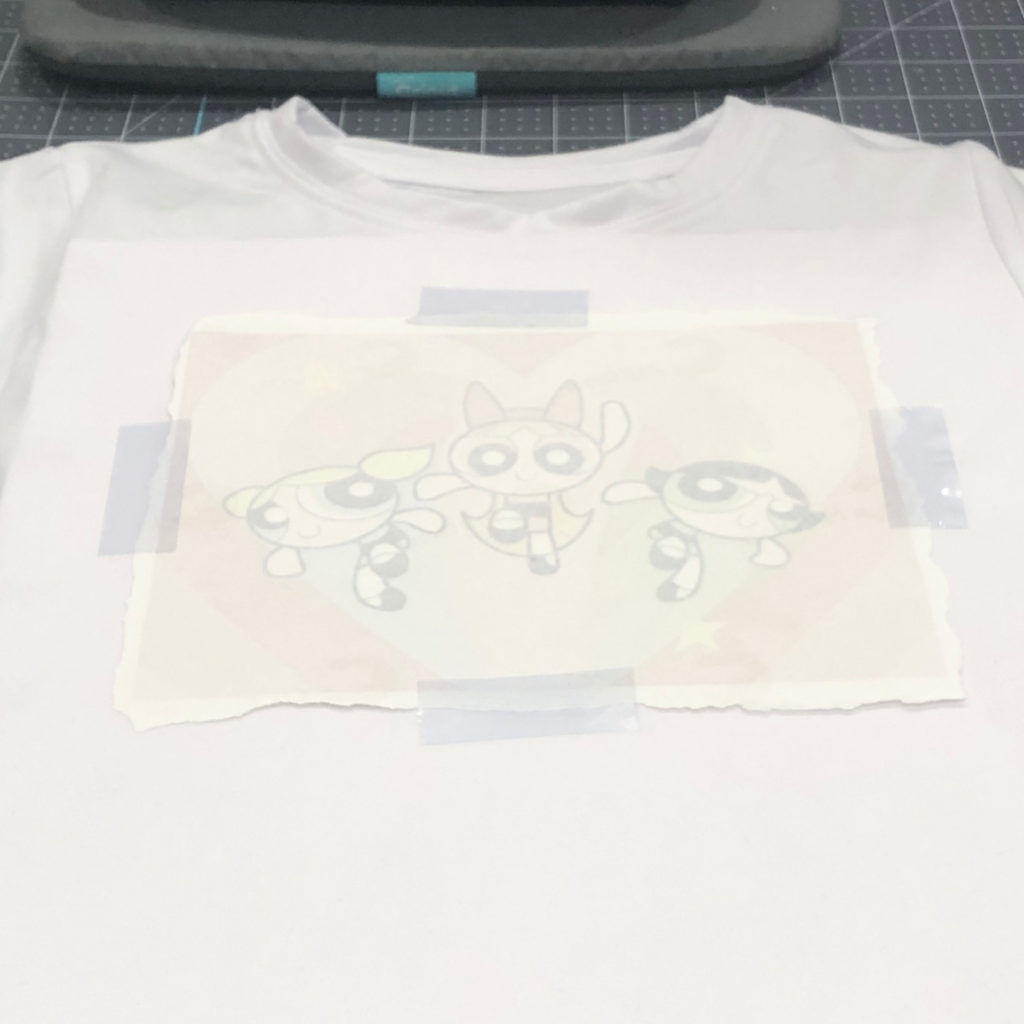
Remove the butcher paper. Then remove the sublimation image carefully lifting the heat resistant tape off.
STEP ELEVEN:
The sublimation design is now infused on to the shirt. It can be worn right away and will never fade. It will stretch with the shirt too unlike a traditional iron on/htv that only sits on the top.
Don’t forget to remove the white cardstock from inside the shirt !
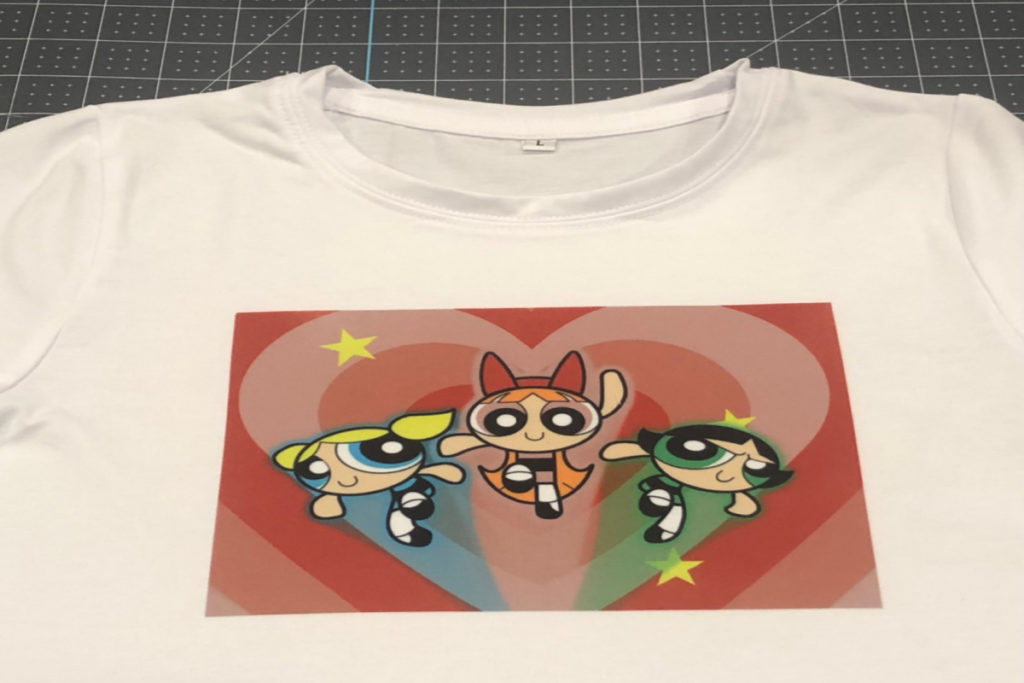
Now you can create your own custom t-shirt following these easy step-by-step instructions. And just think of all the different kinds of t-shirts you can make to bring joy to yourself and others.

I always love to hear from you ! Leave me a comment if you have questions about making a sublimation t-shirt. And if you if make your own sublimation t-shirt, I would love to see it so come post in our Facebook Group.
PIN THIS HOW TO MAKE CUSTOM SUBLIMATION T-SHIRT TO YOUR FAVORITE BOARD

If you make a project, I’d love to see it! Please share in our Facebook Group Community where you will find others sharing their projects, tips and inspiration.