

The Post and Photos within may contain Amazon or other affiliate links. If you purchase using links in this post I do earn a small commission but without additional charge to you. Thank you for your support!
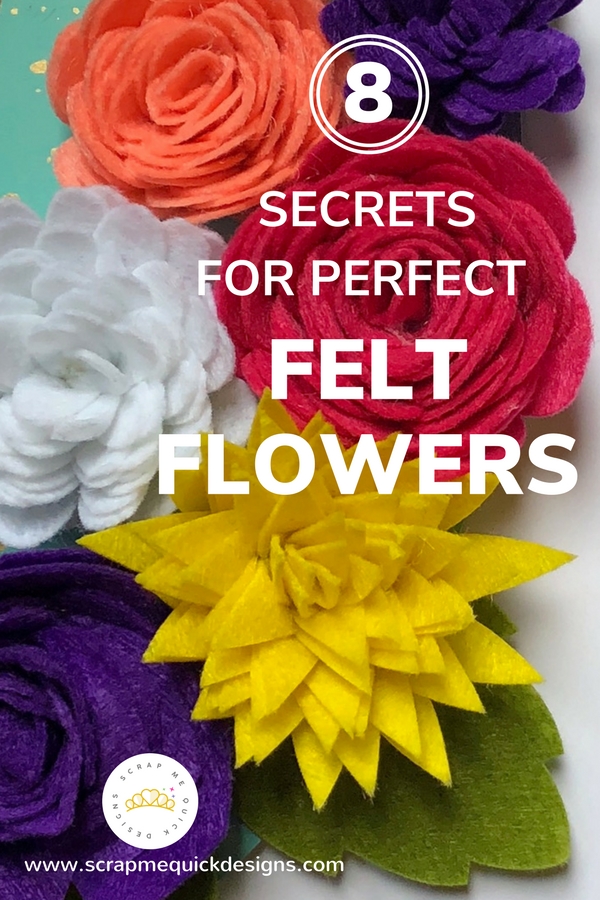
Today I wanted to share a fun sign I made adding Rolled Felt Flowers created with my Cricut Maker. Plus share a few of my secrets for getting the perfect Rolled Felt Flower so you can be successful in making the Rolled Felt Flowers too. Rolled Felt Flowers are easy to make and give you beautiful results.
For my project, I found an adorable Egg Shaped Wood Sign at Target, just begging me to turn it into something wonderful. That’s when inspiration struck…it was screaming for some Rolled Felt Flowers to be added to it !
I started the sign by finding a Happy Easter phrase in Cricut Design Space and cut it out of Cricut Adhesive Foil in Stainless Purple and Gold following the package directions. Then I applied it to the left side of the sign, leaving plenty of room for adding Rolled Felt Flowers to it. Continue Reading for Tutorial on making the Rolled Felt Flowers.

Next I found several different ROLLED FLOWER images in Design Space and scaled them to various sizes. FYI – Look for my Design Space Cut file at end of the post if you want to save it to use.

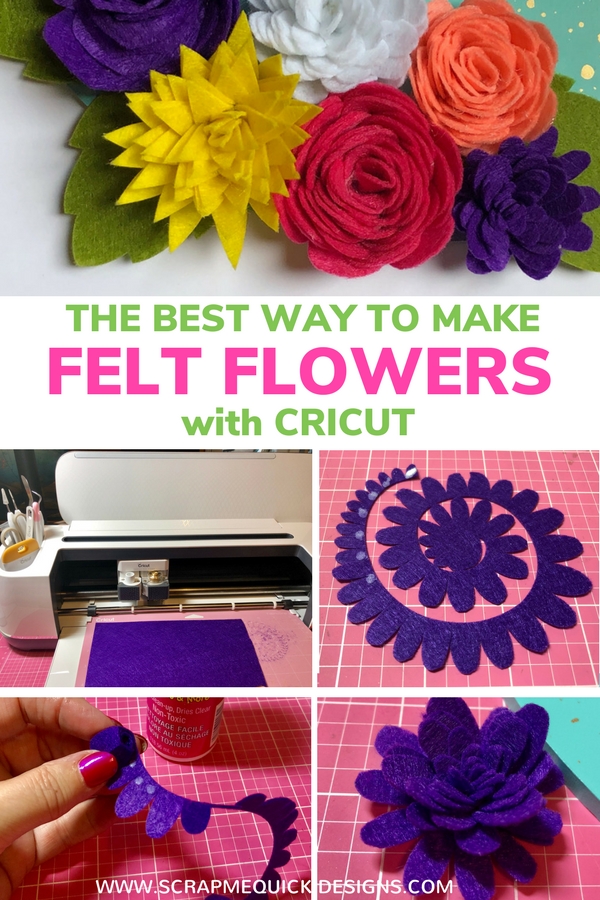
I cut the Rolled Flower Images and an adorable bunny shape out of Cricut Felt (see full supply list below) using my Cricut Maker, Rotary Blade and Pink Fabric Mat. I have one of my Pink Fabric Mats labeled just for FELT cutting.
Perfect Rolled Felt Flowers
Secret # 1:
It’s important to use a good quality felt to get the best results. How do you know if it’s a good quality ? Do this simple test. If you can hold it up to the light and can easily see through it, chances are that felt will be difficult to cut and fall apart as you try to make your project. I have found that the cheap kids felt at the craft stores just doesn’t cut well with the die cut machines. The Cricut Felt is a quality acrylic felt that is great to use at a great price point. You can also find some nice wool felt that cuts well. If in doubt, cut a small piece first to make sure it is going to work well for you.
Perfect Rolled Felt Flowers
Secret #2
Did you know you can use the Cricut Pink Fabric mat over and over again without cleaning it ? Just keep applying your felt to the same mat to cut. If it starts being difficult to get it to stick, use a brayer to roll it on the mat more firmly. Do NOT get these Cricut Pink Fabric mats wet. The special adhesive on these will dissolve right off the mat.

Be sure and add the Rotary Blade to your Cricut Maker and change the Blade Type on the Design Space Screen before you begin cutting.
Perfect Rolled Felt Flowers
Secret #3:
You can use a regular fine tip blade to cut the Cricut Felt if you have a Cricut Explore. For that you will want to use a GREEN Cricut Cutting mat to put the felt on before you cut. You CAN wash the Green Cricut Mat afterwards in a sink with warm water, a drop of dish soap. Let soak a couple of minutes, gently rub your hand over the mat to release the fibers, rinse and hang to dry. The mat will be good as new and ready to use again.


Once all of the Felt Flower Shapes are cut out, it’s time to start rolling but first lets talk about adhesives.
BEST GLUES FOR FELT
Best Wet Glue For Felt
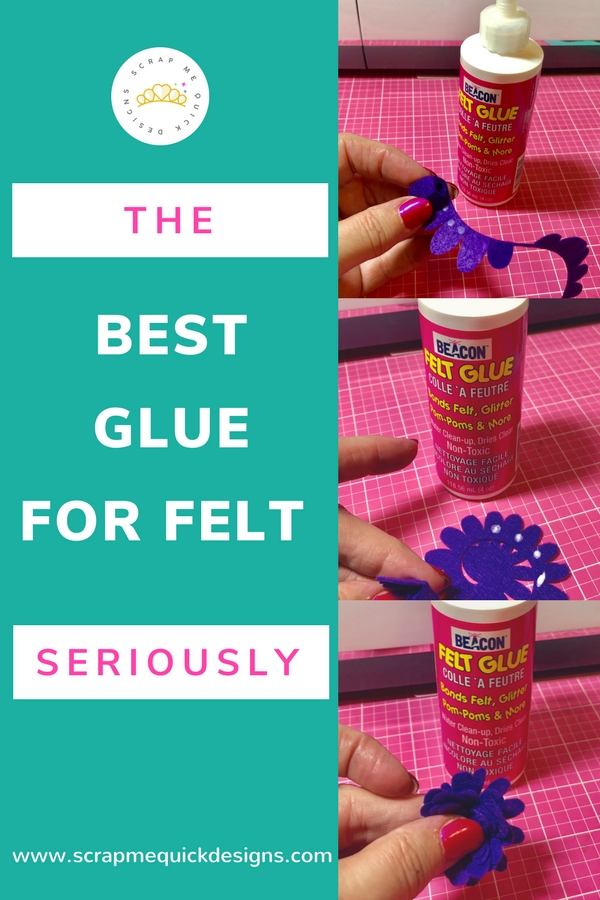
The absolute best wet glue for felt is Beacon’s Felt Glue. I like to use this particularly when working with the smaller felt flowers. Or when I have felt image layers that need to be glued together.
Here is why I think Beacon’s Felt Glue is the best
- Bonds felt, chenile stems, trims, pom poms, etc
- Non-toxic, dries clear, cleans up easily with water
- Does not soak through
- Made in USA
![]()
Best Hot Glue For Felt
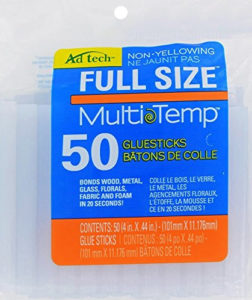
My second favorite adhesive for working with felt is my Ad Tech 2 Temp Hot Glue Gun and Multi-Temp Glue Sticks. I like to use this when working with larger felt flowers as I roll them. And also when I adhere the felt flowers to my projects.
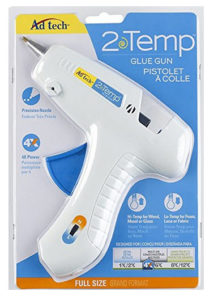
The reason why Ad Tech 2 Temp Hot Glue Gun is my favorite:
- LOW Temp – use on delicate materials like fabric, papers, styrofoam
- HI Temp – keeps the glue flowing for long lines of perfect adhesive
- 5 Ft Cord – lets me easily reach my project
- Small tip gives great placement control of the hot glue
- Dependable hot glue flow every time
- Great price point for both the glue gun and the glue sticks
Perfect Rolled Felt Flowers
Secret #4:
Be sure and put the 2 Temp hot glue gun on LOW when you are working rolling the felt flowers to avoid burning your fingers. Switch over to HOT before you add the hot glue to the back of the flower to adhere to your base project. That way it flows faster and you can get better coverage.
HOW TO ASSEMBLE ROLLED FELT FLOWERS:
Start by adding a little bit of glue to the outer edge of the flower spiral.

Next slowly start rolling the flower shape inwards toward center and the other petals.
Perfect Rolled Felt Flowers
Secret #5:
Be sure and keep the flat bottom edge EVEN as you roll. That will create the perfect base to add your flower to the center and later adhere to your project.

Continue rolling and adding a little bit of glue as you go along (felt glue or hot glue).
Perfect Rolled Felt Flowers
Secret #6:
A little bit of glue goes a long way…but don’t be stingy either. The Beacons Felt Glue will absorb in a little to the felt so make sure it is “wet” enough for the two layers to stick together as you roll. If you are using the Glue Gun, you can pull off those little glue strings AFTER you get your flower rolled.

Once you have the flower shape rolled all the way to the center, add a generous dollop of glue (felt or hot glue) to the center circle. Then place the rolled portion you just completed on top of it. That circle acts like the bottom cover of your Rolled Felt Flower.

Hold it together between your fingers on top and bottom for a few seconds to let the glue set and adhere.

Add now you have finished your Rolled Felt Flower. Repeat the same steps for all the flowers you cut out.
Perfect Rolled Felt Flowers
Secret #7:
You can use this same Rolled Flower technique if you are using paper products instead of the felt. I use the hot glue gun on Low setting when I make those OR a clear drying liquid glue like Art Glitter Glue , Bearly Art Glue or Scotch Quick Dry Glue that are both made specifically for adhering paper quickly.

Final step is to adhere the Rolled Felt Flowers to the project base which is my sign. I use a generous amount of hot glue to make sure it will stay in place but work fast as the hot glue dries fast. Repeat until you have all your Rolled Felt Flowers adhered.
Perfect Rolled Felt Flowers
Secret #8:
I usually layout the flowers and leaves first to get an idea of placement, then add the hot glue to adhere them to the project.


For a finishing touch, I also added a Felt Bunny with Rhinestone and Pom Pom details to my sign. I used the Beacon Felt Glue to adhere it all togther and on the sign. This glue dries clear and it perfect for adhering felt to felt. You will not see it between the layers of the felt once it has dried completely.

Now I have a gorgeous Rolled Felt Flower sign to enjoy. I can’t wait to make more Rolled Felt Flowers for other projects now. What do you want to make with the Rolled Felt Flowers ?
If you want to re-create the same sign, I am happy to share my Design Space Cut File with you. You will need to either have a Cricut Access Subscription or own the images already or purchase image separately.
Design Space Cut File: https://design.cricut.com/#/design/87217988
If you make some perfect rolled felt flowers for yourself, please come post them in our Lets Learn Cricut Design Space Facebook Group so we can see what you made. We’d love to have you join us to learn more about using your Cricut.
PIN THIS TO SAVE ON YOUR FAVORITE PIN BOARD
If you make a project, I’d love to see it! Please share in our Facebook Group Community where you will find others sharing their projects, tips and inspiration.