

The Post and Photos within may contain Amazon or other affiliate links. If you purchase using links in this post I do earn a small commission but without additional charge to you. Thank you for your support!
So, after making the Monogram Canvas Tote Bags (Click to see PART 1 of this series), you are feeling a little more encouraged that you might be on the right track to that peaceful beach vacation with the family you’ve been counting down the days for all year long.
Those tote bags should help keep the kiddos stuff somewhat separated so they are not constantly aruging about “whose is whose”.
But what if you could improve your odds of having a stressfree time relaxing on the sand with a cool drink in your hand by taking things one step further ? You would do it right?
So lets show you quickly how you can use some Cricut Permanent Adhesive Vinyl and add Monograms or images to just about any beach toy, plastic container etc. to leave no doubt whatsoever which thing belongs to whom.
SUPPLIES NEEDED
In addition to your beach gear, you will need the follow Cricut items to complete the tutorial below
- Cricut Explore or Maker Machine
- Premium Permanent Vinyl
- Transfer Tape
- Weeding Tool
- Scaper
WHICH ADHESIVE VINYL TO USE
You will want to use a strong, permanent adhesive vinyl that will really stick and stay in place while near the water and sand. I highly recommend the Cricut Premium Permanent Vinyl.
It is easy to cut, easy to apply and will last forever on your beach gear.
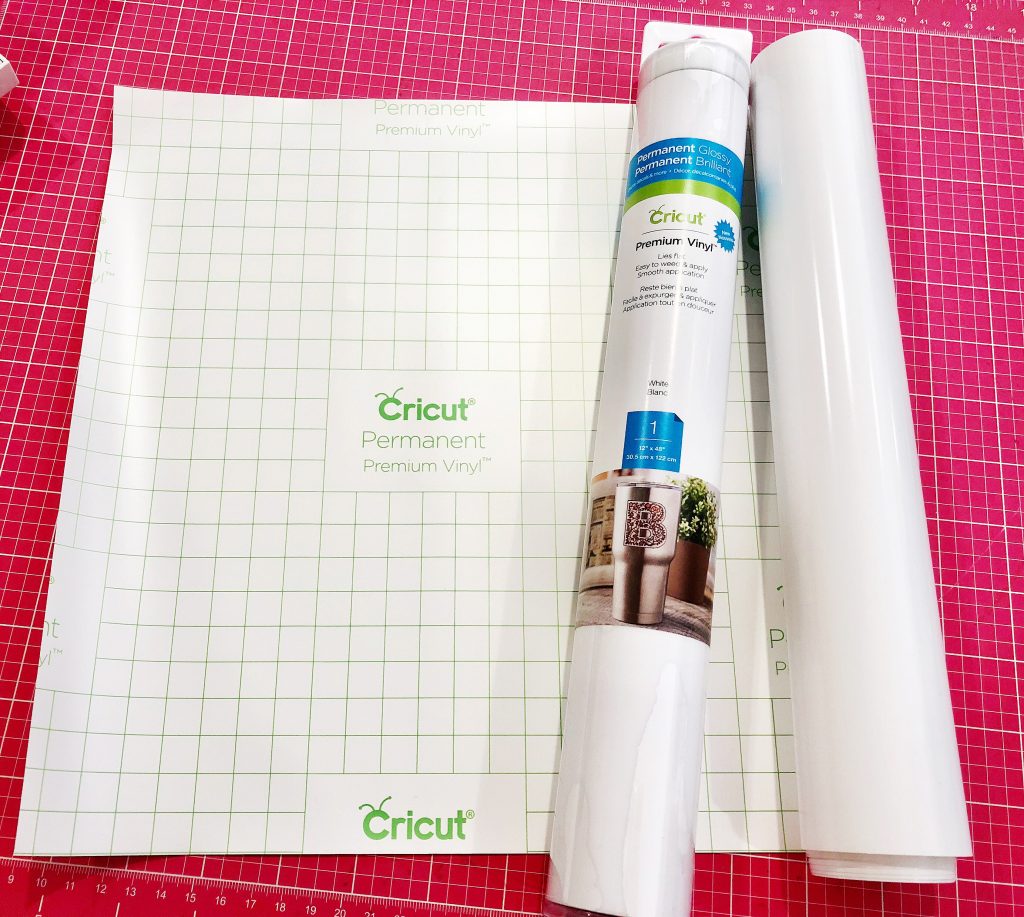
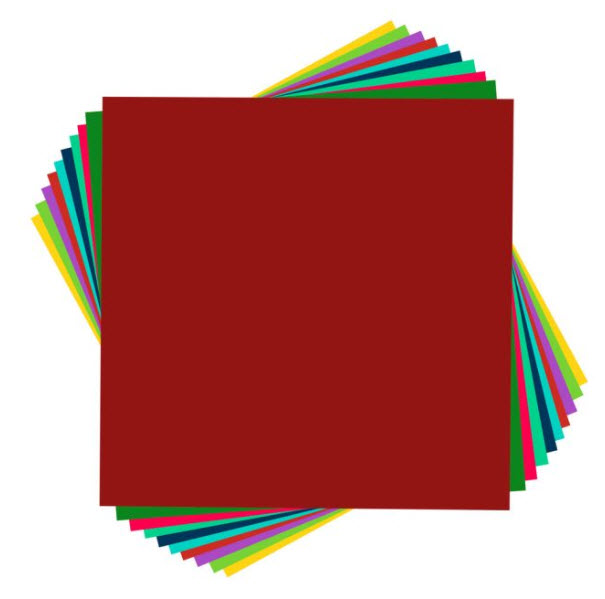
And it comes in a large variety of colors to choose from for any beach project you want to use it on.
CUTTING ADHESIVE VINYL
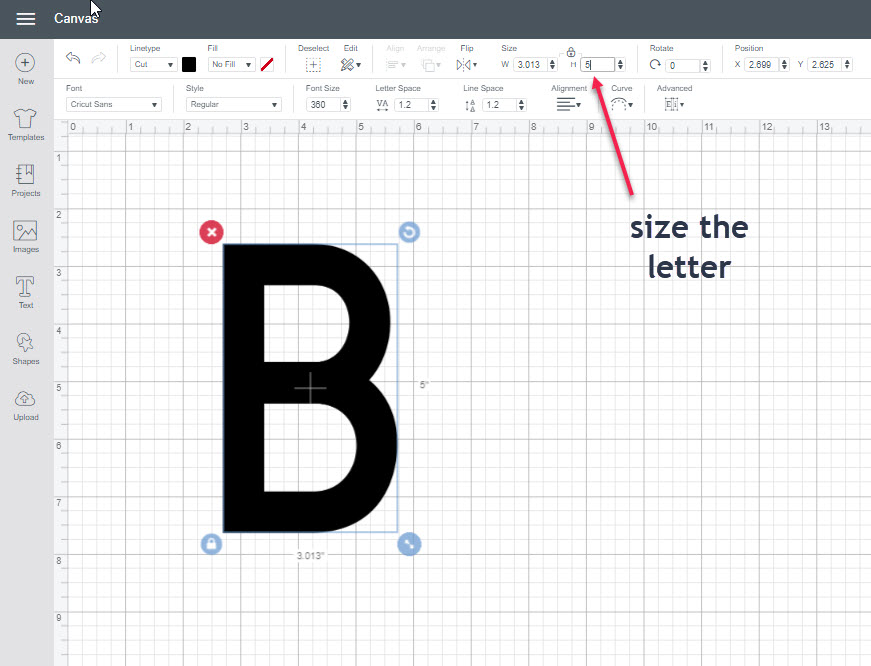
Step 1. Select your image or Monogram in Design Space and size for your project.
Tip: When cutting several different images , like several monogram letters in the same color, I add them all to the same virtual mat.
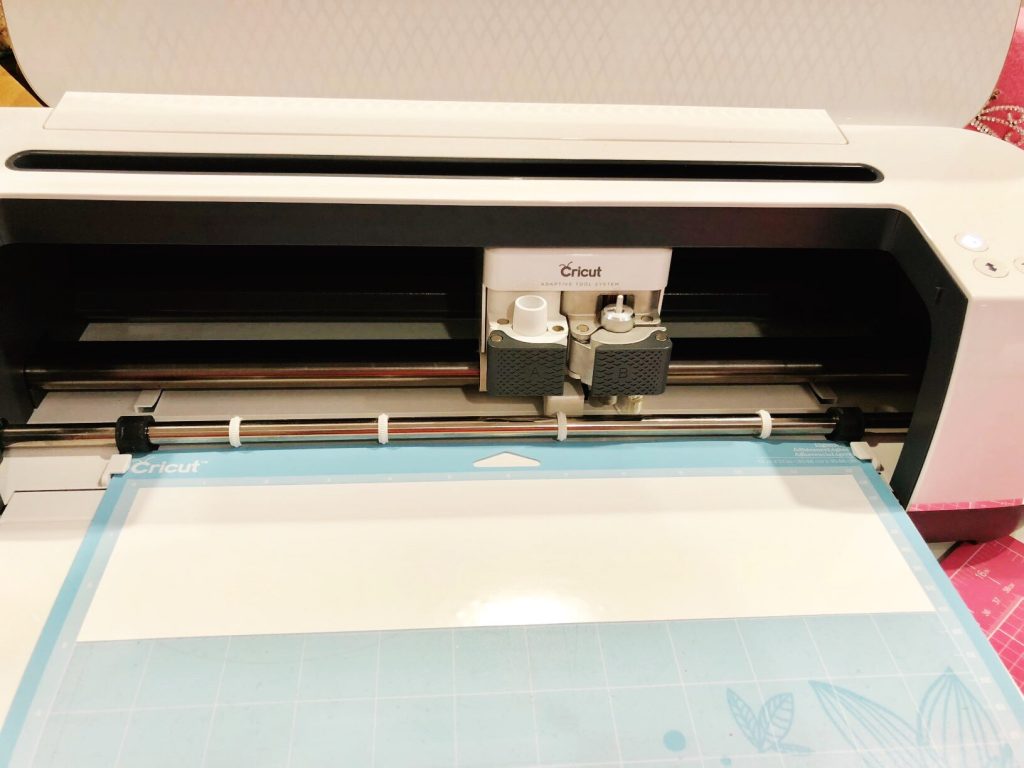
Step 2. Place the vinyl on the Cricut cutting mat, I prefer the light grip mat, so that the color is facing upwards.
Be sure and press the vinyl down all over so it is adhered well to avoid it popping up off the mat during cutting.
Then on the Cut Setting Screen in Design Space, select the Premium Vinyl setting. And continue with your cut.
Step 3. Remove the vinyl from the mat and weed away the parts you do not want to keep.
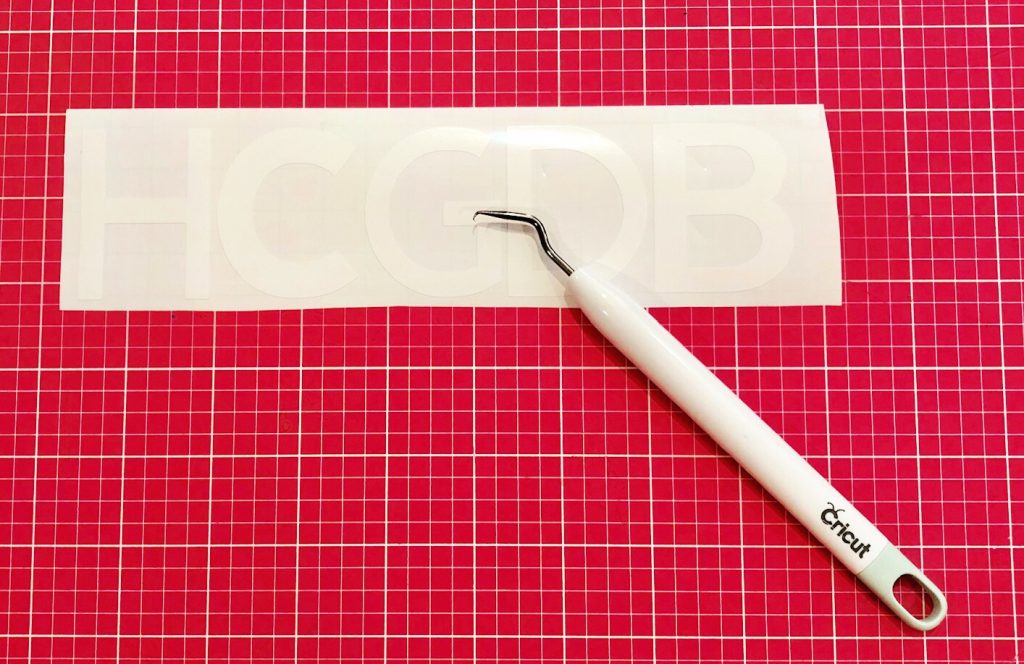
Step 4. If you cut several images at the same time, like I show with the monograms, cut them apart with scissors to make it easier to apply to your beach gear.
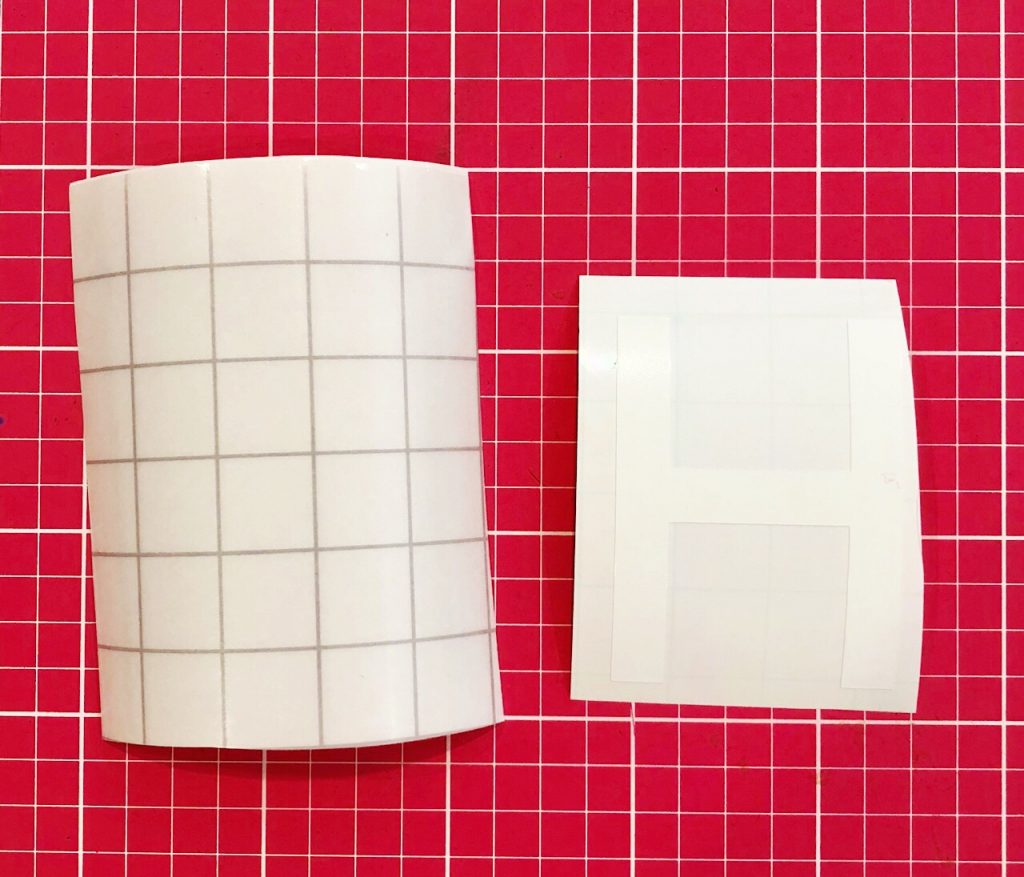
Go ahead and trim some transfer tape the same size.
APPLYING ADHESIVE VINYL
Step 5. Take the Transfer Tape and remove it from the liner backing. Then place the Transfer Tape over the vinyl image you have already weeded.
Use the Scraper Tool to rub the transfer tape on to the vinyl image.
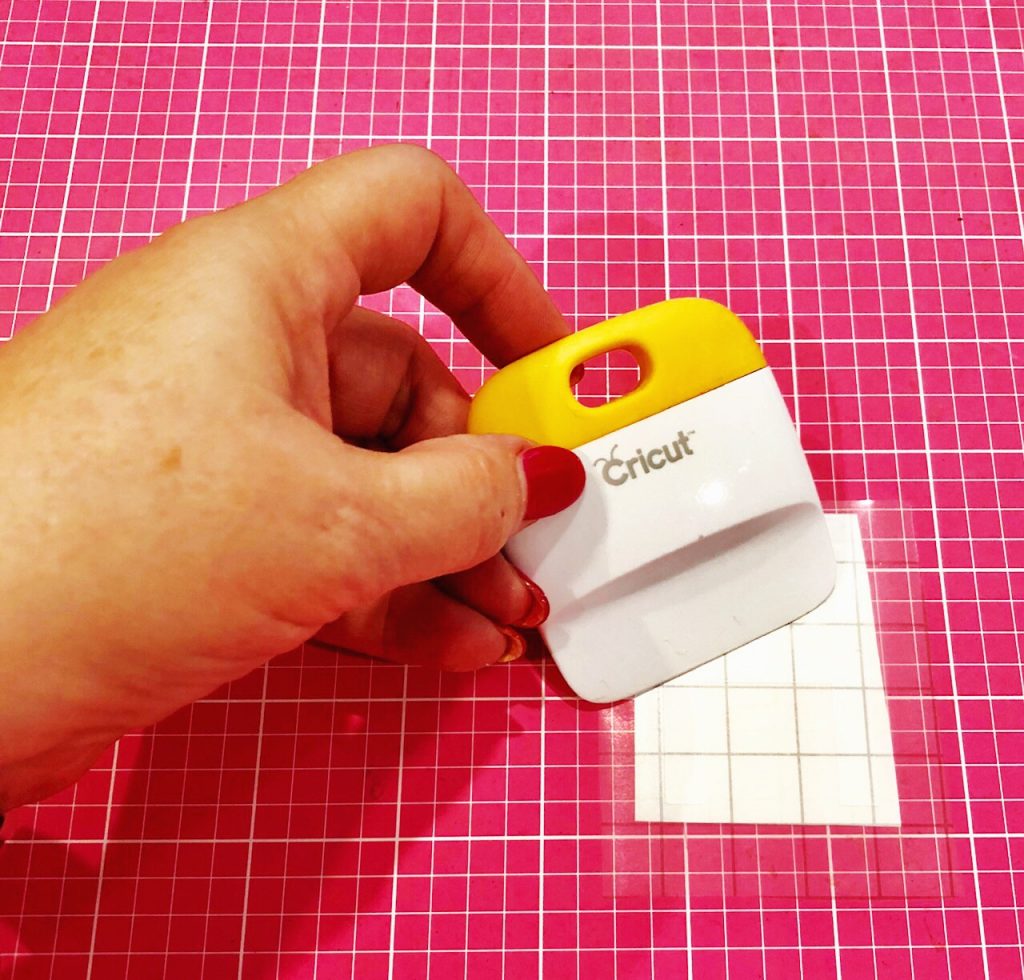
Step 6. Now remove the liner from the back of the vinyl while it is on the Transfer Tape and place that on the beach gear to apply it.
Use the scraper again to get it to adhere well. Then remove the Transfer Tape.
Tip: if you save the liner from the Transfer Tape you can put the Transfer Tape back on it and use it again on another project later.
Step 7. You have a finished beach gear with a Monogram on it ! It’s really that easy to do this.
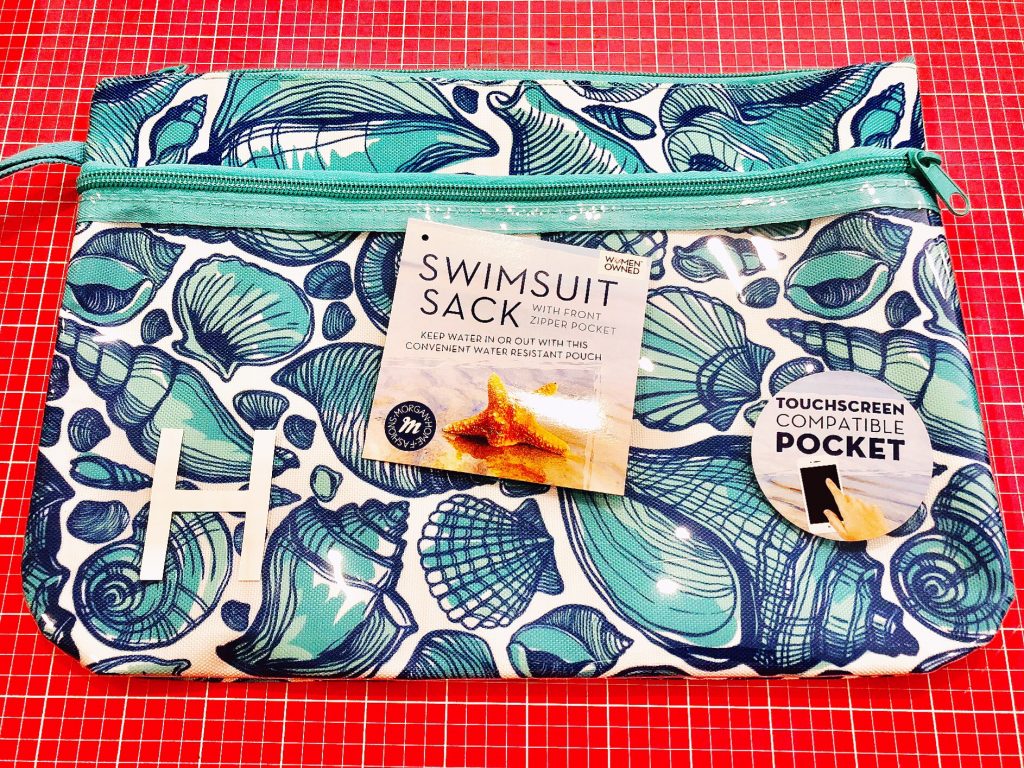
BEACH GEAR TIP
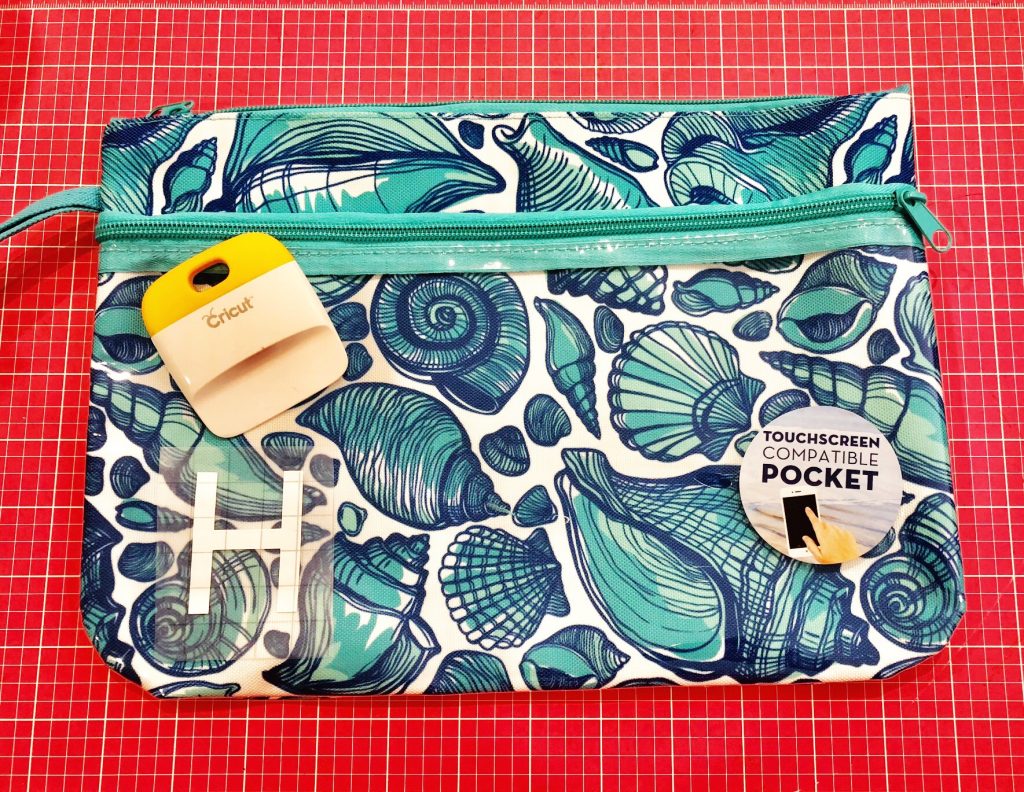
These Swimsuit Sacks were bought at Tuesday Morning and just marvelous !
Perfect for carrying your dry or wet swimsuit or to keep your valuables in at the beach.
I love the clear plastic pocket on the front so you can see your cell phone to check the time to remember to apply more sunscreen. They were only $5.99 and came in a variety of patterns.
As you can see, I color coordinated them with the Canvas Tote Bags we made in Part 1 of this Series.

WAIT, THERE IS MORE….
Good news, you can use this same technique over and over again to apply Cricut Premium Permanent Vinyl on lots of your beach gear.
Buckets, shovels, beach balls, floats, coolers, drink tumblers, snack boxes…the list goes on and on.
And don’t be afraid to layer the vinyl images and add them to items as well. Like I did here on these sand buckets for the kids.

If you make a project, I’d love to see it! Please share in our Facebook Group Community where you will find others sharing their projects, tips and inspiration.