

The Post and Photos within may contain Amazon or other affiliate links. If you purchase using links in this post I do earn a small commission but without additional charge to you. Thank you for your support!
In an earlier post, I showed you my solution to Embossing Folder Storage that I just love ! You can read all about it in my post HERE (click link).
As promised, I wanted to share Embossing Folder Storage part 2: Customizing “Make It Now” Project in Design Space by sharing with you how I made the vinyl label for the front of my box using my Cricut Explore.
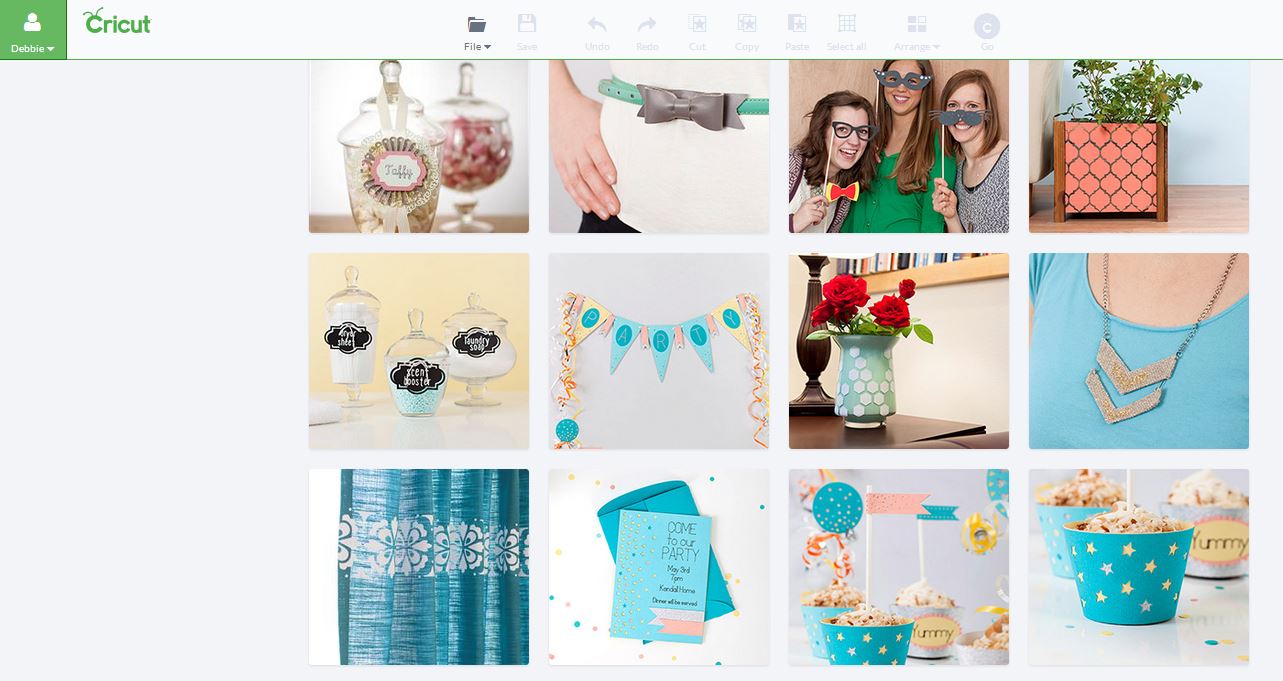
I wanted something a little decorative on the front of my box and decided this label from the Cricut Design Space “Make It Now” project files called “Laundry Jar Labels” had a nice shape and would work nicely. (first in second row from left)
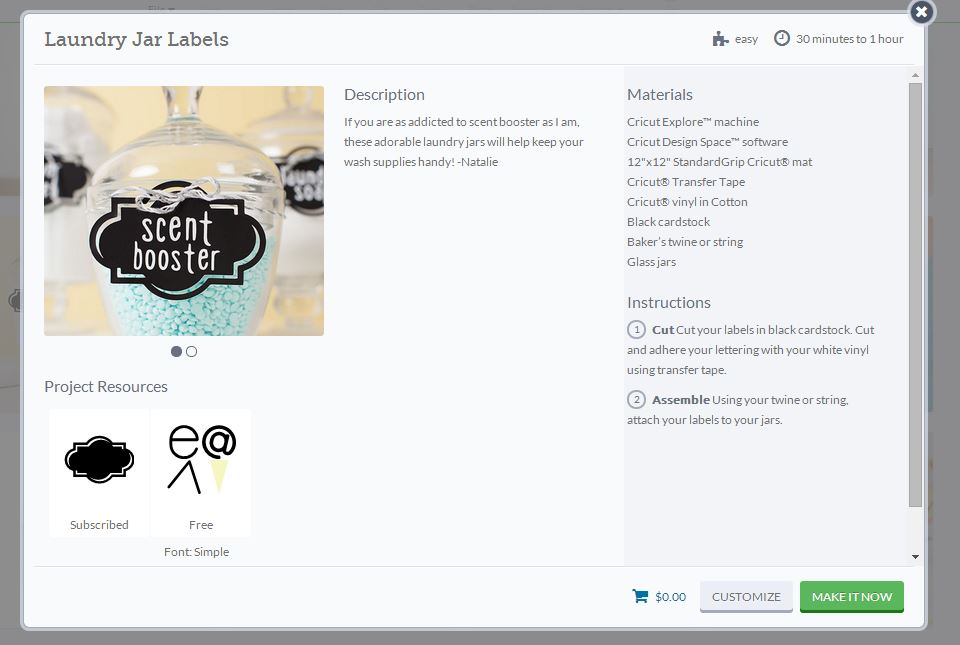
However, since I wasn’t using the storage box for soap <insert cheesy grin here>, I wanted to add my own custom words to the label instead. So after selecting the project, this screen pops up with all the Make It Now Project details…what the project is about, what materials to use, what the images look like, etc. At the very bottom of this screen next to the greenMAKE IT NOW button is a CUSTOM button. I selected that to be able to edit the project and “Make It My Own” <insert another cheesy grin here>.
Up pops the Make It Now Project on my Design Space Screen. Since there were three jars with soap names on them, three main images appear. I only want to work with one image so I DELETE two of the images.
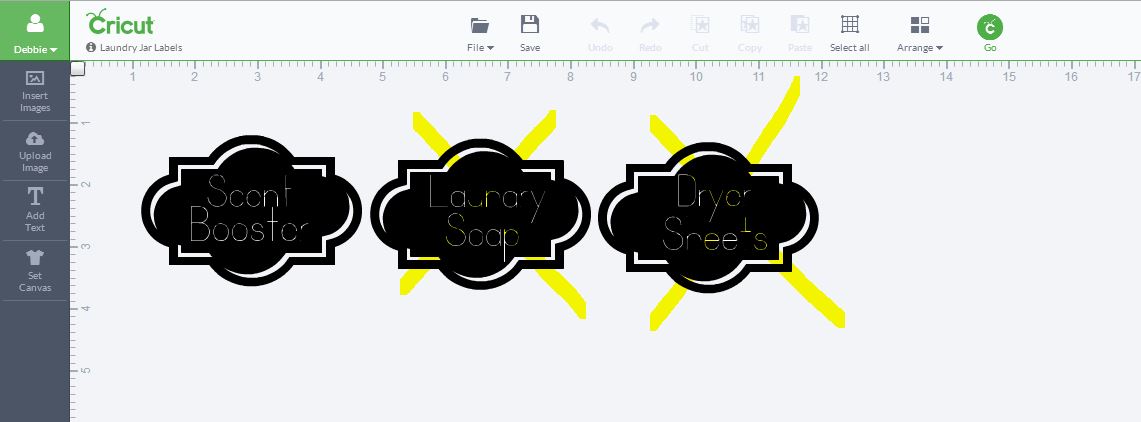
After deleting the two, I begin to edit the remaining image by ungrouping the label image and deleting the soap words “Scent Booster”. I measured the front of my box and made the label image big enough to fit where I wanted. I then used my favorite font LOBSTER TWO and create the word I do want to use “Embossing Folders”. I then weld the words together and place them on my label image and size to fit the label shape as shown. I “grouped” the image together and now I was ready to cut out on Vinyl. 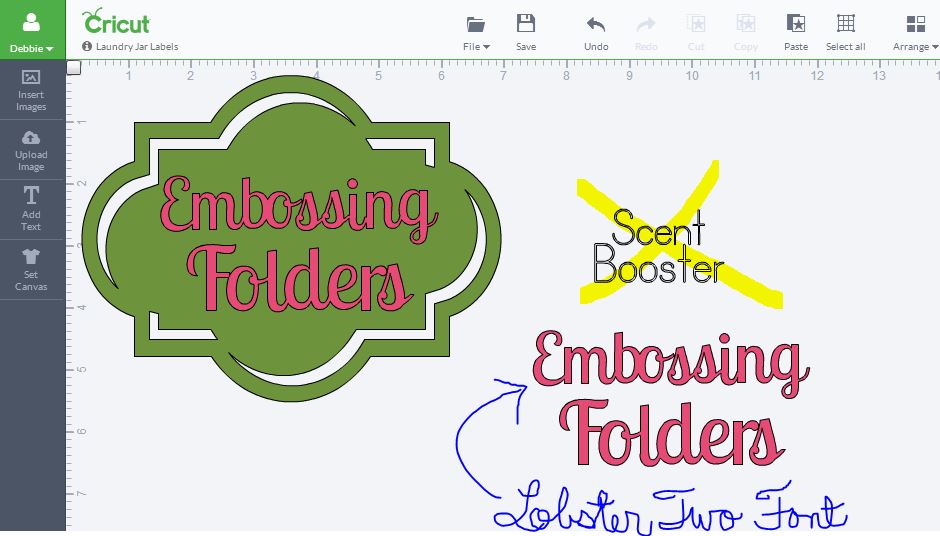
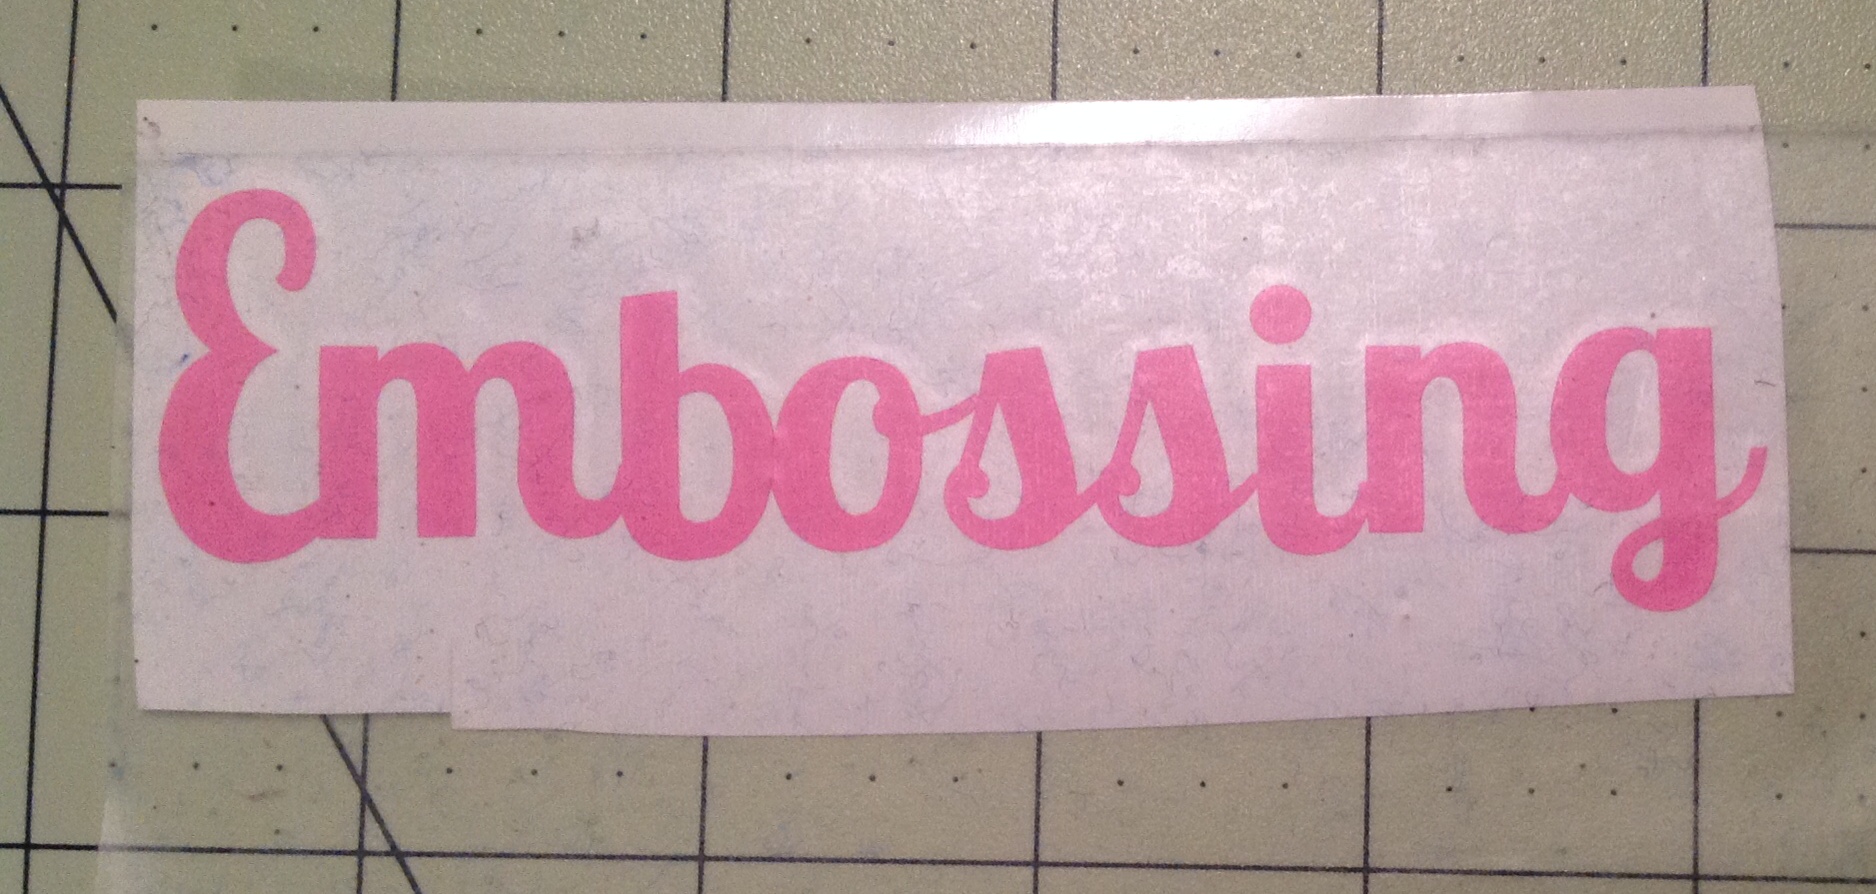
After cutting out on Vinyl with my Cricut Explore machine, boy does it cut great! I had to “weed” the image, which means take away the parts I didnt want using my handy hook tool.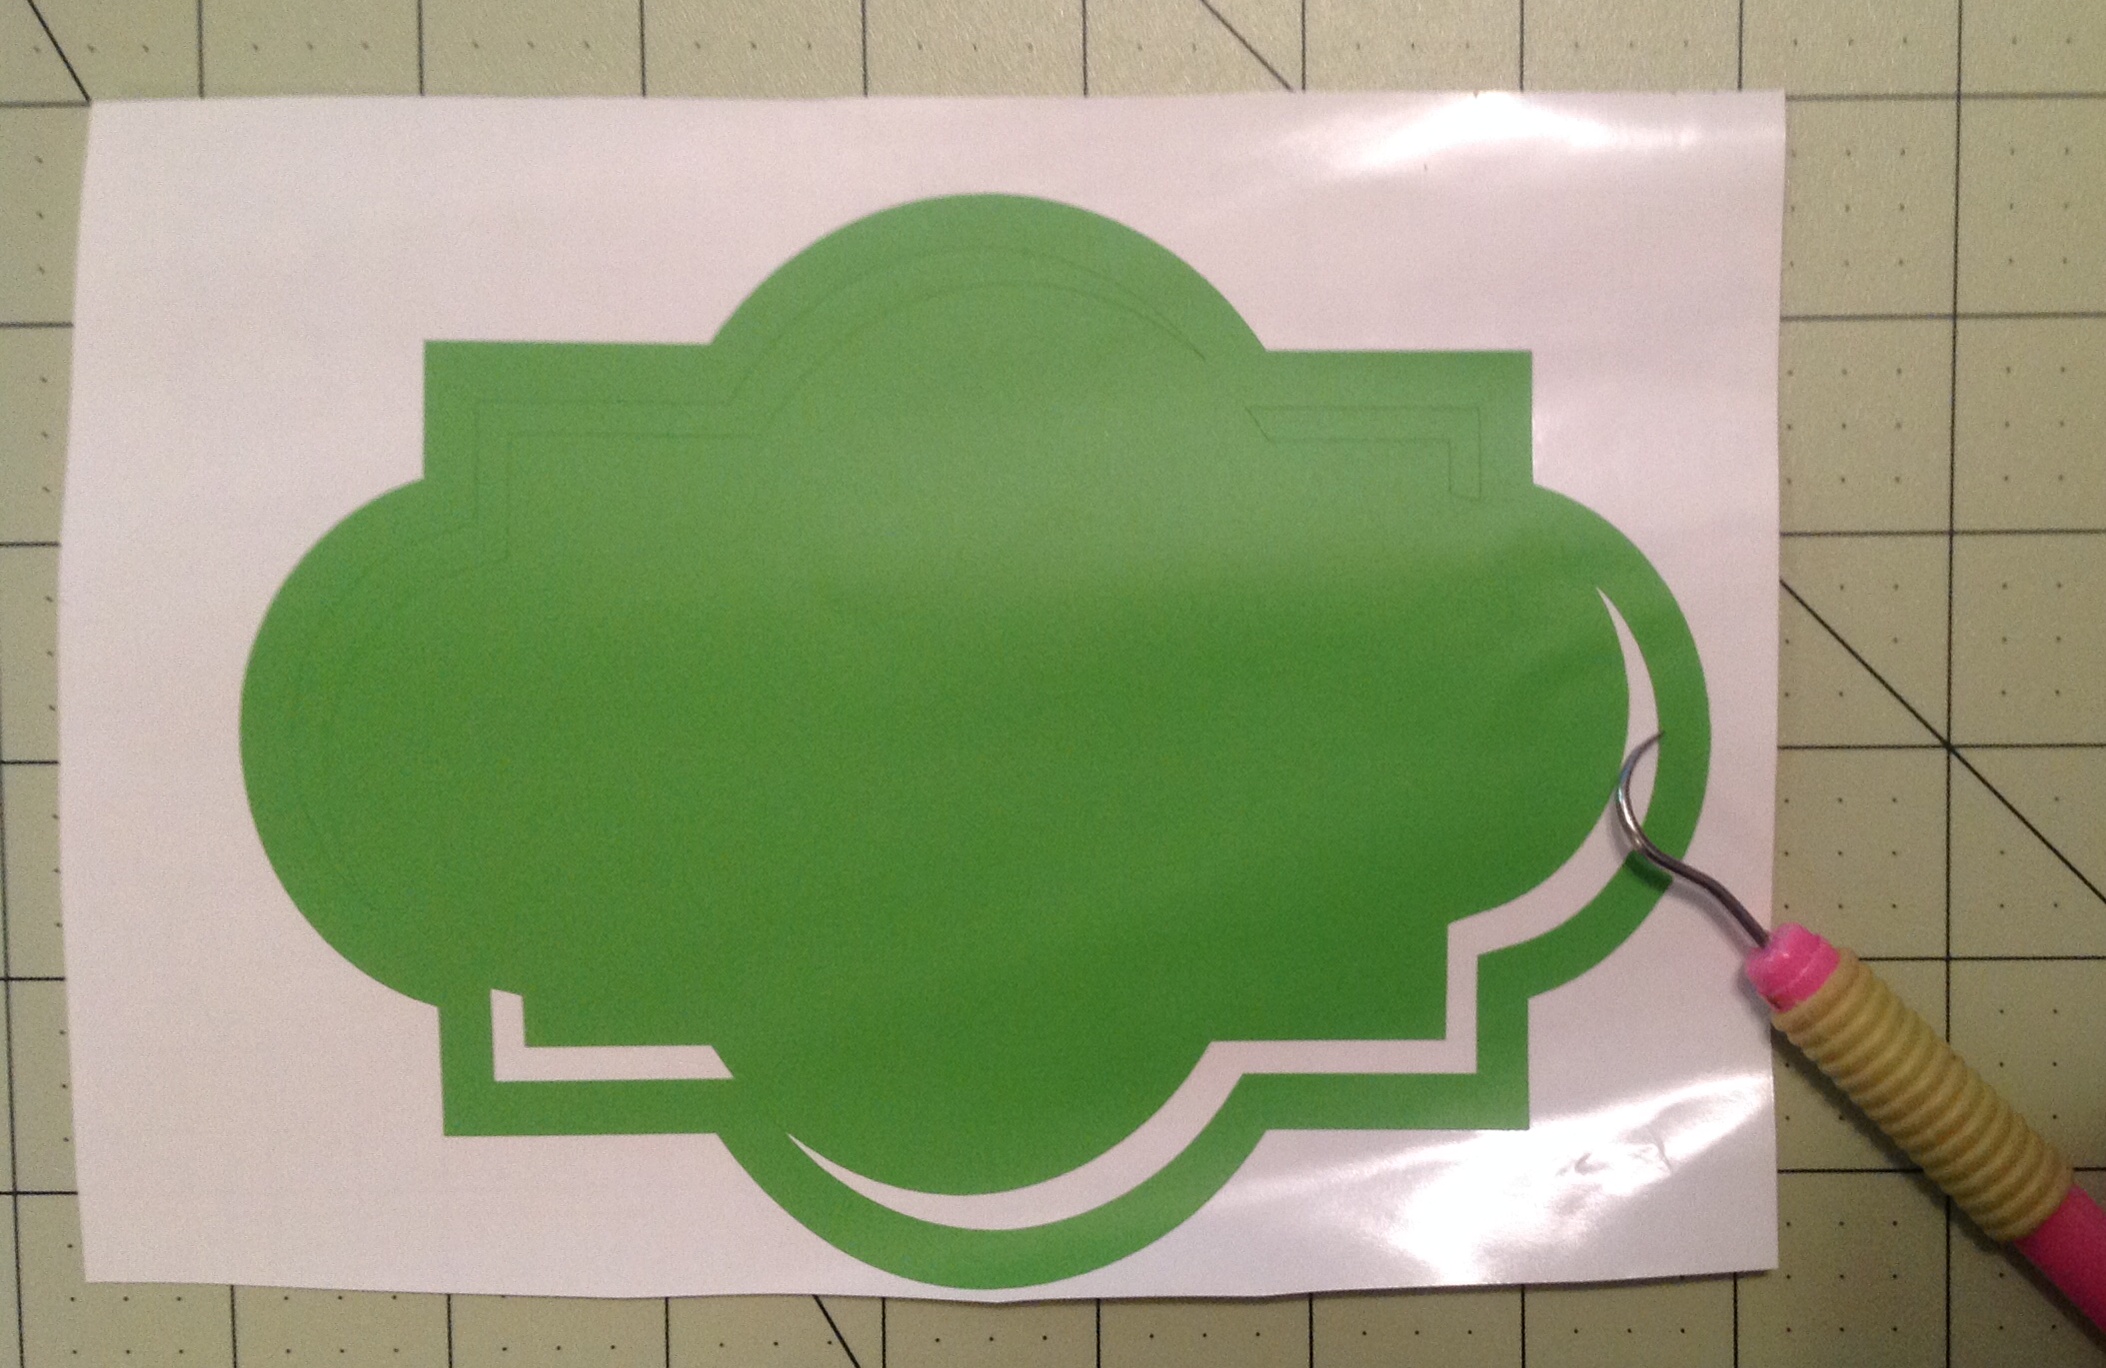
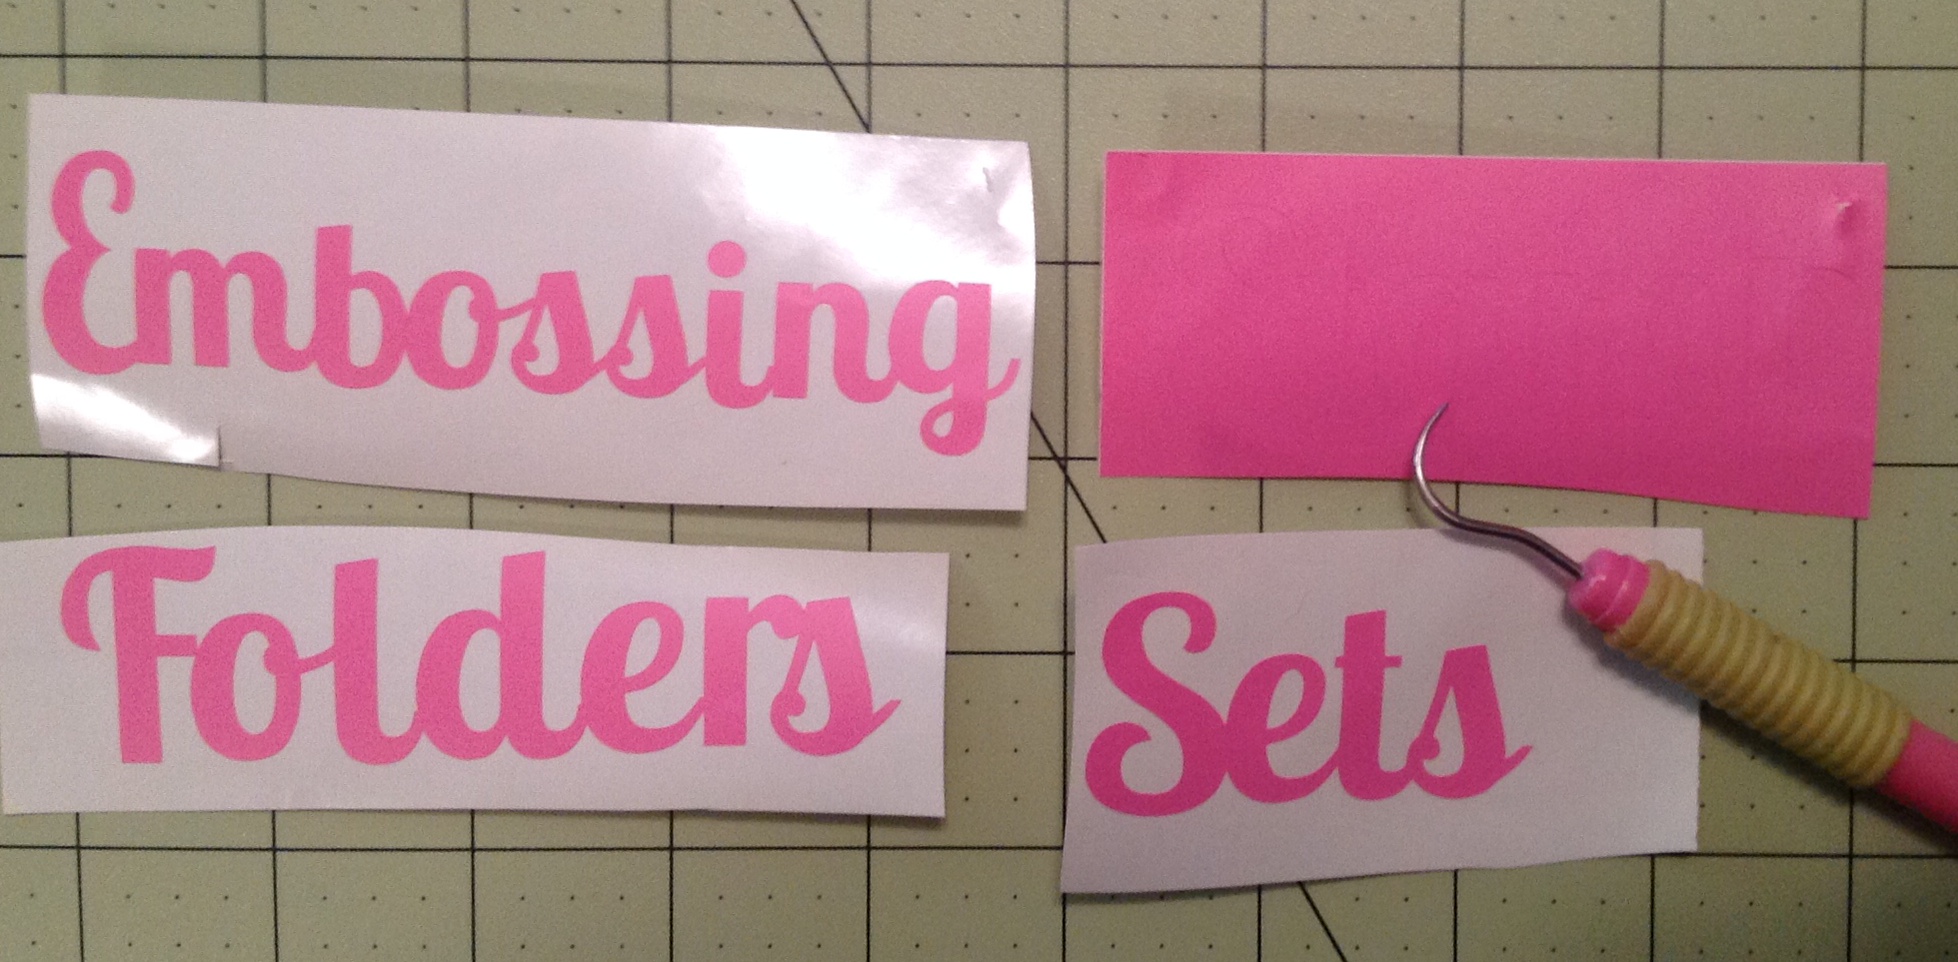
I repeated this process with the words. (While I was at it I made a label for my Stamp Sets too).
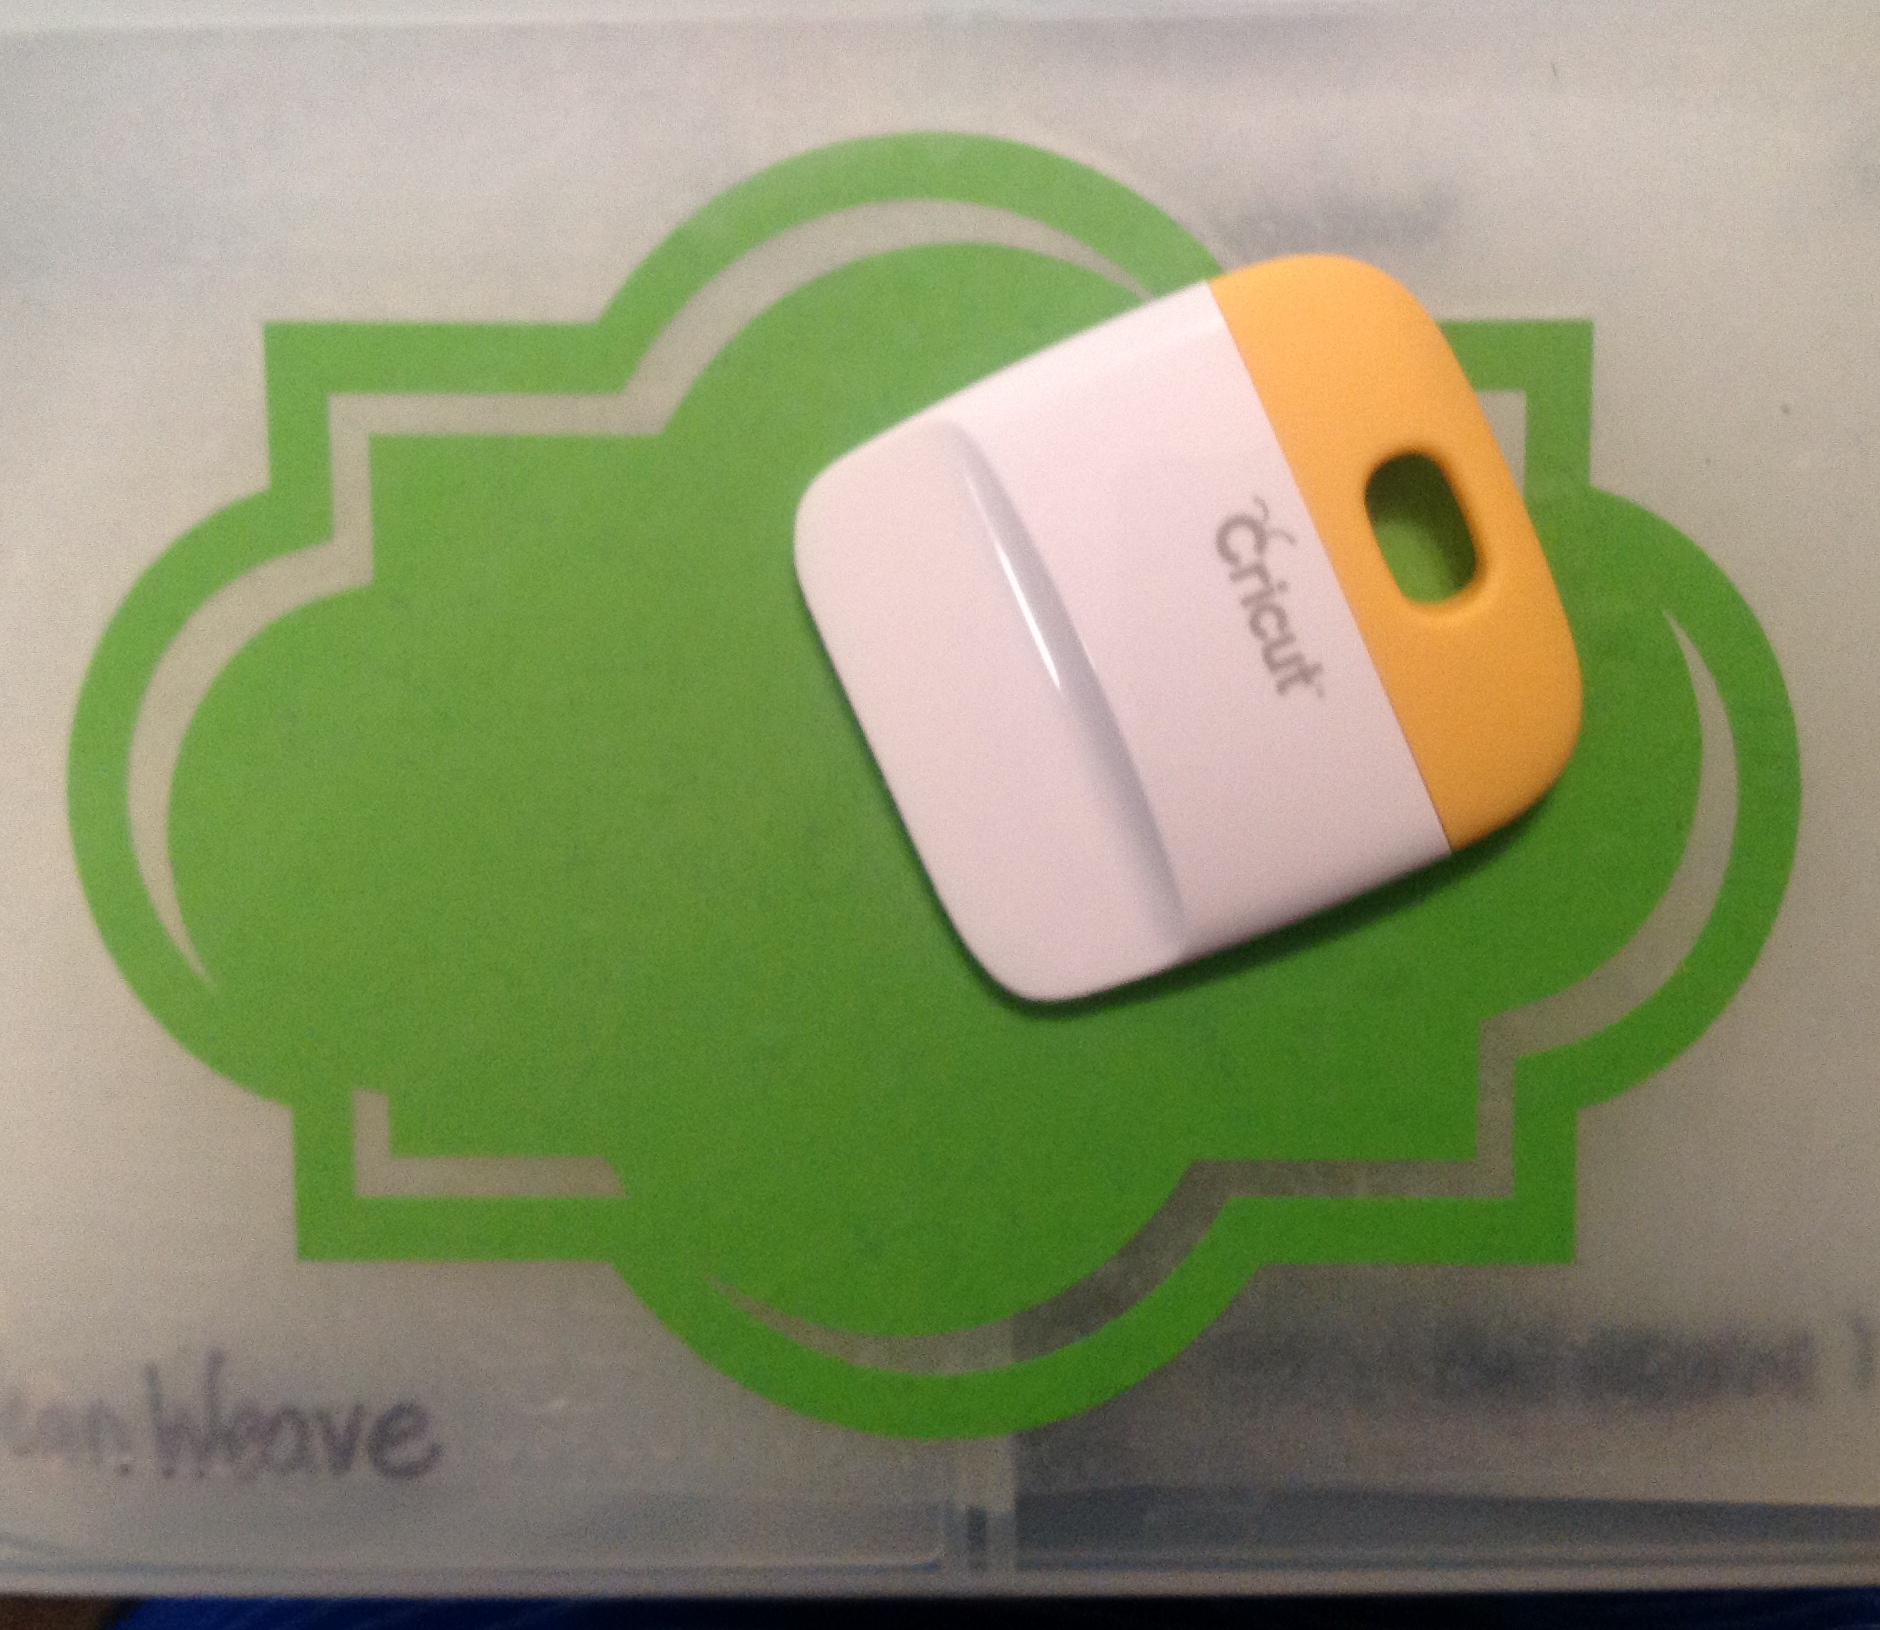
I placed clear transfer tape (in my case I used clear contact paper) over the label and added to the front of the storage box. label. Using the scrapper tool I rubbed it over the entire surface until all the image seemed to be adhered fine, then slowly pulled away to review the vinyl label on the front of my Storage Box.
 I repeated the process with the transfer tape using the words and lining it up on the label where I wanted it to go.
 and there you have it…a Embossing Folder Storage Box Solution with a fun custom made vinyl label.
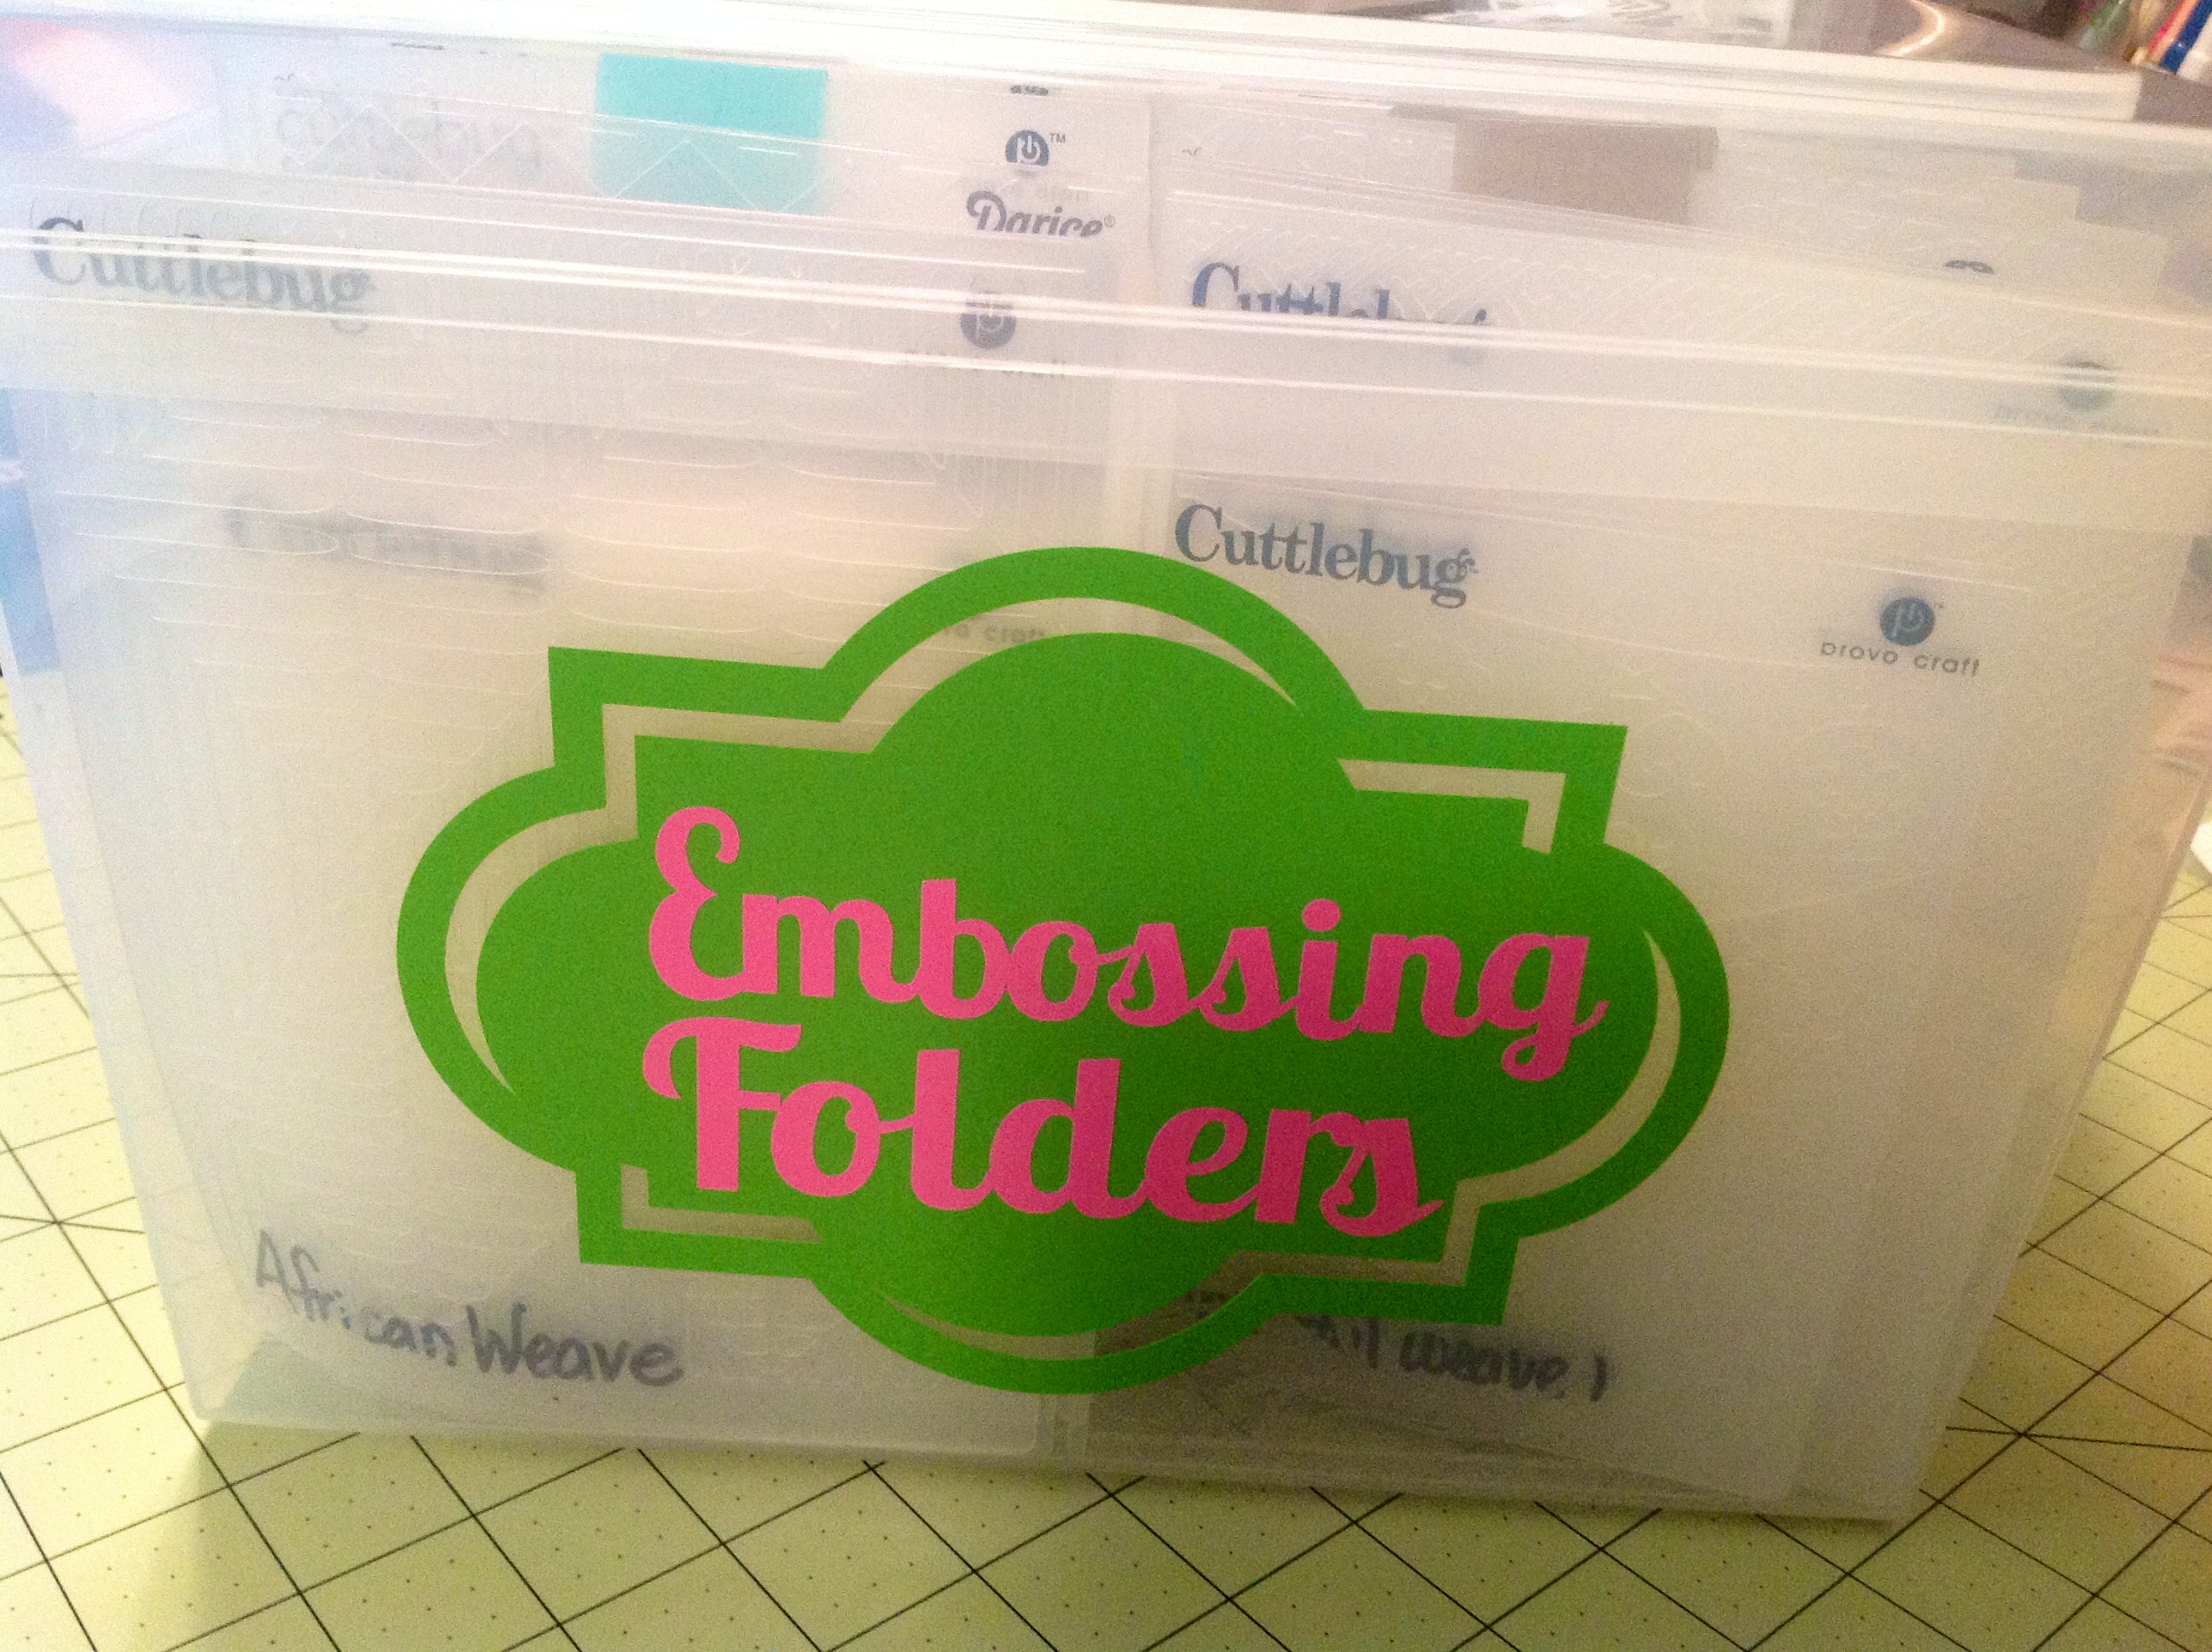 I love how this turned out ! And it was so easy to do.
So, what kind of storage boxes or labels can you think of to make using Make It Now project in Design Space ?

Hi Debbie
I am a CTMH consultant in Grapevine Texas.
I have a customer who would like to know where she (we) can find you favorite font “LOBSTER TWO”.
Thanking you in advance
Chris B.
Christine – Thank you for contacting me. Happy to tell you where I got my Lobster Two font. I downloaded it from here @ http://www.1001fonts.com/lobster-two-font.html. Please let me know if you need anything else. Debbie