The Post and Photos within may contain Amazon or other affiliate links. If you purchase using links in this post I do earn a small commission but without additional charge to you. Thank you for your support!
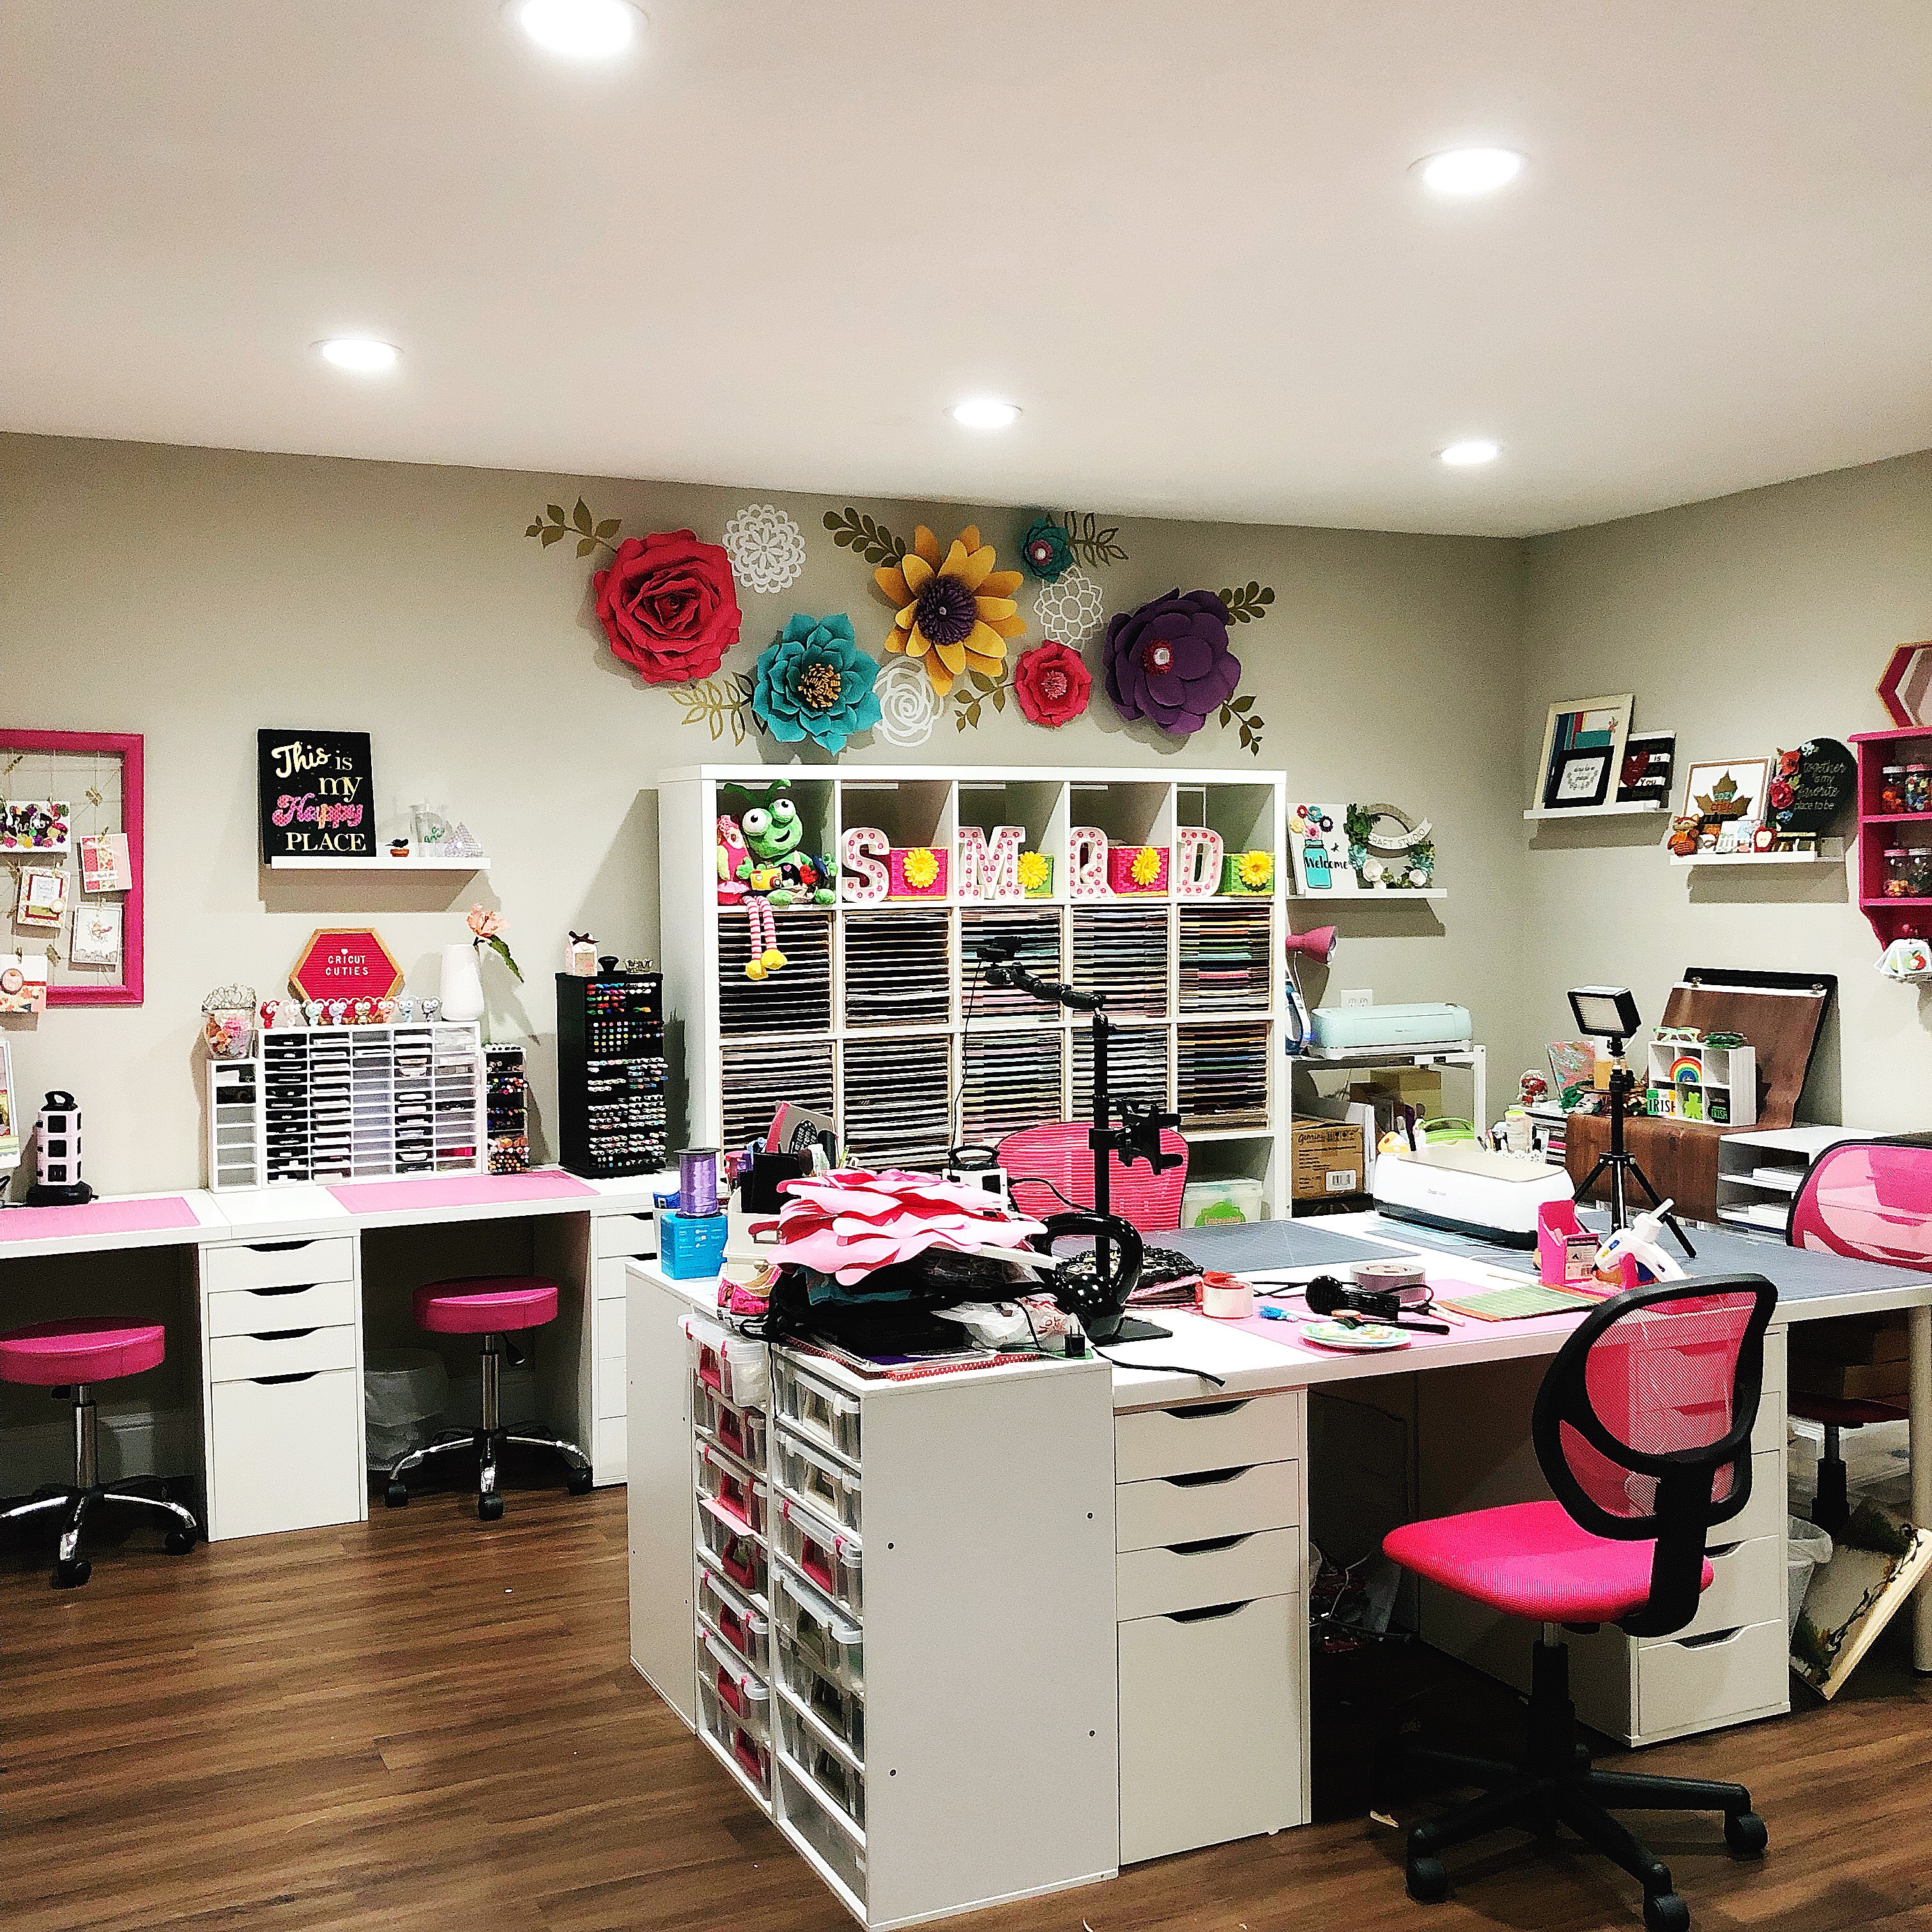
I love seeing everyone’s creative space journey as they made a space for their creative ideas to bloom ! In this post I am sharing what my creative space looks like right now. See how I planned it out and what furniture and storage I choose to help me create a space I love. And the final decorative touches I used to make it feel inspiring and fun.
As a reminder, creative spaces evolve over time to be your dream creative space. See where I started and solutions I used in this post HERE. There are ideas for creating a temporary space through sharing a room space.
Creating your Dream Creative Space takes time and a bit of effort on your part. Learn how I designed my dream Creative Space in this post HERE. There is even a Design Your Dream Creative Space Worksheet you can download to start designing your own space.
Creating a Creative Space Floor Plan
Step 1: Measuring the Space
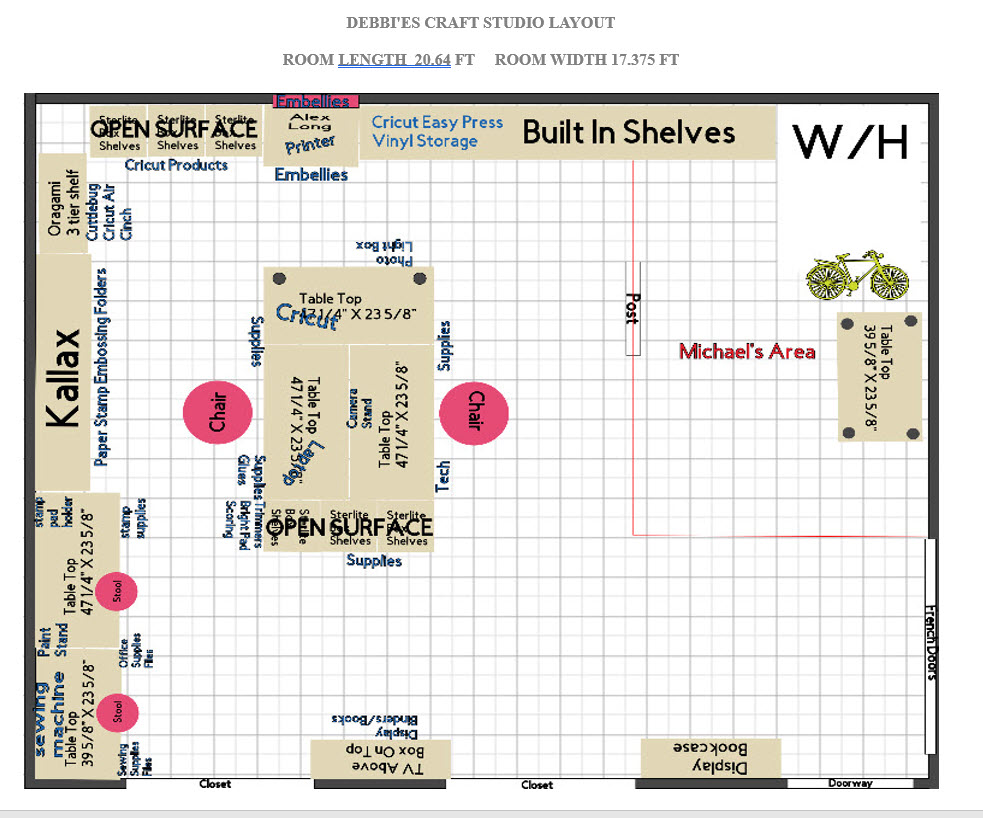
First, I measured the total space of the room for width and length. My room is a converted garage and is quite large, not all of it was designated as creative space. After I determining how much of the space would be mine, I re-measured and marked off that area. Many of us share our spaces with another person or activity. Just carve out what you can and then you can maximize the area to suit your needs.
Step 2: Create a Floor Plan
Then I used Cricut Design Space to create a Floor Plan of the space. I created a scale where inches in Design Space equated to feet in the room. It worked out pretty well to get the basic shape and size of the room down this way. Note: You could also use graph paper and do something similar.
Step 3: Deciding on Furniture Pieces
Next, I used my Design Your Creative Space Worksheet to start designing the room. Using the information helped me start the layout based on the existing furniture I was re-purposing. And then determining what else I needed to buy. Making sure to consider where my electronic equipment would be and selecting pieces where those would be accessible.
My creative space includes furniture pieces from Michaels and Ikea and a few re-purposed pieces I have had for years. So don’t be hesitant to mix and match and re-purpose to make the space what you need.
Step 4: Laying Out the Furniture Design
So once I had an idea of what pieces of furniture to use, I got measurements of the pieces. Then I created approximate shapes in Cricut Design Space. Moving the shapes around on my layout allowed me to see what could fit where to suit my creative needs.
After getting the furniture design in place, I started labeling where certain creative things would go in those places. This really helped me visualize if I had selected the right pieces I needed to store my supplies.
Don’t get discouraged. This is pretty easy to do but it will take you a little while to get things the way you might want. And trust me, taking this step will save you a ton of money and avoid buying pieces that don’t fit your space or needs.
Selecting Flooring, Paint and Lighting
Previously in my creative space there was old berber carpet, golden yellow walls and a ceiling fan with 1 light. This made the room so dark and not very inspiring to create. On my Designing Your Creative Space Worksheet these were the number 1 things that needed to change about my room. So I researched what might work best and fit my budget.
Flooring Choice
As a creative I am MESSY ! I know this about myself. And I use a ton of different mediums in my work- paints, paper, glitter, vinyl, inks, adhesives, etc. It was important I get a new floor that was durable and easy to clean. I definitely did NOT want carpet ! And I wanted something that would allow me to easily roll my desk chair around.
I took a trip to my local Home Depot and explored flooring choices. Eventually falling in love with the wood look vinyl flooring planks. Since there are real hardwood floors in my home and it will provide a similar look in my new creative space.
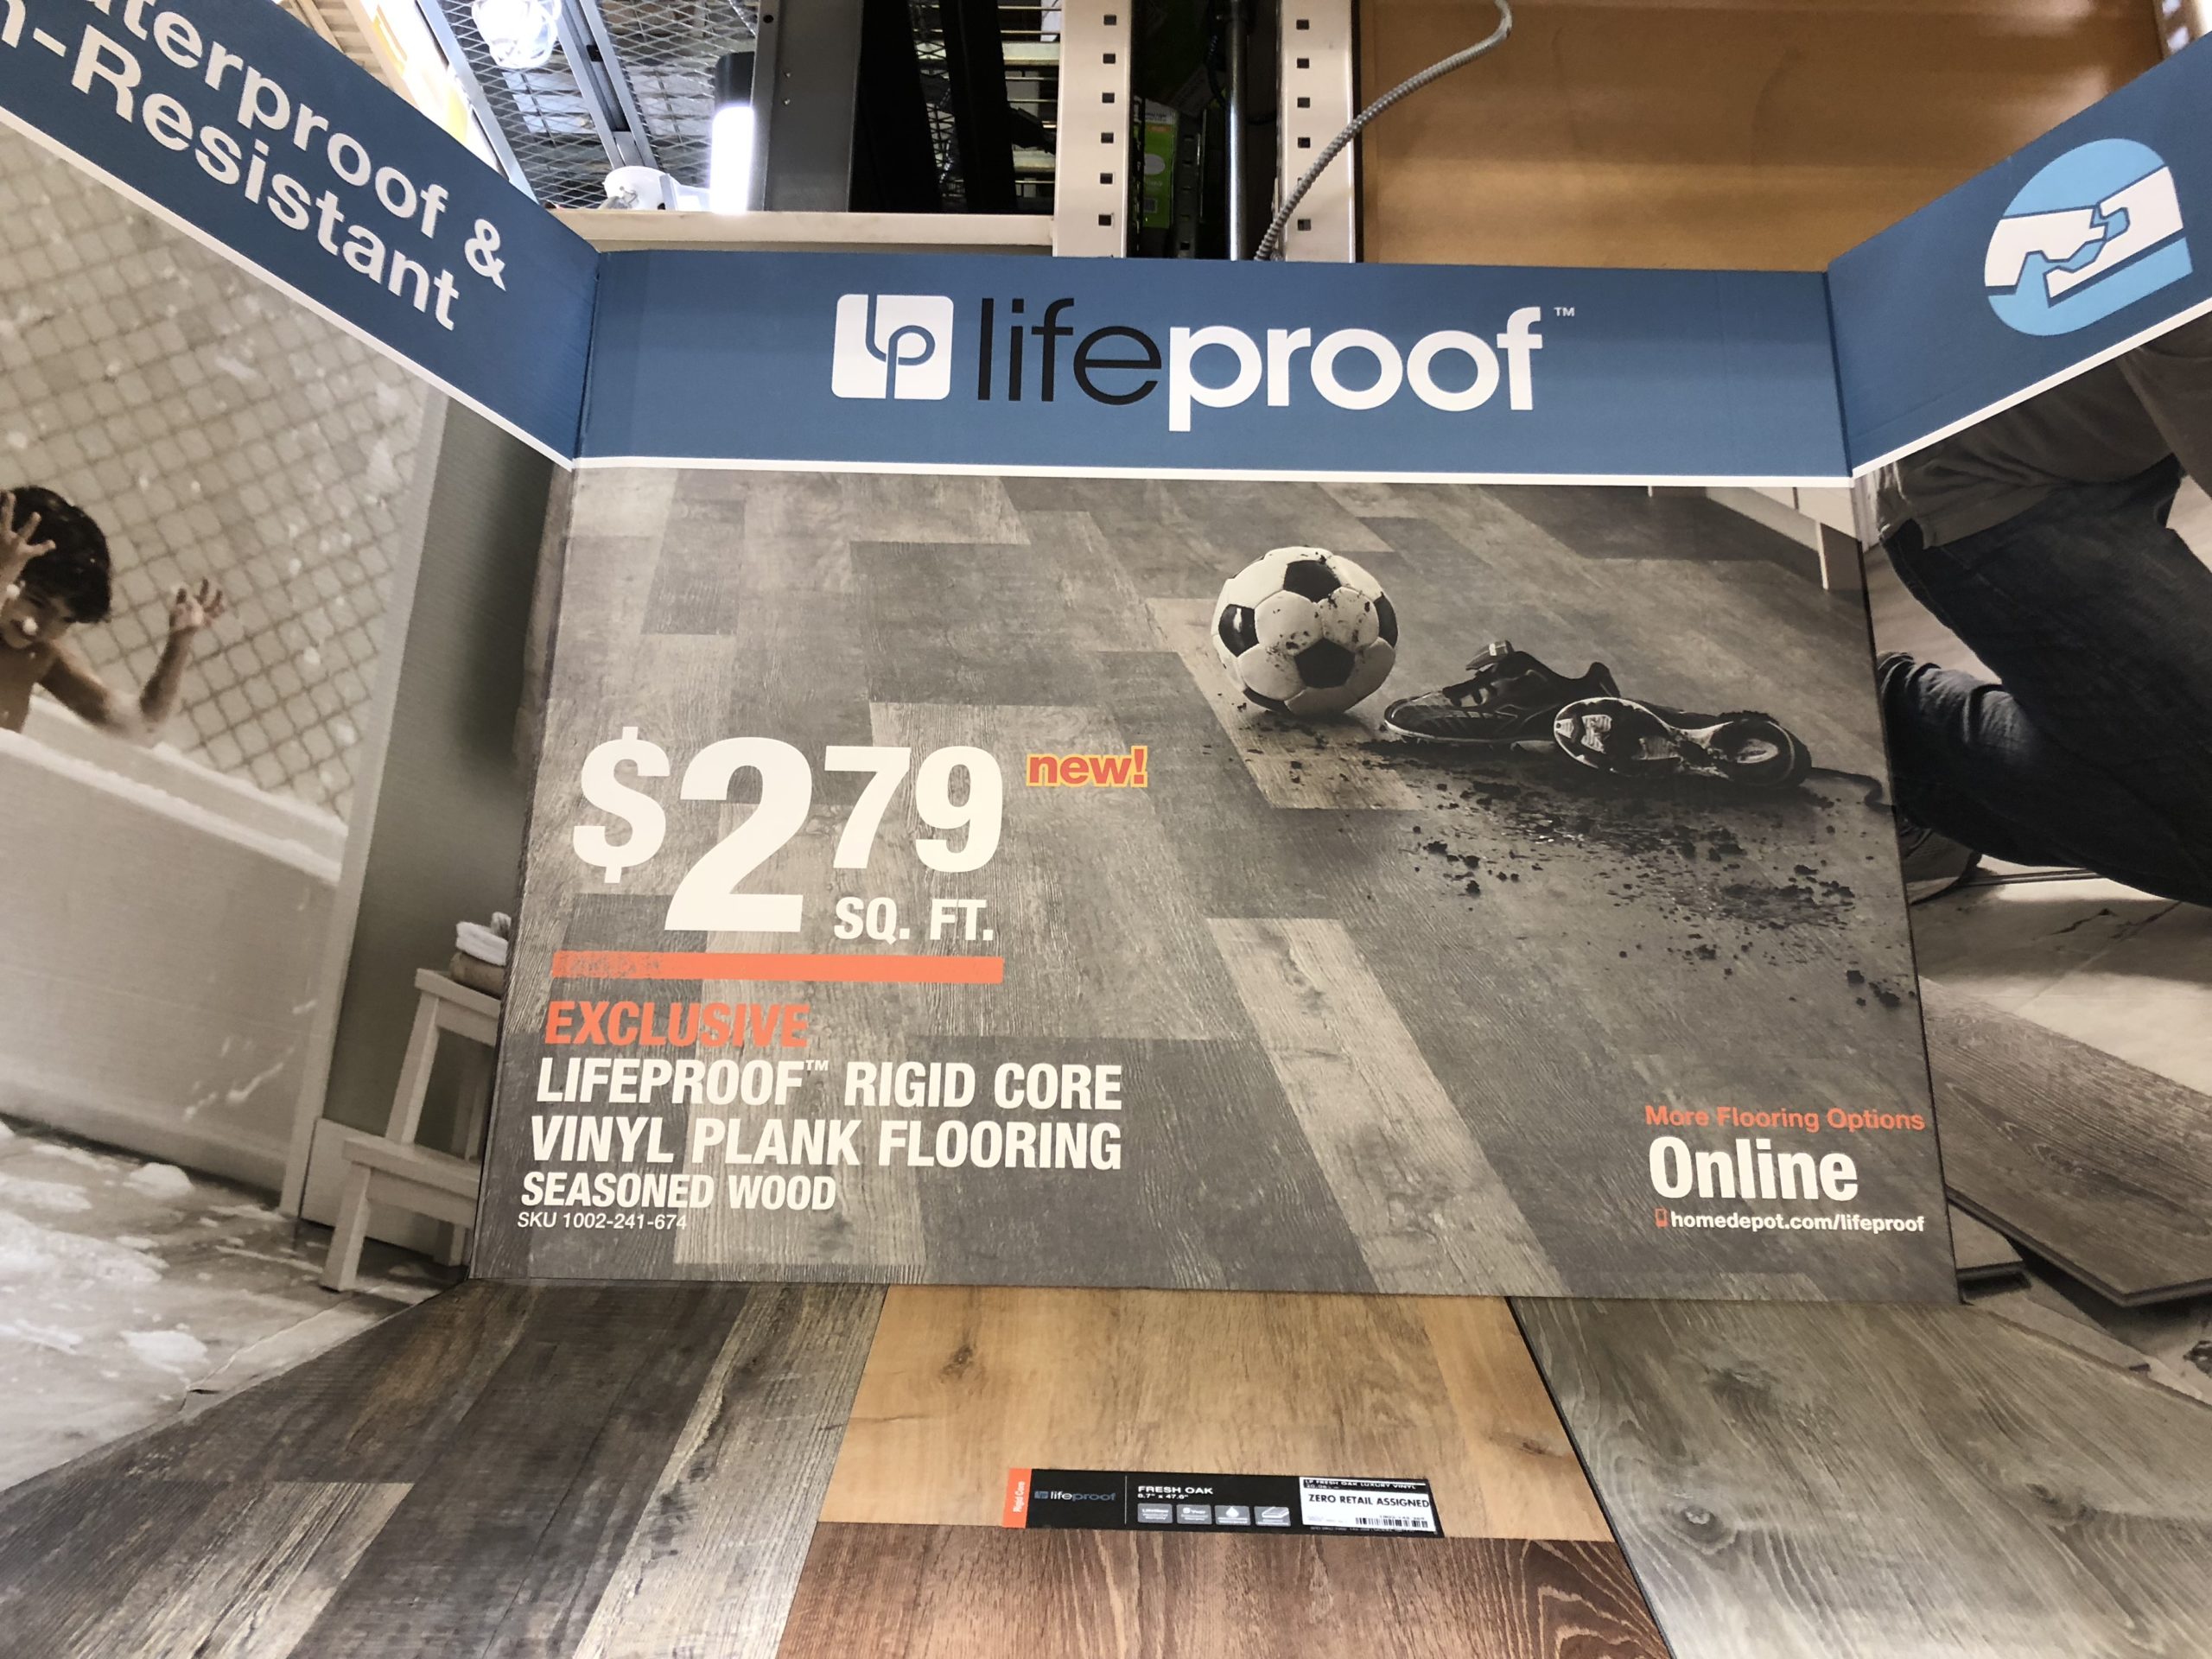
I selected Home Depot’s Lifeproof Rigid Core Vinyl Plank Flooring. It met all my criteria and fit within my budget. With the help of Home Depot Flooring expert we determined how much would be need. Then placed my order!
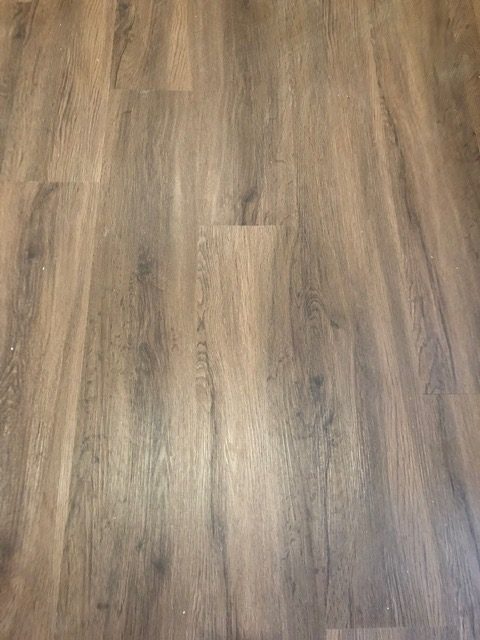
I choose the Shadow Hickory color as the tones of it fit the overall look I wanted for my room. It’s not so dark and not too light so that I couldn’t see things that I might drop on the floor. And would be easy to clean up.
Selecting Paint
Next was selecting the color of paint to use. I referred back to my Designing My Creative Space Worksheet to review the feel I wanted for the room. And how I might be decorating my space. I wanted a neutral wall color so that my vibrant pops of color I was hoping to use would stand out more. And worked well the white furniture pieces I would be using.
I finally selected Sherwin Williams Worldly Gray color and a white trim color. It is called Greige…a mix between gray and beige. Decorators really love this color as it works with many different color palettes. In fact, I loved it so much I ended up painting the living area in my home this color too !

Choosing Lighting
Since I was re-doing my entire creative space, due to a flooding, I finally had the chance to make the biggest change to my room…the lighting !
In my room I don’t have windows as it is a converted garage space. I do have beautiful french doors out to the patio area but they are clear on the other side of the room from where my space will be in this room so natural light is limited. So I desperately needed better lighting option to create my dream creative space.
I went to a local lighting store and met with one of their lighting experts. I explained my space and my lighting goals for the room and the room measurements. We both agreed that recessed lighting would be best. One of the greatest things about going to a lighting store is they have options set up in a room where you can play around and see what meets needs.
I brought some different colors of cardstock so we could determine which color temperature allowed me to see true colors.
Final Lighting Selection
We selected these amazing recessed lights by Prism. They are capable of being controlled by a remote control or an app on my phone. You can control each light separately by selecting the color, brightness and dimming. This really comes in handy when shooting photos of my creative projects.
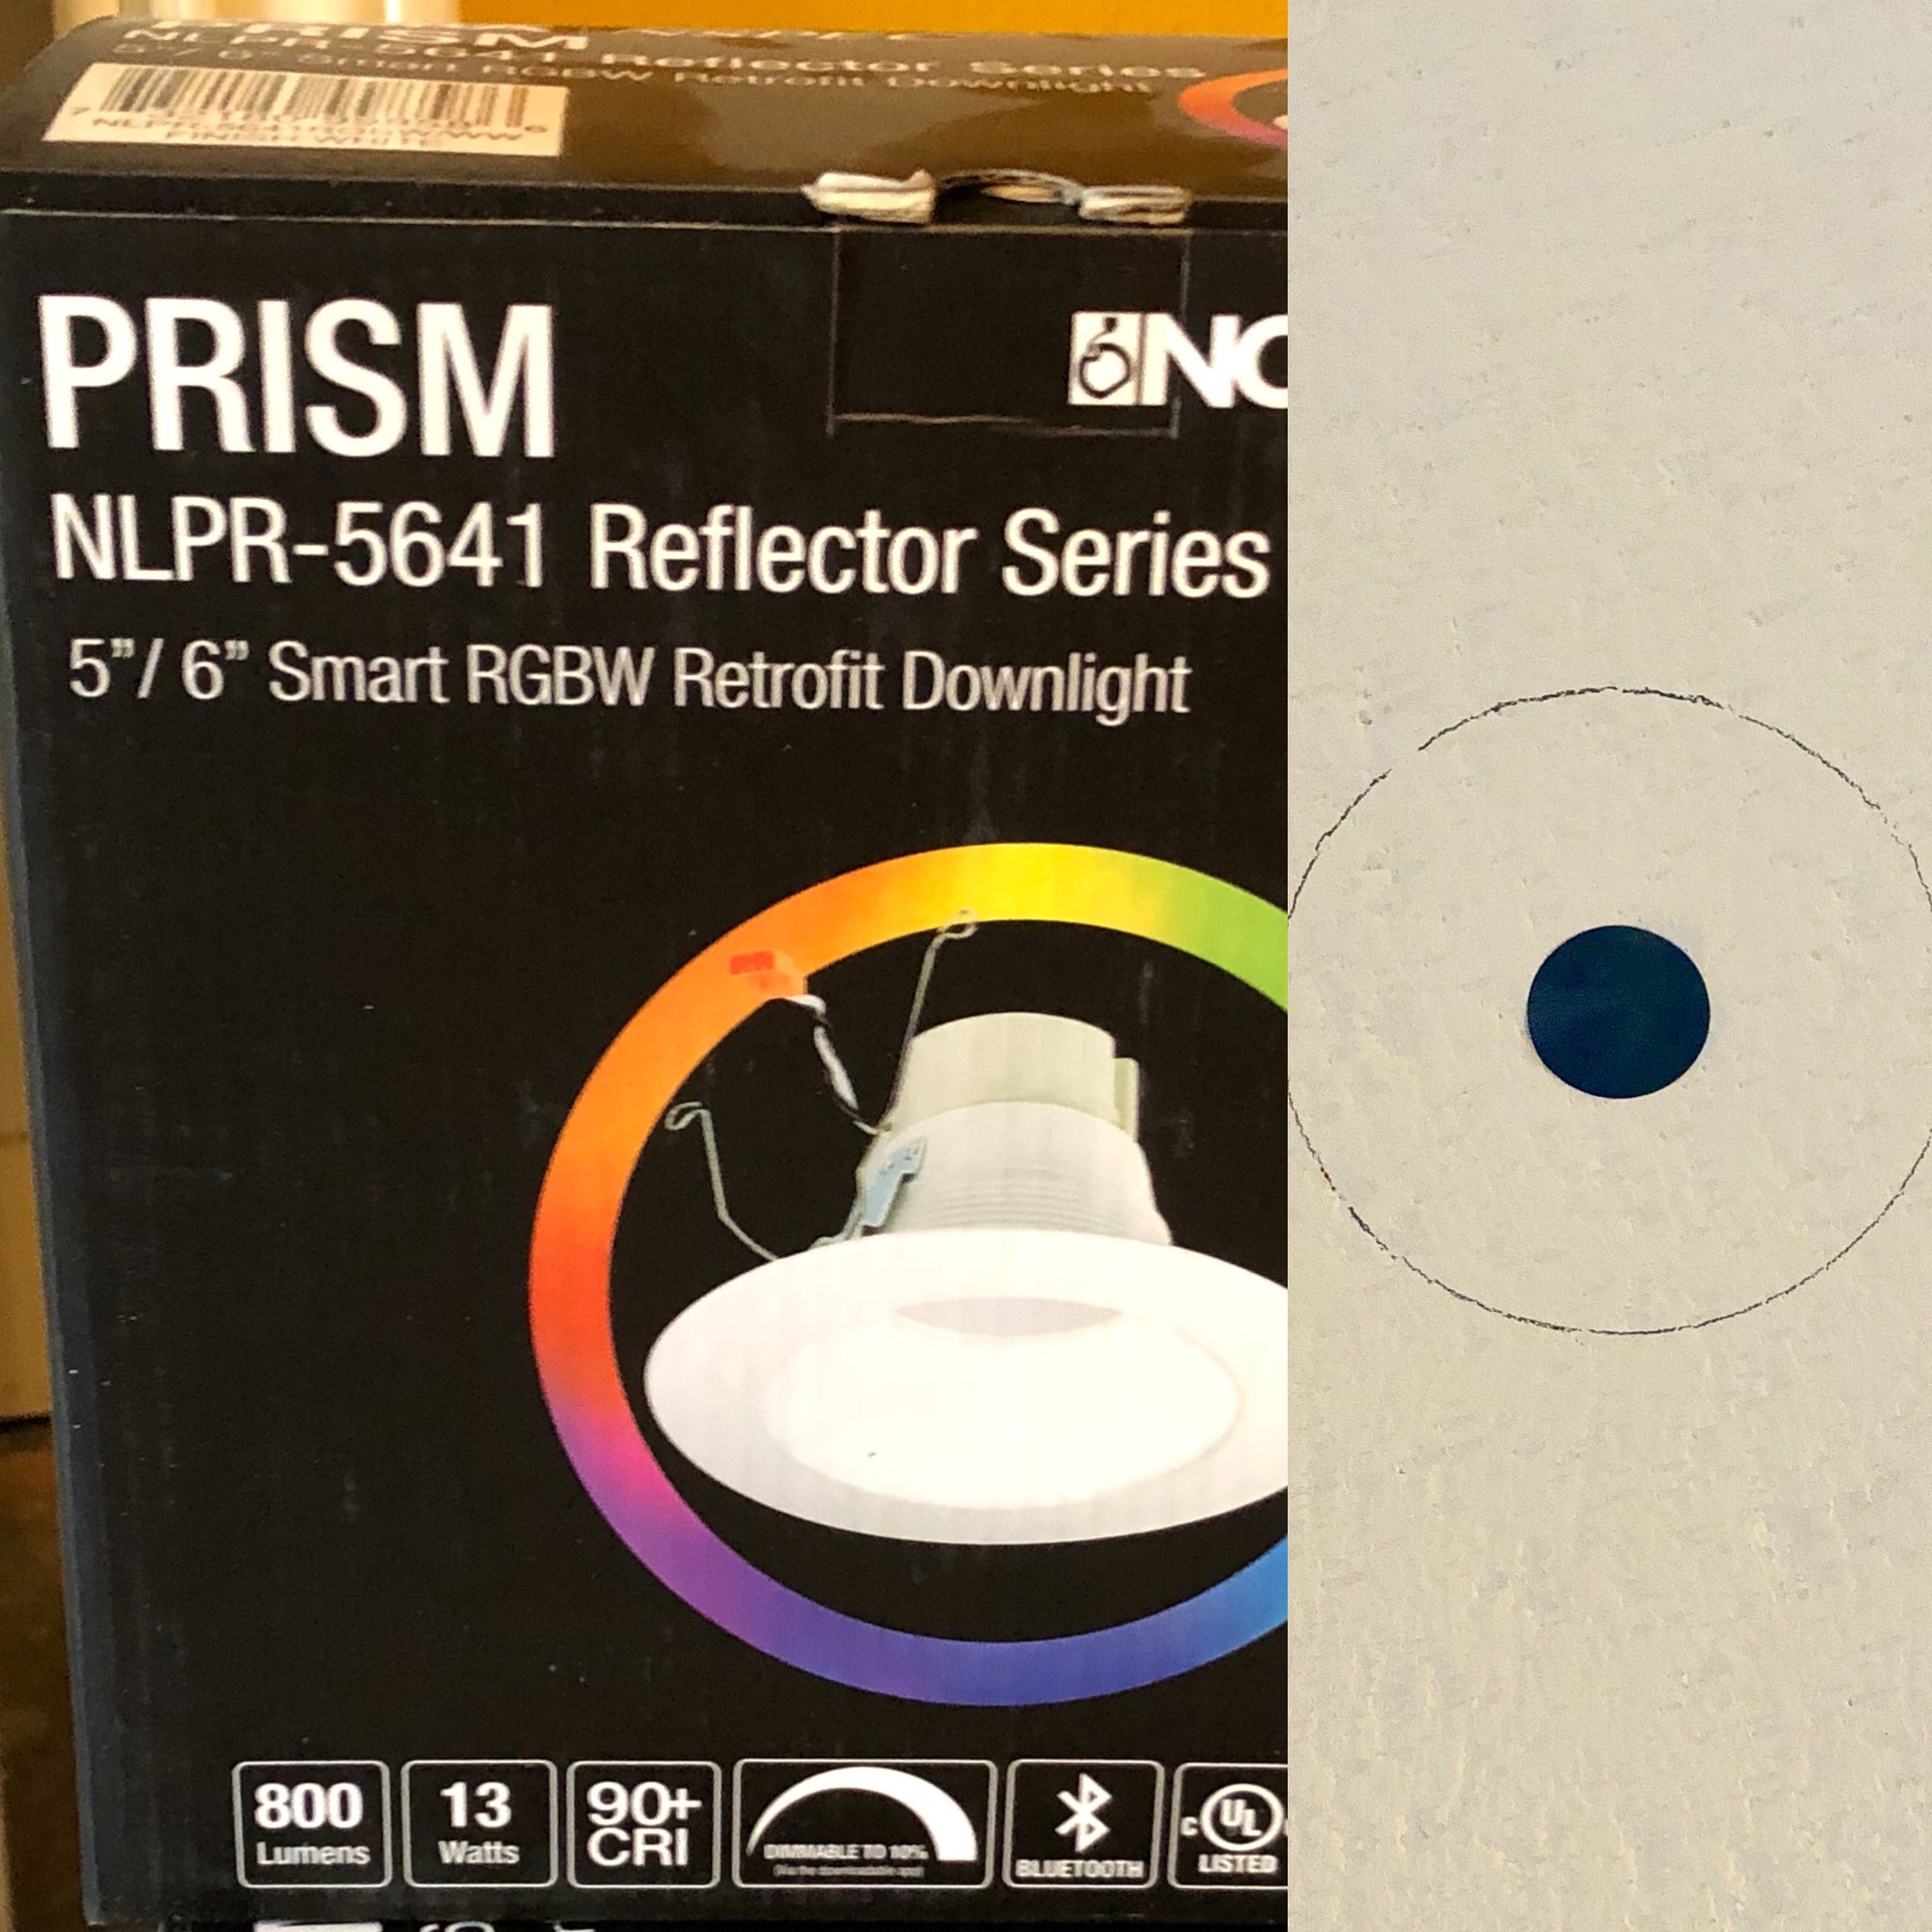
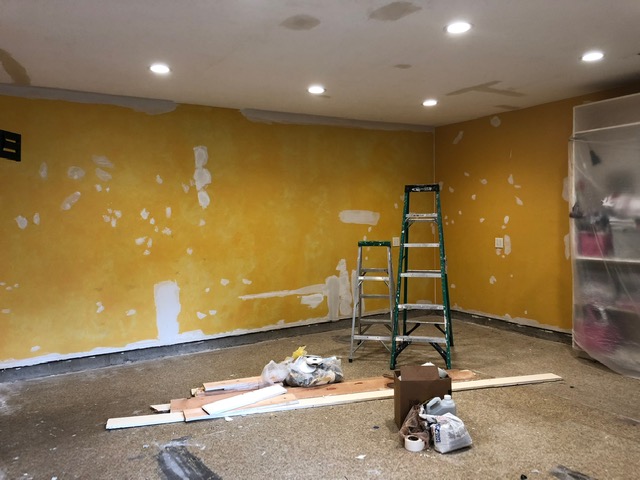
The lighting expert helped determine the number of these recessed lights I would need across my entire room and the best spacing of them. This type of lighting did require I hire an electrician to install the lights which was an additional expense but worth every penny. The electrician was then able to lay out the correct spacing of each light across the ceiling and actually draw where each light would be placed before drilling any holes are you see in the photo above. This helped me visualize the lighting before they got started.
ADDITIONAL ELECTRICAL OUTLETS
I was able to have the electricians install additional electrical outlets where I needed them now that I had my room layout completed. This is definitely something you need to consider when designing your creative space. I had them add 2 4plug outlets and move another outlet to the right height where I planned to put my printers.
DEMOLITION OF OLD SPACE
As I mentioned before I was getting to re-do my entire room because we had a water heater leak that flooded most of the room. You can read more about that HERE.
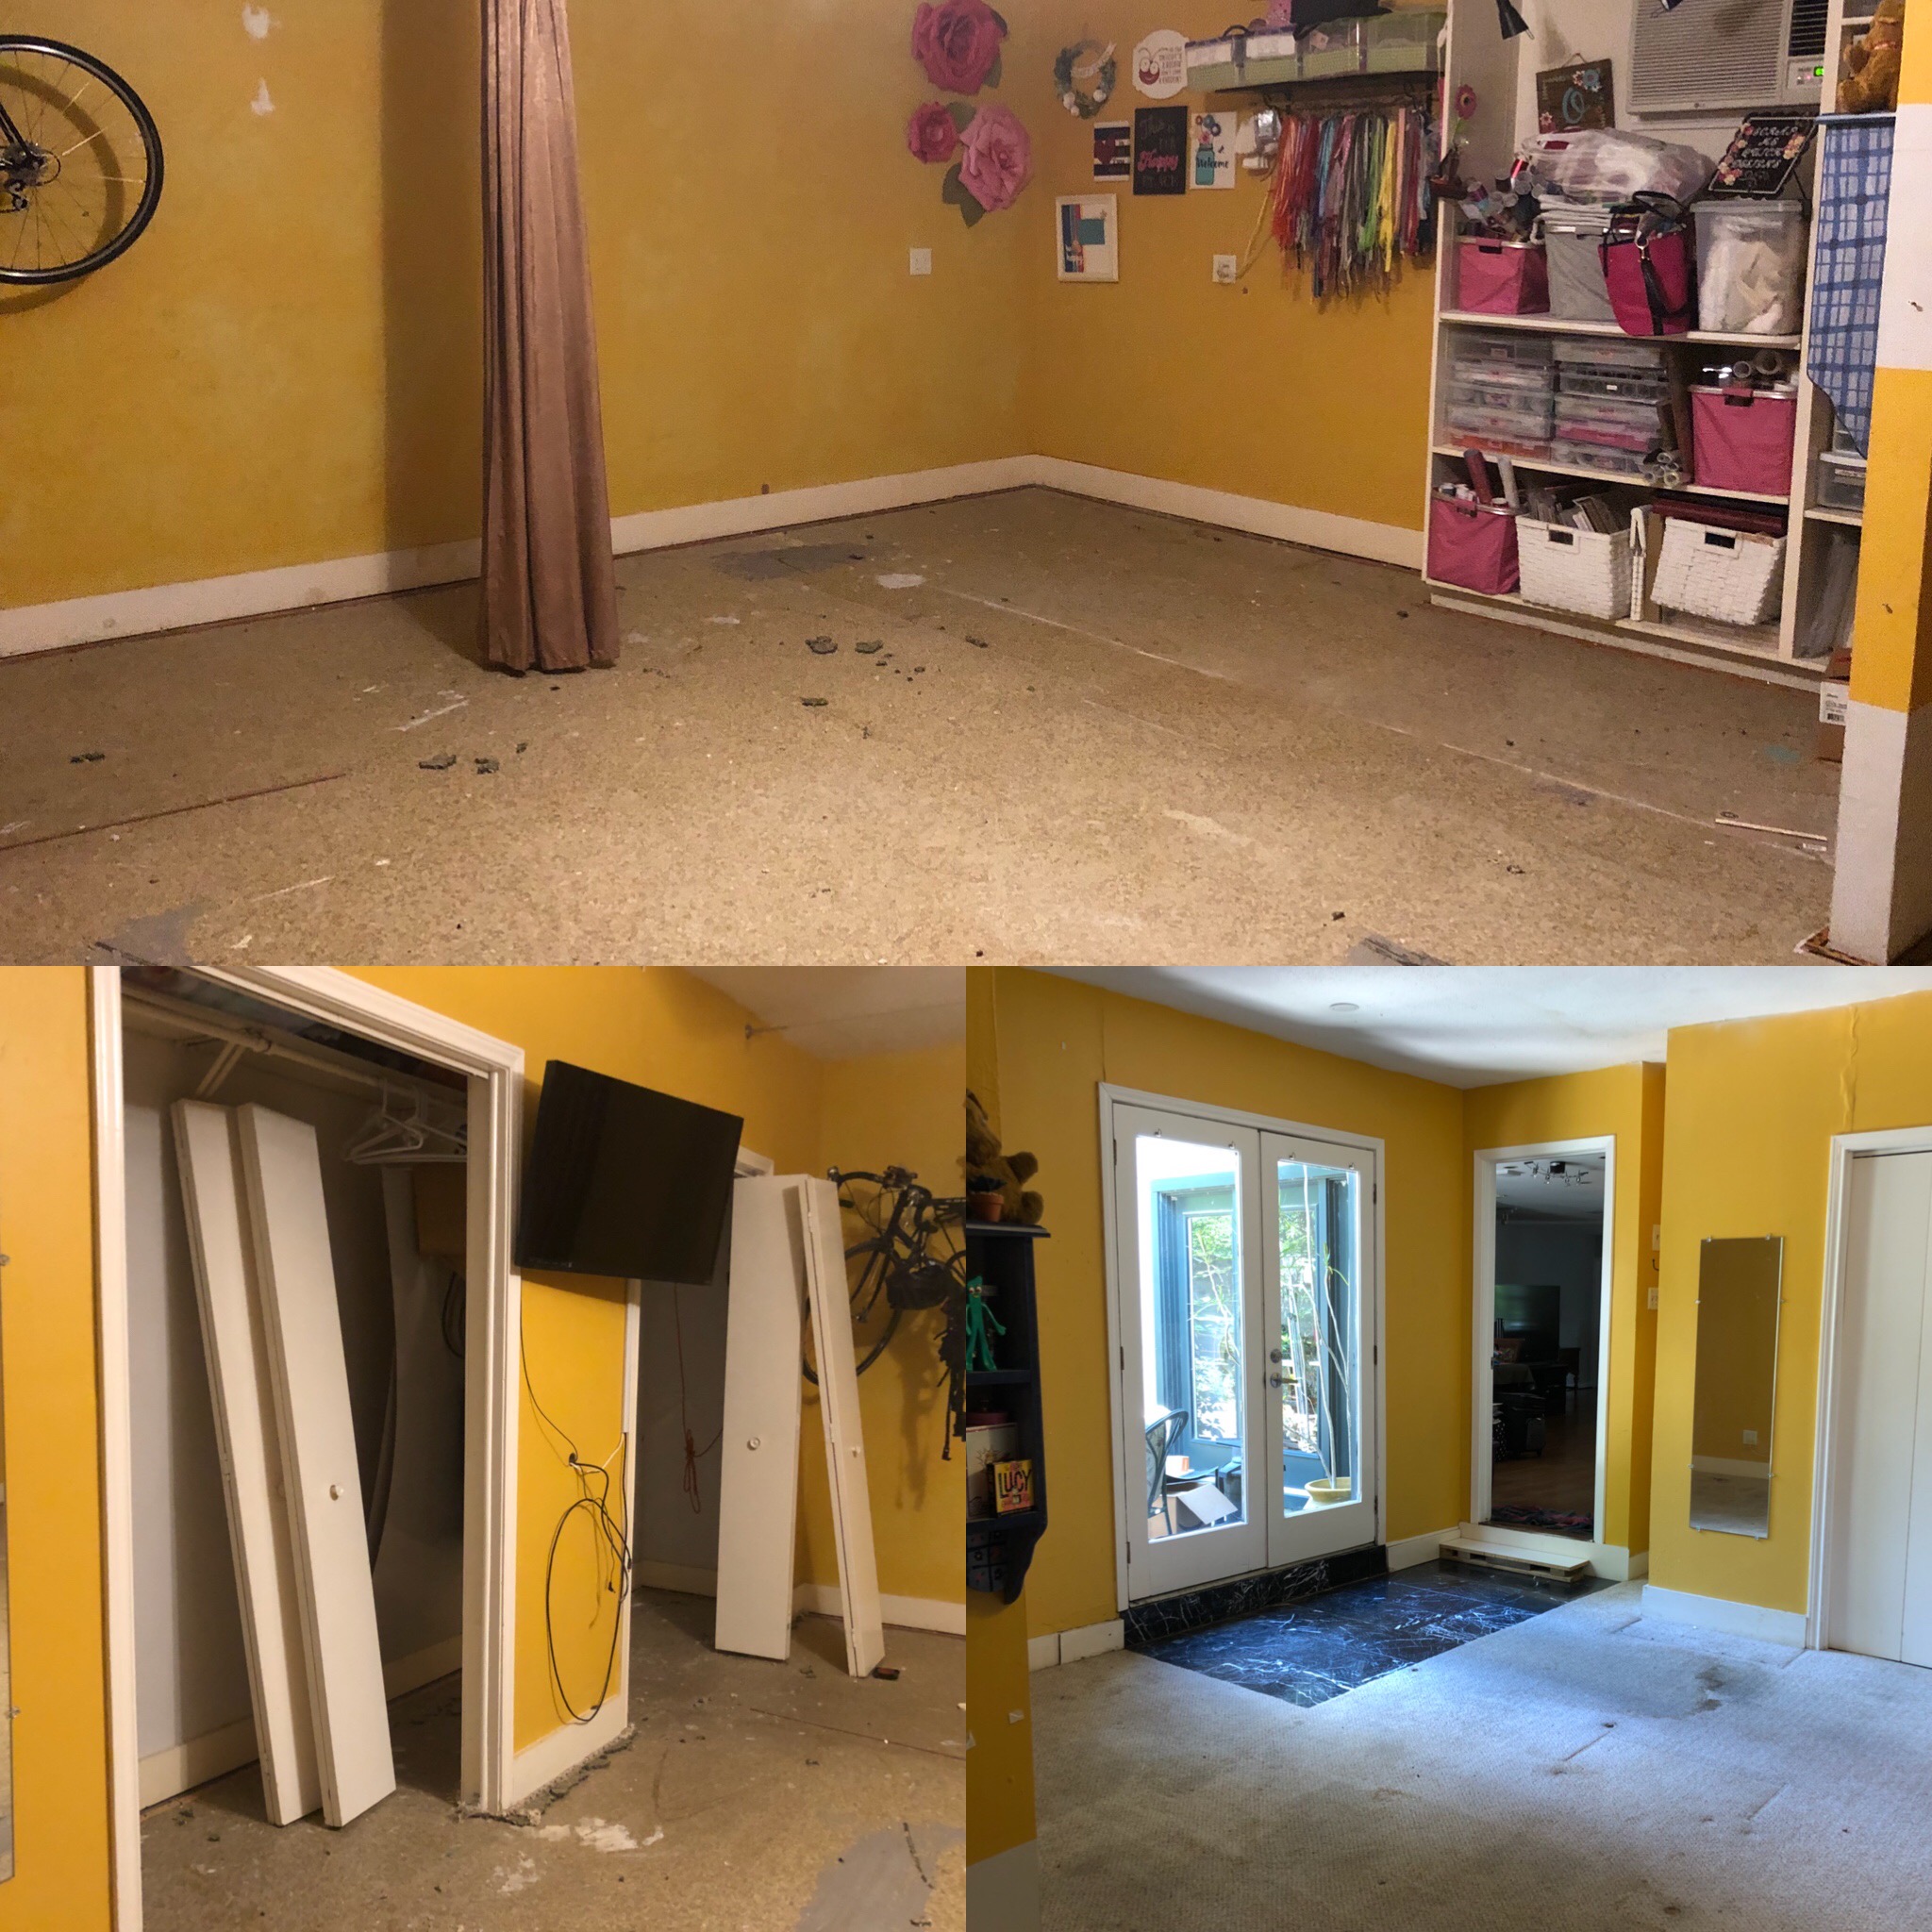
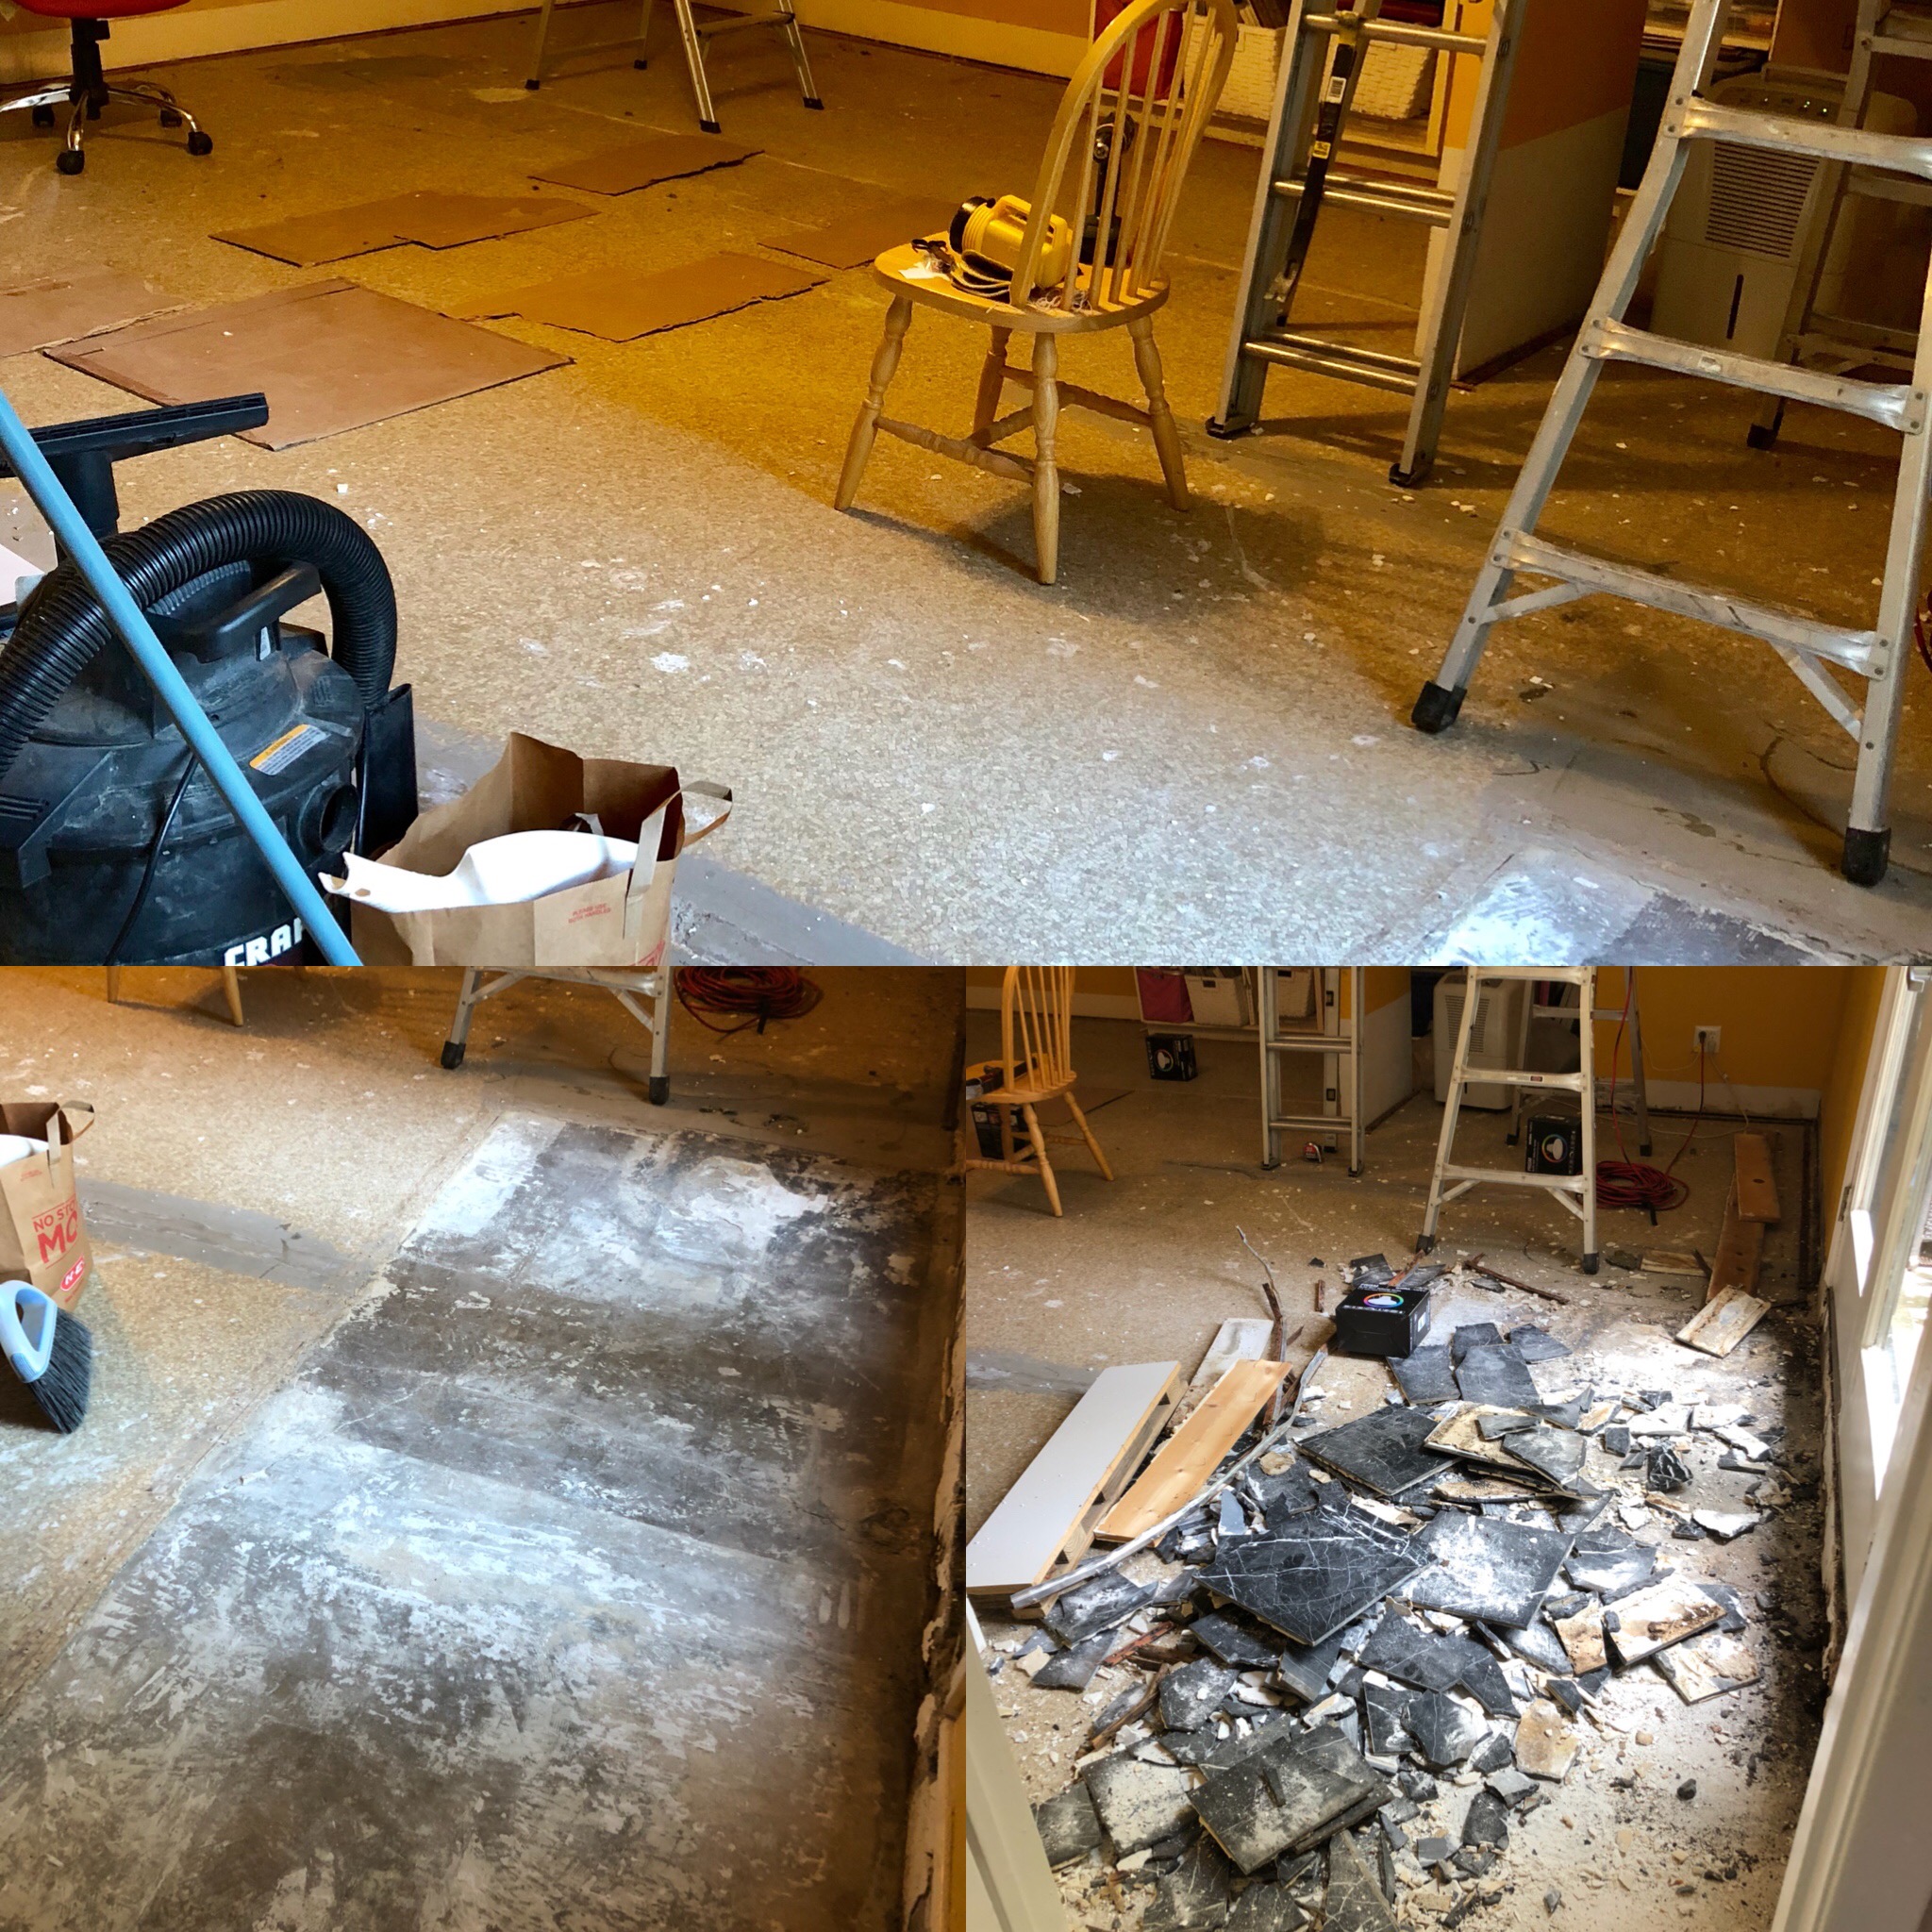
There was room demolition that needed to be done. Remove old carpet and tile, soaked baseboards, patch walls, take down ceiling fans, etc. It was a BIG job. Luckily I found a general contractor and his construction crew that came highly recommended that could do this work plus paint and install the new flooring I had chosen.
Here are a few photos of what all this involved to give you an idea of the transformation of my creative space.
Look of Former Room Before Demolition
Removing the old carpet and tile flooring
INSTALLATION OF NEW ROOM DESIGN
Installing the New Lighting
Installing the new recessed lighting was the first part of the installing the new room design. I can still remember the excitement of seeing all that new beautiful lighting turned on for the first time…no more dark creative space for me !
Painting the Room
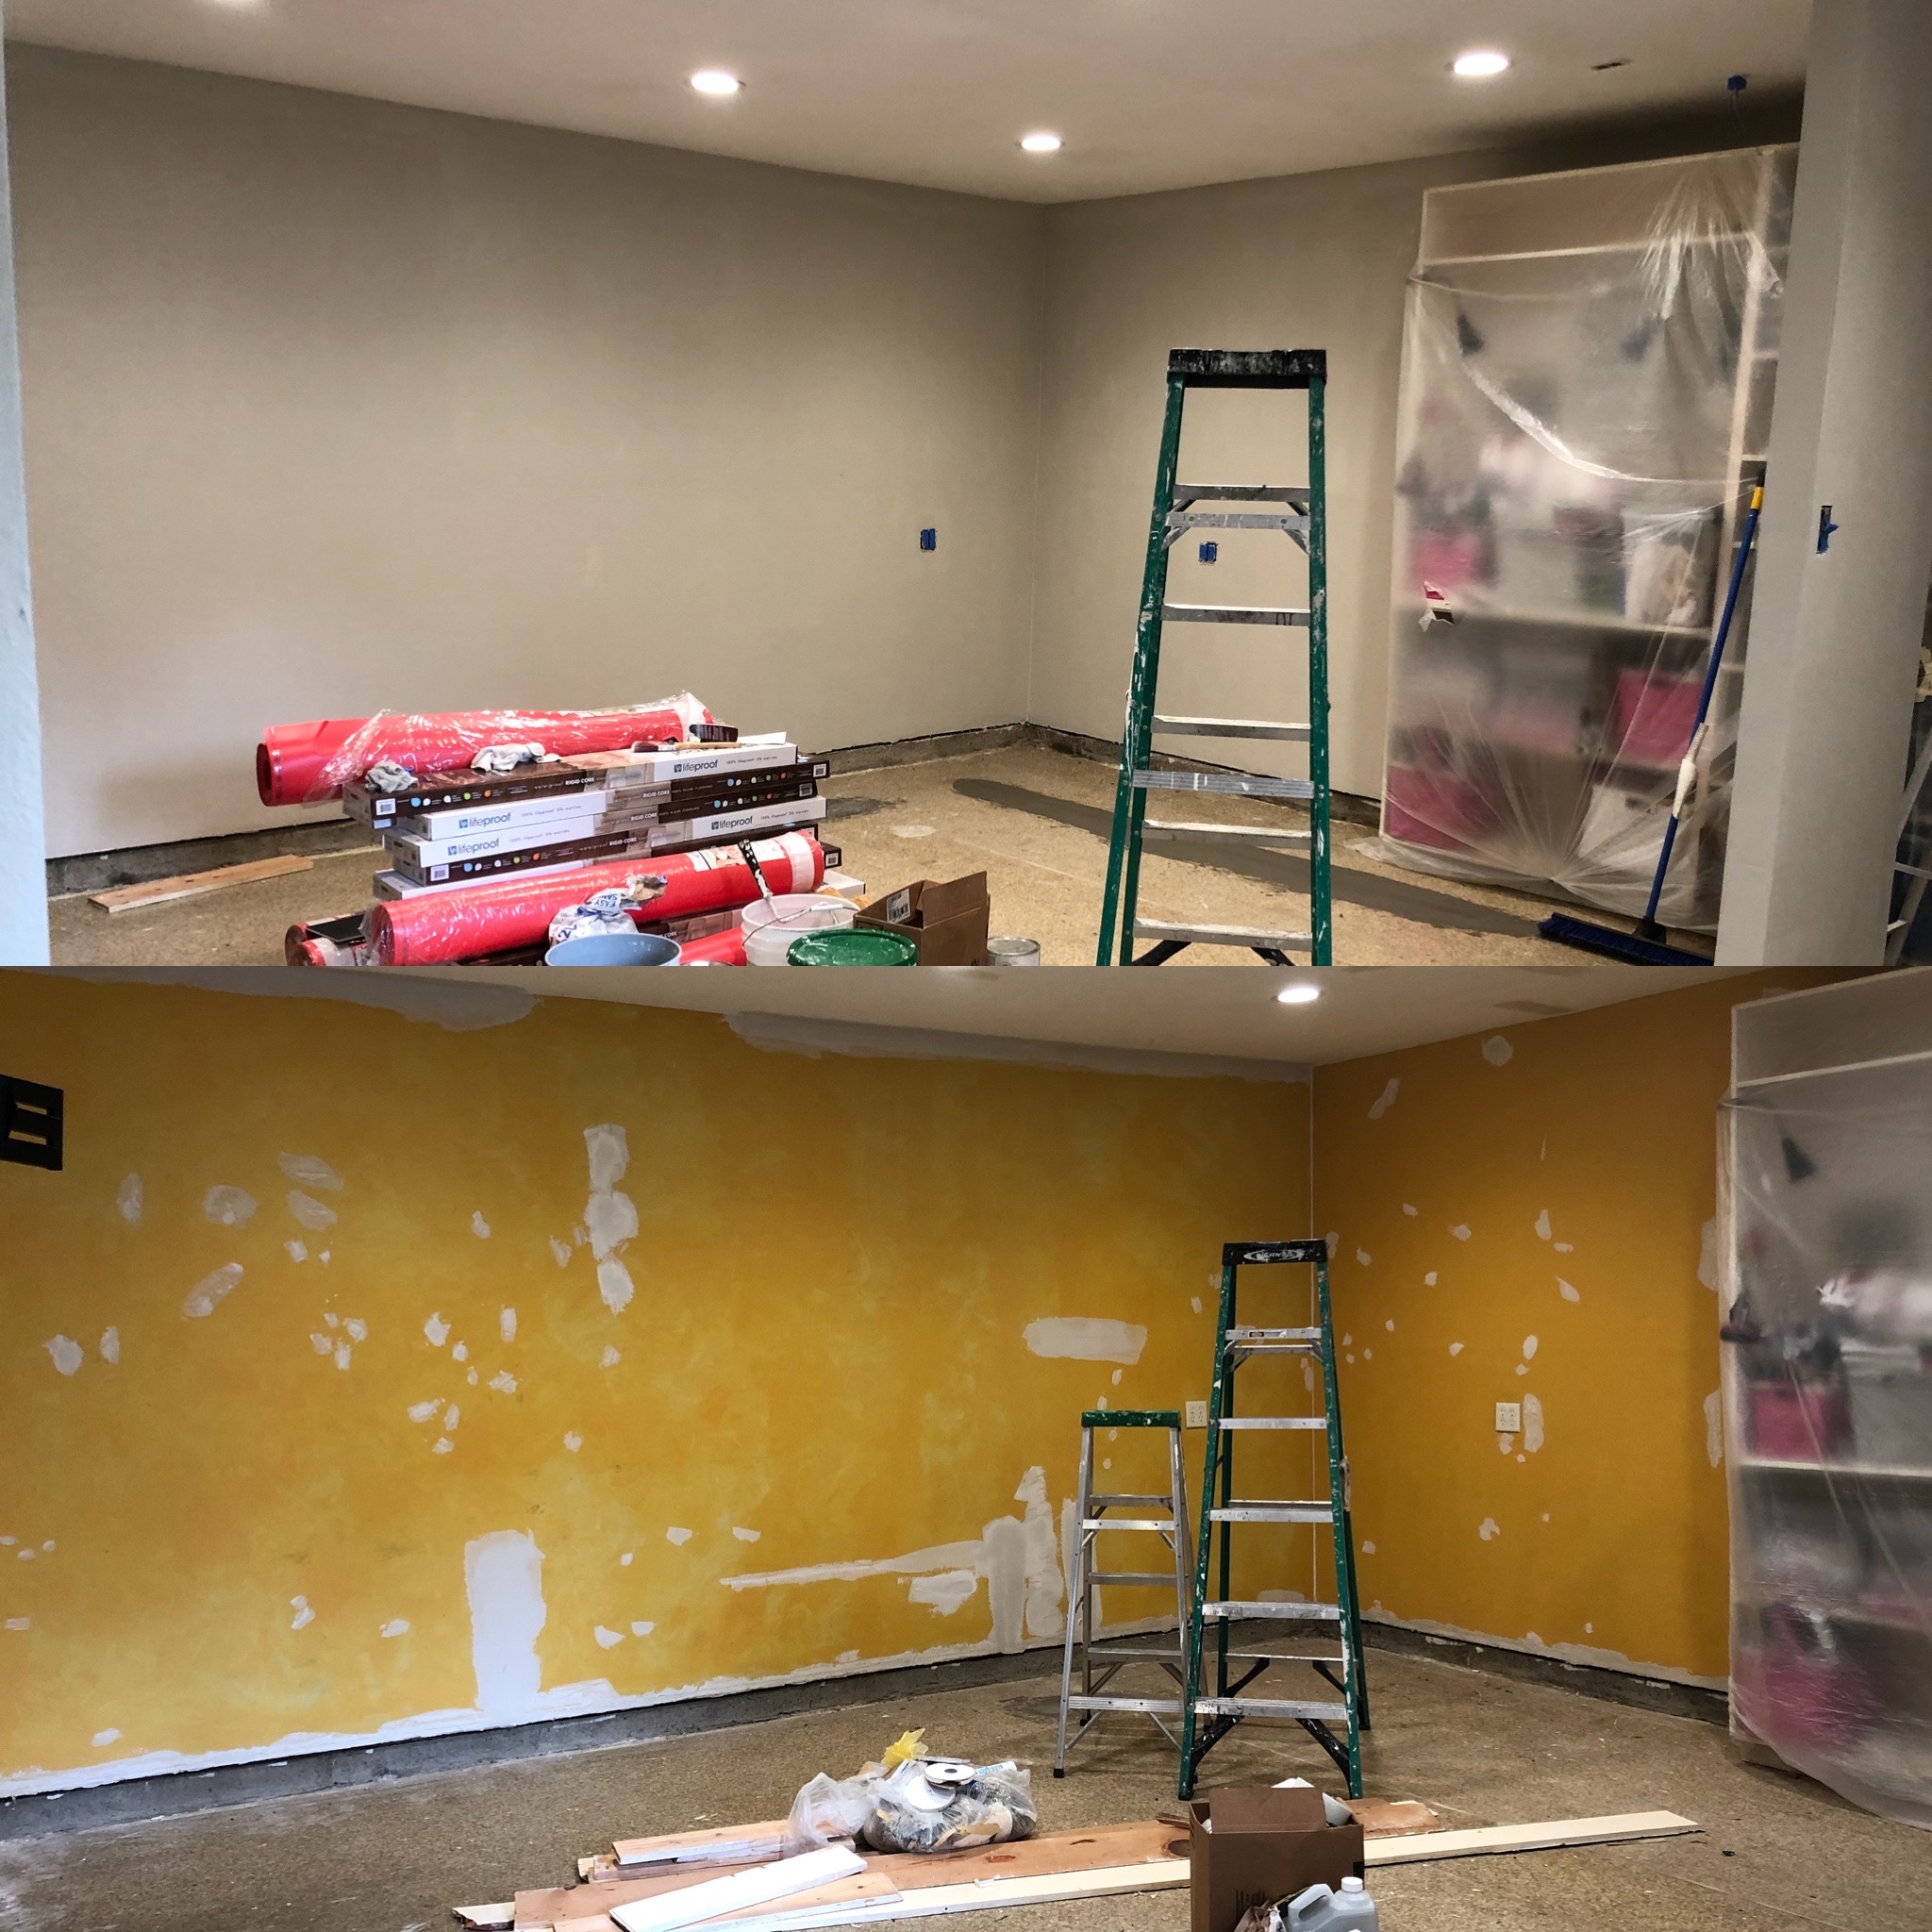
Next thing was painting the walls, new trim and ceiling…what a big difference that made. I always say that new paint in a room transforms it immediately.
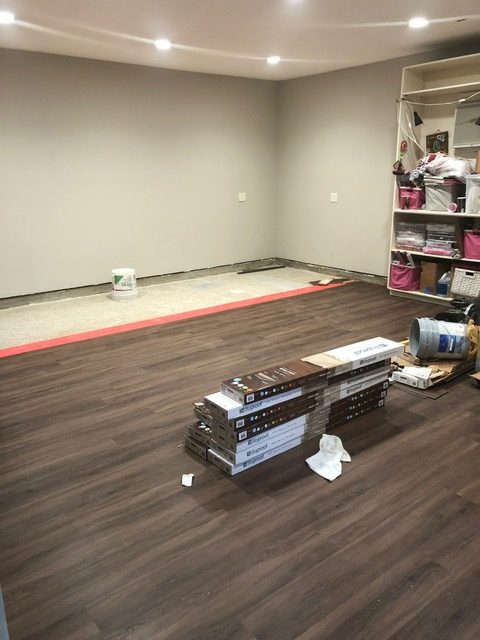
Installing the New Flooring
The flooring installation was next piece of the creative space transformation. This was done in phases as they had to lay down a moisture and sound proof barrier since it was going on a concrete slab base. Then they were able to install the new flooring. It is very important that consideration is given to the type of sub-floor you are installing the vinyl plank flooring over. I talked to both the flooring expert at Home Depot and my General Contractor to make sure it was prepared properly. The results of the flooring turned out perfectly.
Last Minute Addition
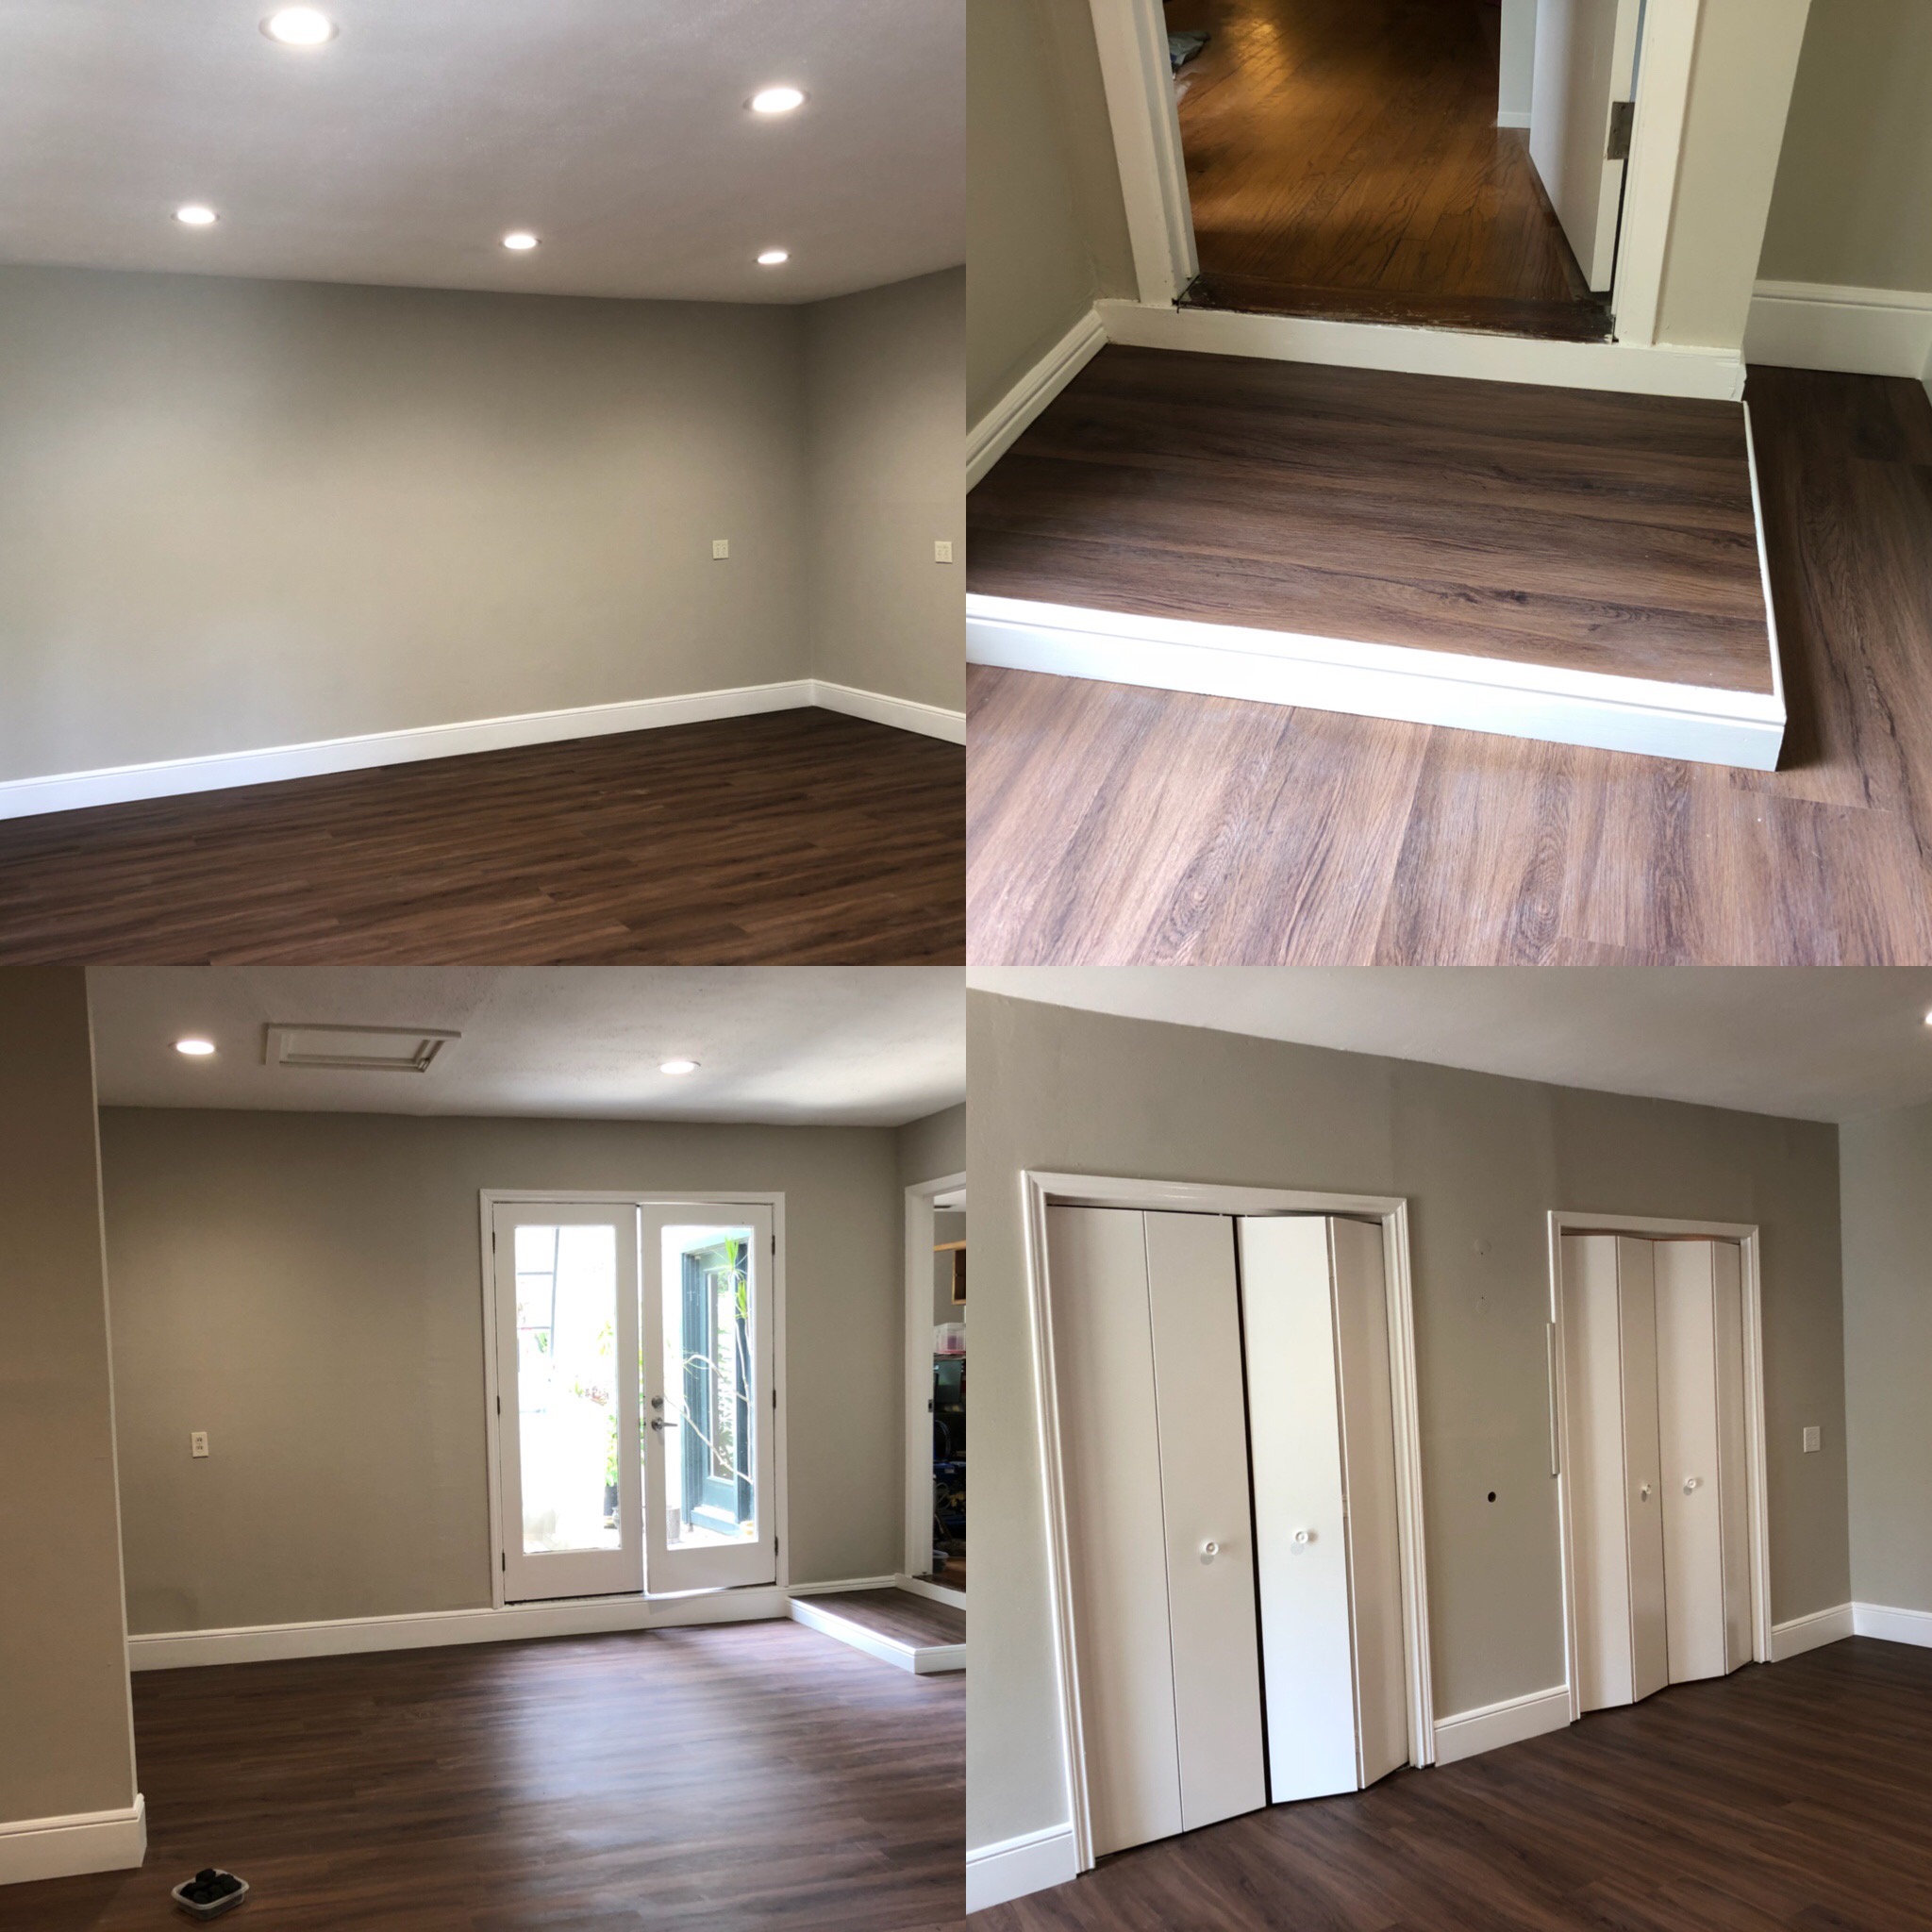
After the lighting, painting and flooring were installed it all looked great ! I was so happy. But my general contractor had an idea of something I had not considered doing before now. Since this was a former garage conversion the slab in that room was lower than my living room that attaches to this space. There had always been a small step down in to the room. He suggested we expand the step down to more of a larger landing area so as I carried more creative supplies out there I would have more room to step down and avoid falling.
We marked off what we thought was a good size and they built the new landing and it made my new creative space not only look more finished but also so much safer as I carry my craft supply hauls in to the room ! My advice is not to be afraid to make small changes that can have a big impact on your overall plan.
ADDING THE FURNITURE
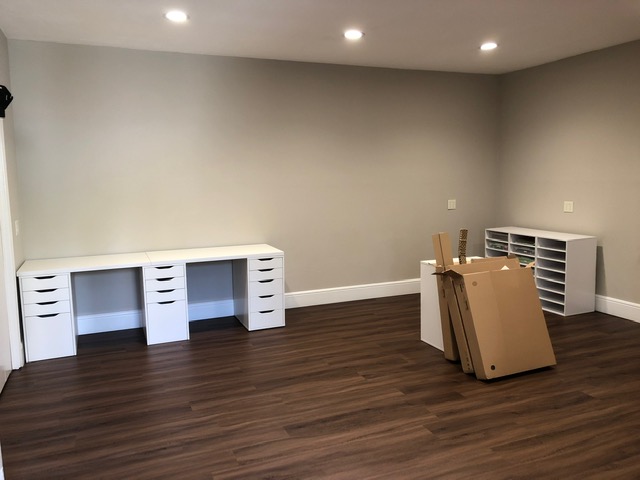
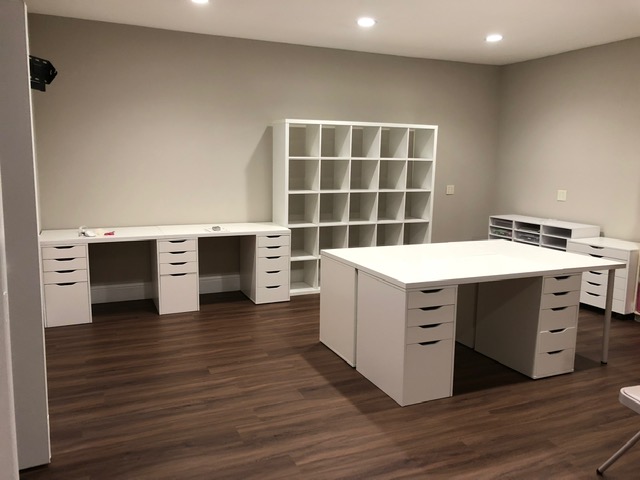
Now the real fun began…adding all the furniture to my new space. Now this part took a few days. Some of the furniture we already had built and was re-using from my former space. But there were quite a few new pieces we had to assemble. It probably took about three days to get all the furniture pieces in place. But thanks to taking the time to do the creative space floor plan, everything fit perfectly !
BACK WALL FURNITURE
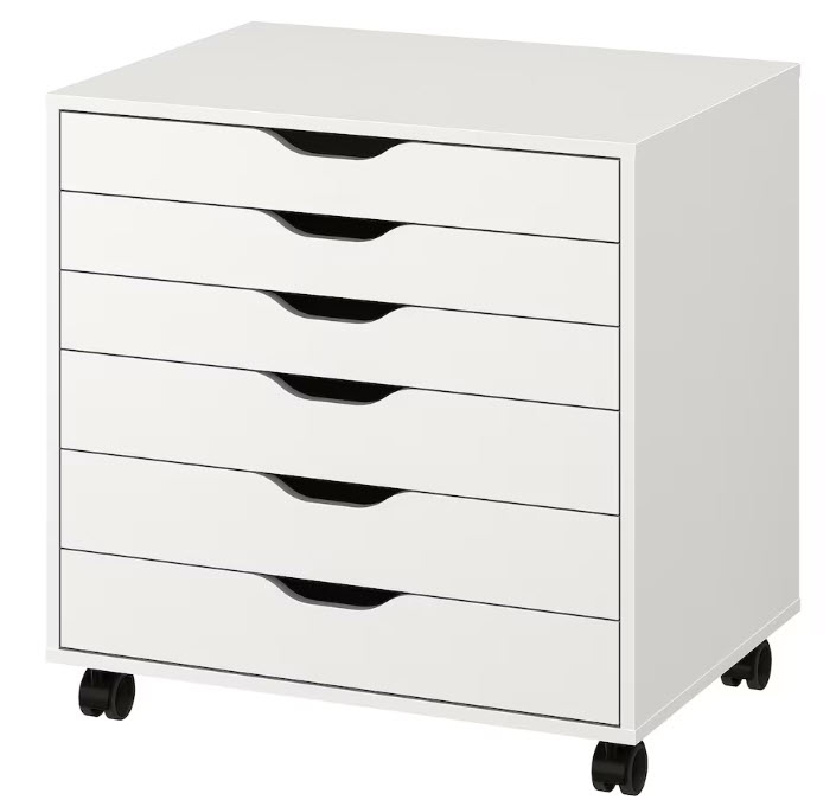
On the back wall, the side station to the left of the large 5X5 Kallax shelving unit was made using two Linnmon White Table Tops on top of three Alex Drawers from Ikea. Two of the Alex units have hanging folder bins on bottom for storing craft business files which comes in handy to have near by my workstation.
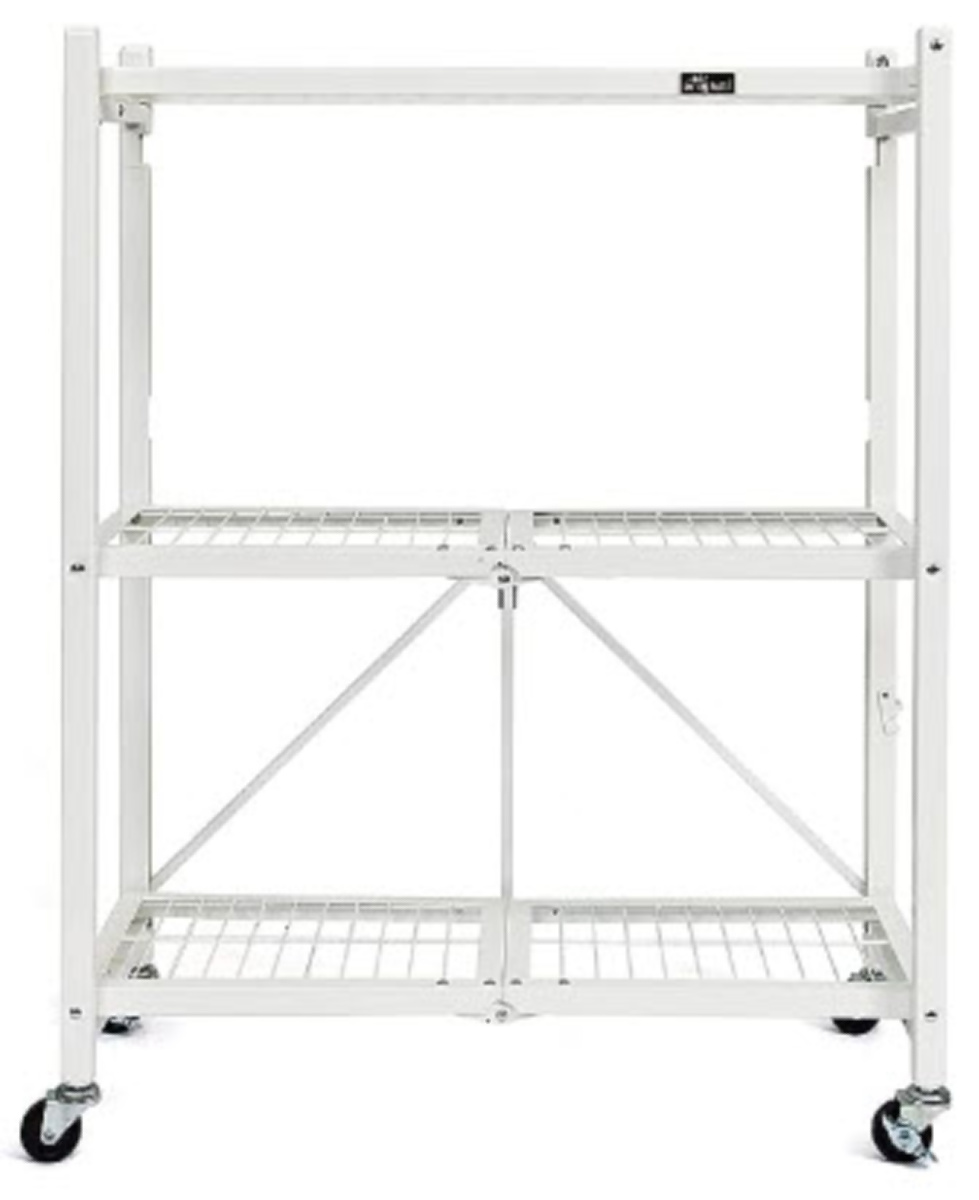
To the right of the Kallax Unit is an Origami 3 Tiered Folding Shelf Unit. This is a heavy duty shelf unit that is perfect for holding heavier equipment such as a Cricut machines, electronic embossing machines and various other equipment. All of those things fit handily on it and no worries about the shelf ever sagging. Plus since the back of it is open it’s easy to reach the electrical outlets on the wall behind.
WALL TO THE RIGHT
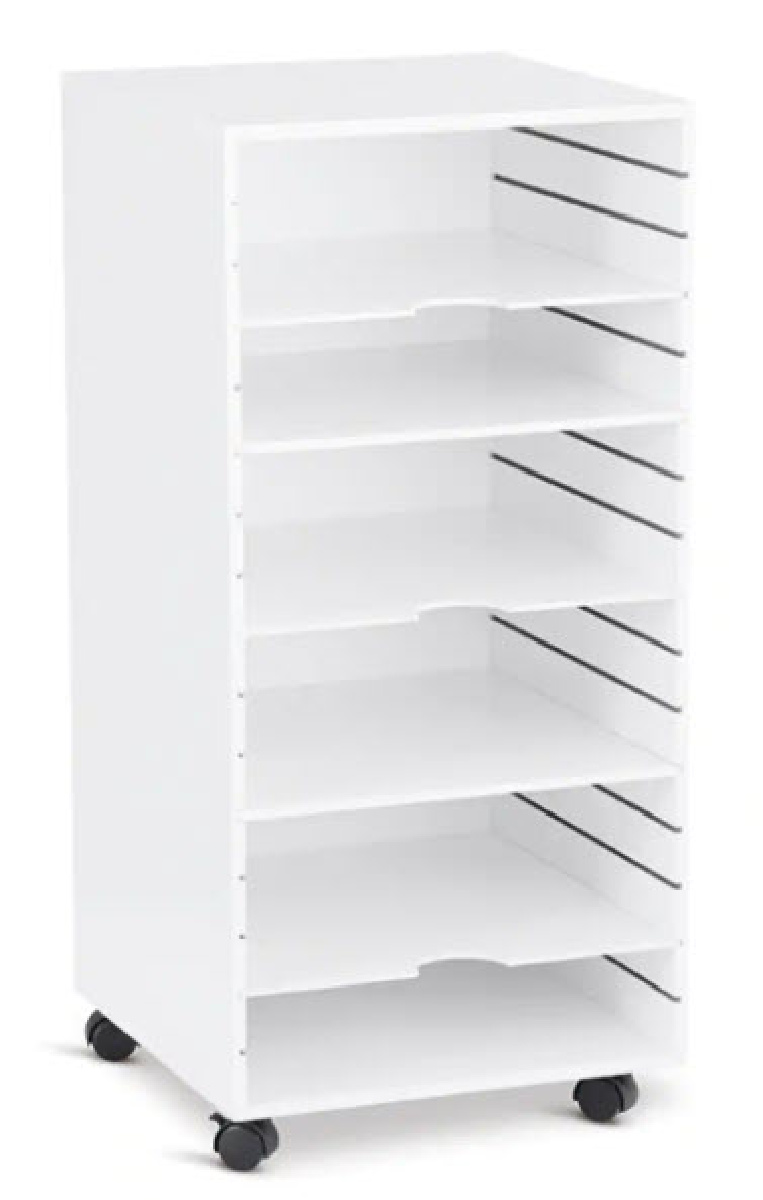
Moving around to the wall to the right of wall with Kallax unit, there are 3 of Michaels Modular Mobile Panel Towers placed together. These do not have wheels on them. They hold 12X12 Cricut materials sorted by type in these 12×12 craft storage boxes with handles by Simply Tidy at Michaels.
Next to those 3 storage shelves, there is an Ikea Alex Wide Drawer Unit.
The three storage shelves and this Alex Drawer unit is where the printers sit and one of the electrical outlets added to room provide a way for these to be plugged in a all times.
Next to all those units are built in shelving that was already part of the room.
CRAFT DESK
The Craft Desk sits out a few feet in front of the Kallax Unit. It is made from two Linnmon White Table Tops facing each other sitting on top of two more of the Alex Drawer Units from Ikea for each side forming two desk areas facing each other. On the end near the side wall, there is a third table created using the Linnmon White Table Top but with legs instead of drawers. This creates on very large Craft Desk with two spots to sit.
On the other end of the Craft Table there are 3 more of the Michaels Modular Mobile Panel Towers placed together. These do not have wheels on them. They hold 12X12 Cricut materials sorted by type in these 12×12 craft storage boxes with handles by Simply Tidy at Michaels to add even more storage to the room.
DECORATIVE TOUCHES
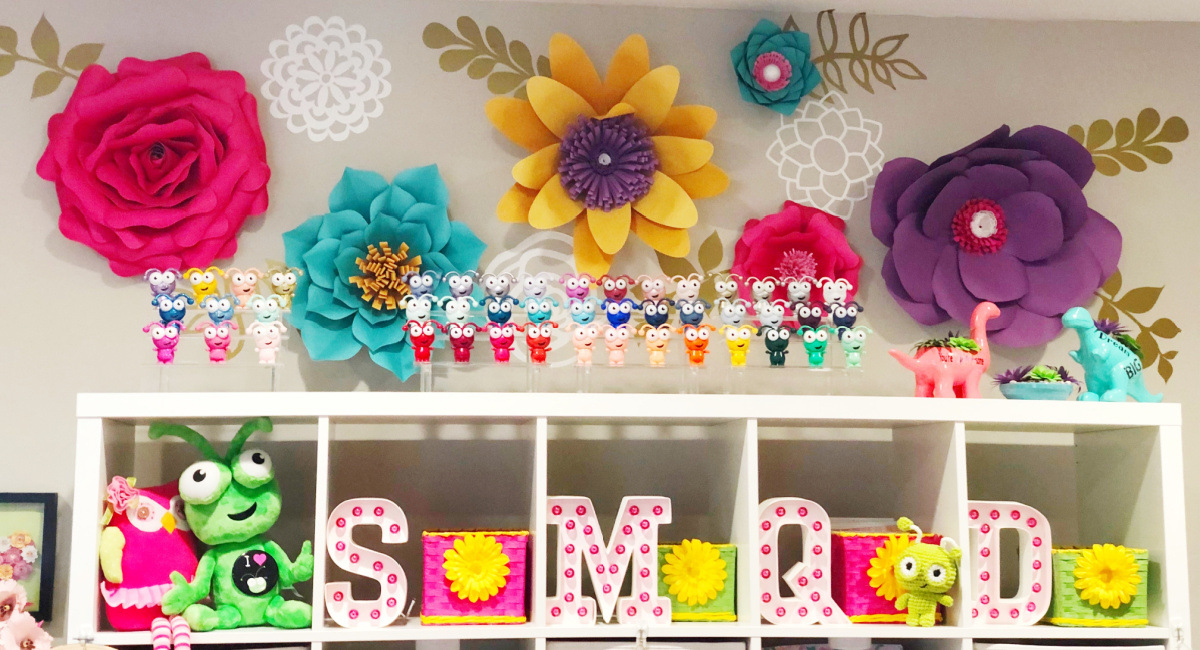
The first thing I wanted to add was a focal point above the Kallax shelf unit. I created some large paper flowers in my my brand colors and added removeable vinyl flowers in white and leaves in gold around the paper flowers. The flowers are held up using Command Strips which are great for hanging things in my new Creative Space.
To display all the Cricut Cuties I have, I placed several Acrylic Stadium Stands on top of the shelves and have them in rainbow order. It’s fun to look up there and see them smiling at us.
Note: Cricut Cuties are little figurines that Cricut has released over the years mostly in Cricut Mystery Boxes for sale in their store or given away at Cricut events I have hosted or attended over the years.
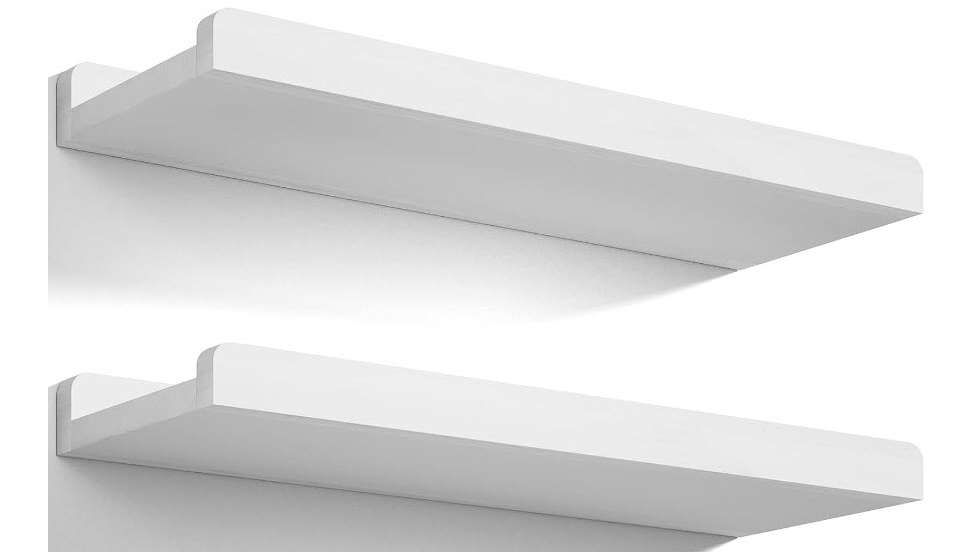
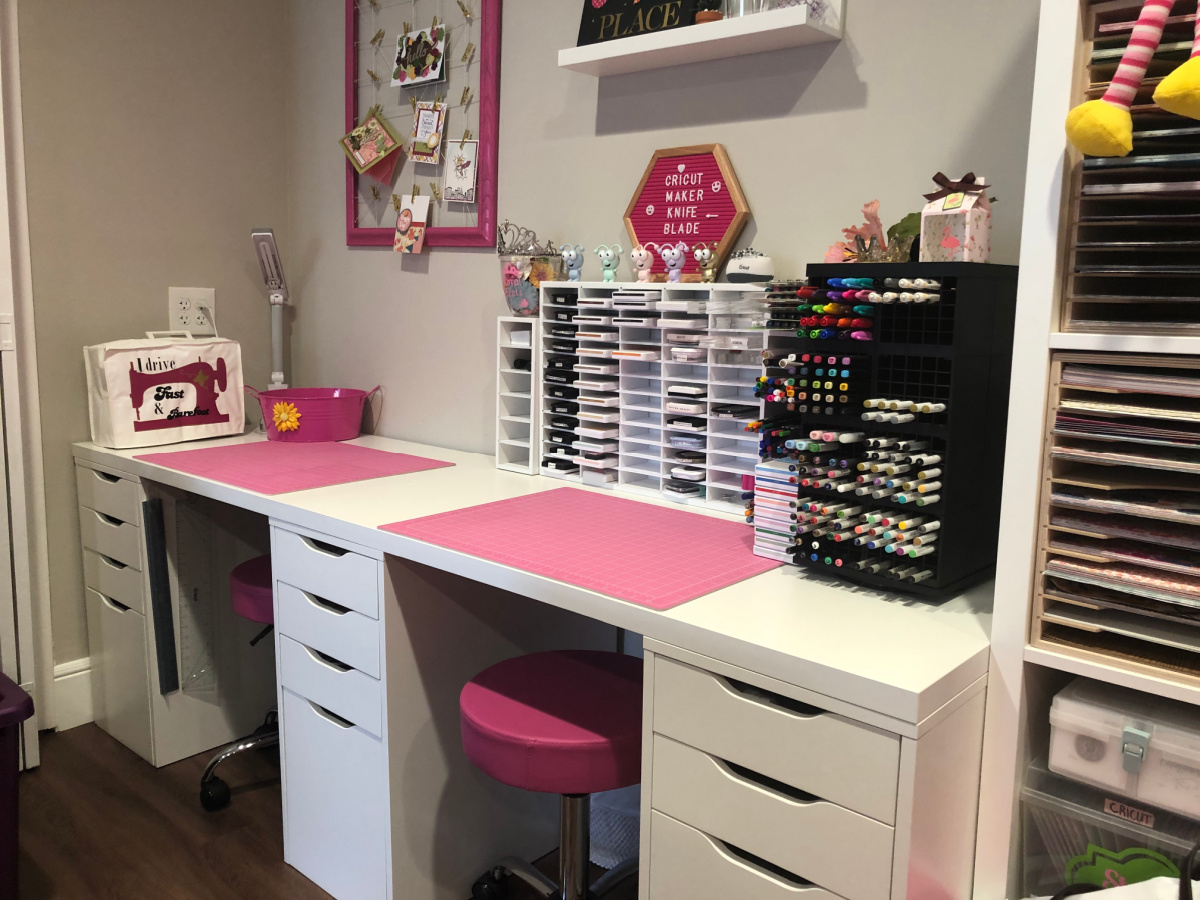
To decorate the other walls, I added some Floating Shelves. These are great for displaying my own projects and make it so easy to switch out.
For the two side by side workstations on the back wall, one is my sewing station and the other is my inking and stamping station. I decorated them with pink craft mats. On the wall above these stations I have a DIY Card Holder I made from an old frame I painted pink and added twine to clip handmade cards I received or made. And the shelves to display more of my projects.
SEATING
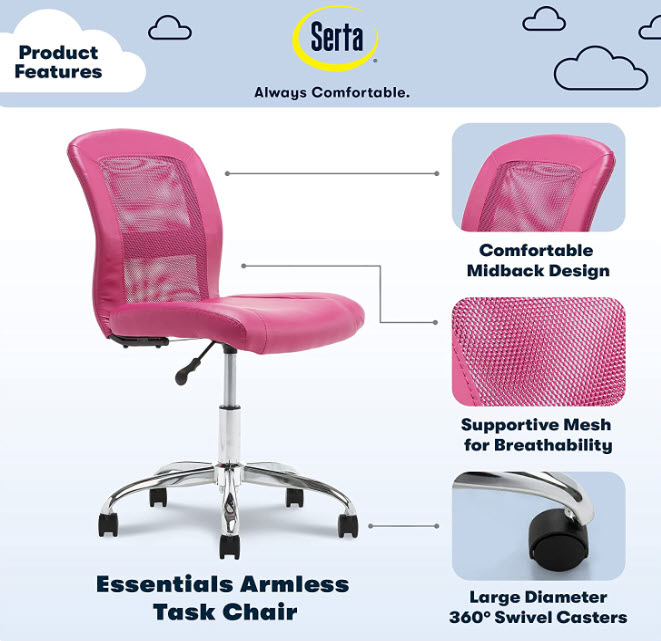
Seating is an important aspect in a Craft Room. It was important to find comfortable chairs that did not have arms for my two desk areas at the Craft Table. I selected the Serta Essential Mesh Task Chair with No Arms in Pink. I have had other armless chairs before and this chair is great for long crafting sessions where I am seated.
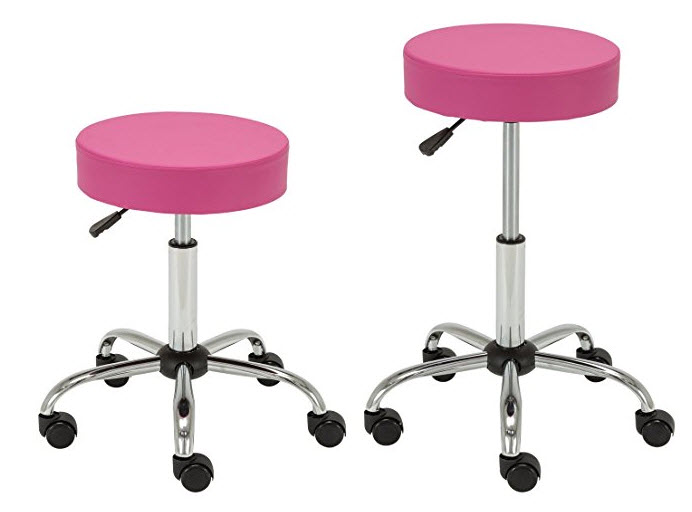
Adjustable Rolling Stools that adjusted in height were a good fit for the two workstations spots along the wall. These can be rolled around for additional seating as needed in the room. Note: When I bought these they came in dark pink but now it’s available in light pink.
TADA…THE ROOM IS DONE
My Creative Space Journey has been a long one. Lots of transition as my needs have changed due to crafting space available. But it’s all been worth it now that I have the space of my dreams !
Are you ready for your own creative space journey ? I’d love to hear from you. Leave me a comment if you have any questions.
Don’t forget ! You can get the Designing Your Creative Space Worksheet to help you on your journey. Fill out the form below and we will email it to you immediately so you can get started right away.

If you make a project, I’d love to see it! Please share in our Facebook Group Community where you will find others sharing their projects, tips and inspiration.