

The Post and Photos within may contain Amazon or other affiliate links. If you purchase using links in this post I do earn a small commission but without additional charge to you. Thank you for your support!

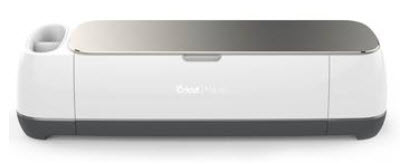
Way, way back in August 2017 Cricut released the amazing Cricut Maker machine at the Cricut Mountain Make A Thon (an exclusive event for Makers and Influencers like myself). I have been a big fan of Cricut Maker ever since because it cuts fantastic ! But what impresses me the most about the Cricut Maker is the Adaptive Tool System. What’s that you say ? Its a way for Cricut to keep adding more tools to this one machine for us to continue to expand our creative possiblities ! And I am positively giddy today that Cricut released another tool…the KNIFE BLADE. Grab yours HERE while supplies last !
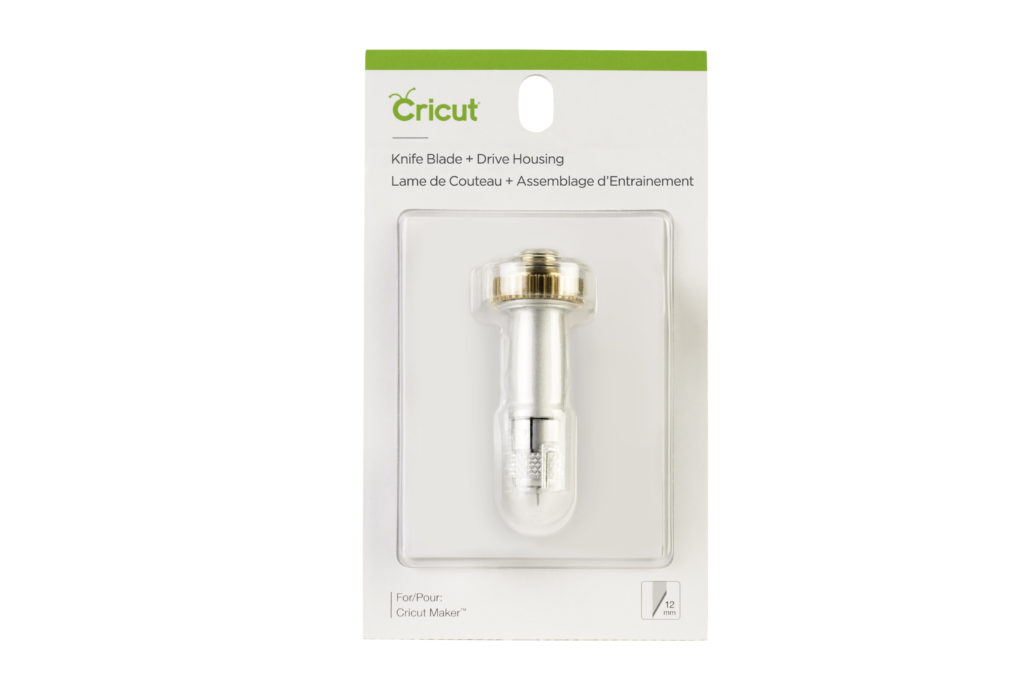
The Knife Blade Tool will allow you to cut dense materials you only dreamed of cutting before now. BTW – Its exclusive to the Cricut Maker only. Here is a list of the materials you will be able to cut with Cricut Maker.
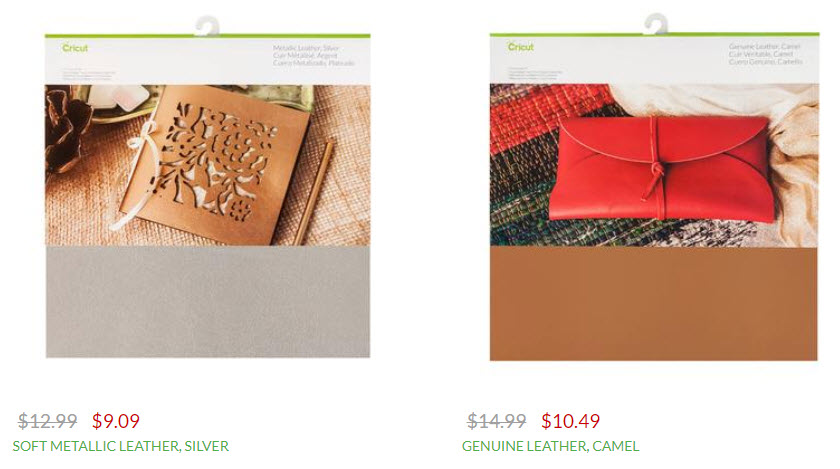
- Garment Leather, Soft 2-3oz and 4-5 oz Purchase Cricut Leather HERE
- Tooling Leather, Stiff 2-3 oz, 4-5 oz, 6-7 oz
- Balsawood 1/32″, 1/16″, 3/32″
- Basswood 1/32″, 1/16″
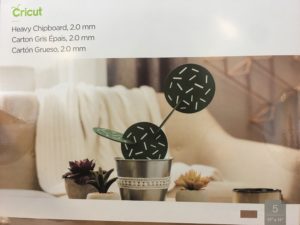
- Cricut Chipboard* 2 mm (1/16″) Purchase Cricut Chipboard HERE
- Matboard 2 ply and 4 ply up to 2.0mm
- Craft Foam 3mm, 2mm, 1.5 mm
Pretty impressive, right ? I have been working with Cricut on testing the NEW Knife Blade and have some
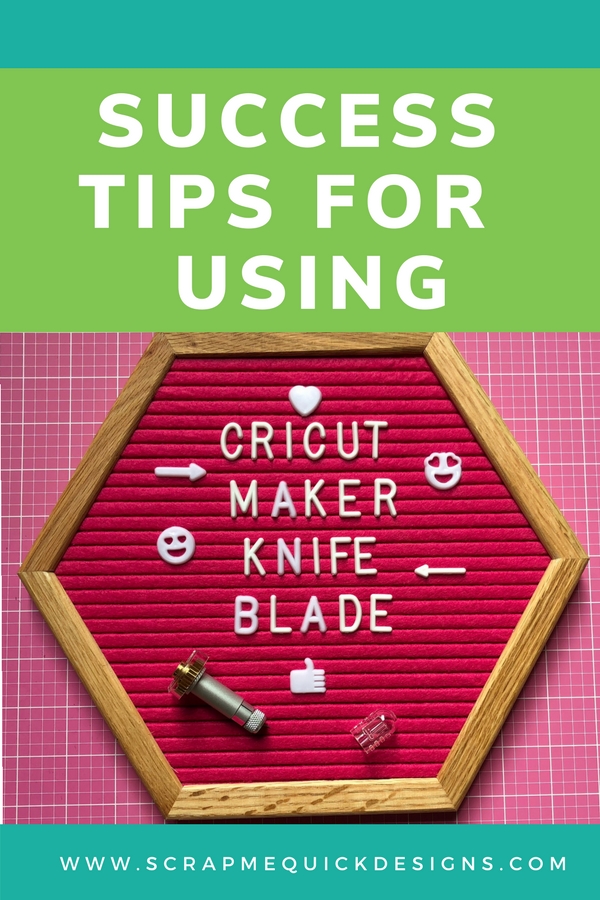
TIPS FOR SUCCESS WITH CRICUT KNIFE BLADE:
[] Only use desktop version of Design Space (no iOS devices). Use in a dedicated browser window. Don’t open new tab to do something while you are cutting. Open a new browser window if you need to use internet while cutting.
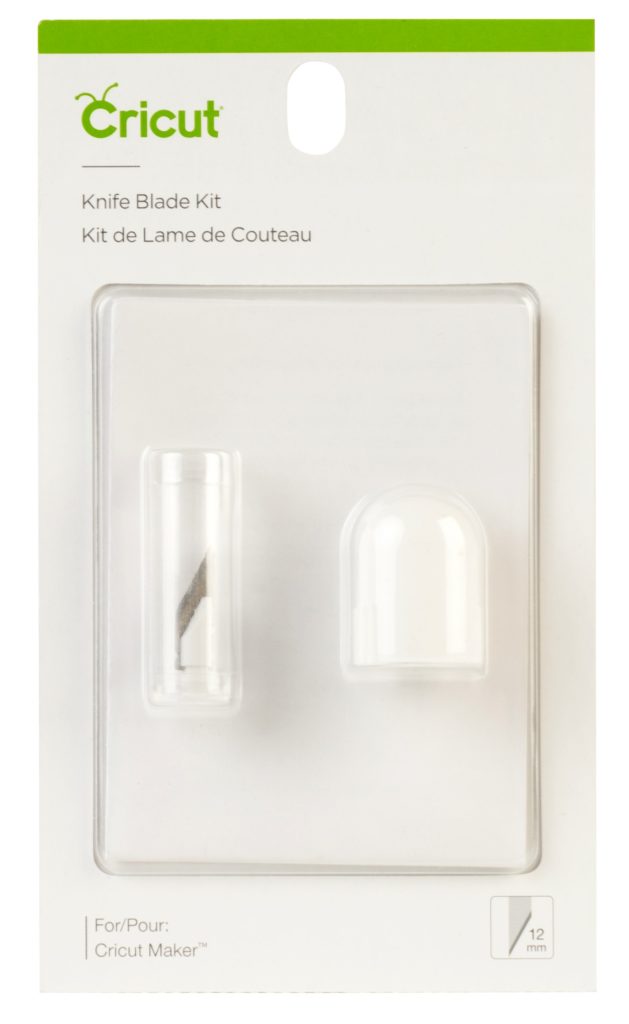
[] Calibrate the Knife Blade before first use…follow steps in Design Space, ok to re-calibrate whenever cut seems off
[] Trim your material to no wider than 11“ . Maximum cut size is 10.5 w X 11.5 or 10.5 X 23.5
[] Minimum image size to cut is 0.75” X 0.75” (includes interior and exterior cuts). Width of cuts should not be smaller than diameter of a pencil
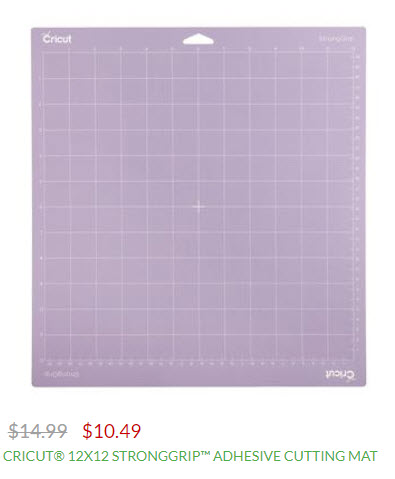
[] Use Strong Grip Purple Mat to hold your material in place. Add masking or painters tap around the edges of your material to hold on the mat. Use a Brayer to help with good adhesion to the mat all across your material
[] Don’t forget to put your material right side down on the mat and MIRROR your image in Design Space at cut screen
[] Before you cut, move the 4 white roller grips all the way to the right side of the bar to keep them from marking your material as you cut
[] Turn off sleep mode on your computer so it doesn’t interrupt your cut
[] Be patient – it may take a while for your knife blade project to cut out. Monitor while it is cutting for jams or debris. Use Project Resume if Cricut head flashes indicating clear debris.
[] ALWAYS “Check Your Cut” before you remove completed project mat from Cricut Maker. Go ahead and select one more pass if it needs another cut.
You can download my Tips for Success with Cricut Knife Blade Checklist HERE.
Watch my video for more details below.
FYI – The Cricut Maker comes with a FINE POINT BLADE perfect for cutting paper, cardstock, vinyl, speciality materials PLUS a revolutionary ROTARY BLADE for cutting hundreds of fabrics. You can see more about it HERE.
OTHER SUPPLIES YOU MIGHT WANT TO PICK UP FOR YOUR KNIFE BLADE CUTTING:
PIN THIS TO SAVE THE POST
If you make a project, I’d love to see it! Please share in our Facebook Group Community where you will find others sharing their projects, tips and inspiration.