

The Post and Photos within may contain Amazon or other affiliate links. If you purchase using links in this post I do earn a small commission but without additional charge to you. Thank you for your support!
Today I created these adorable toddler t-shirts for a friend’s twin’s 1st Birthday. The birthday party theme is Mickey and Minnie Mouse so I had to create something special just for the twins to wear at the party.
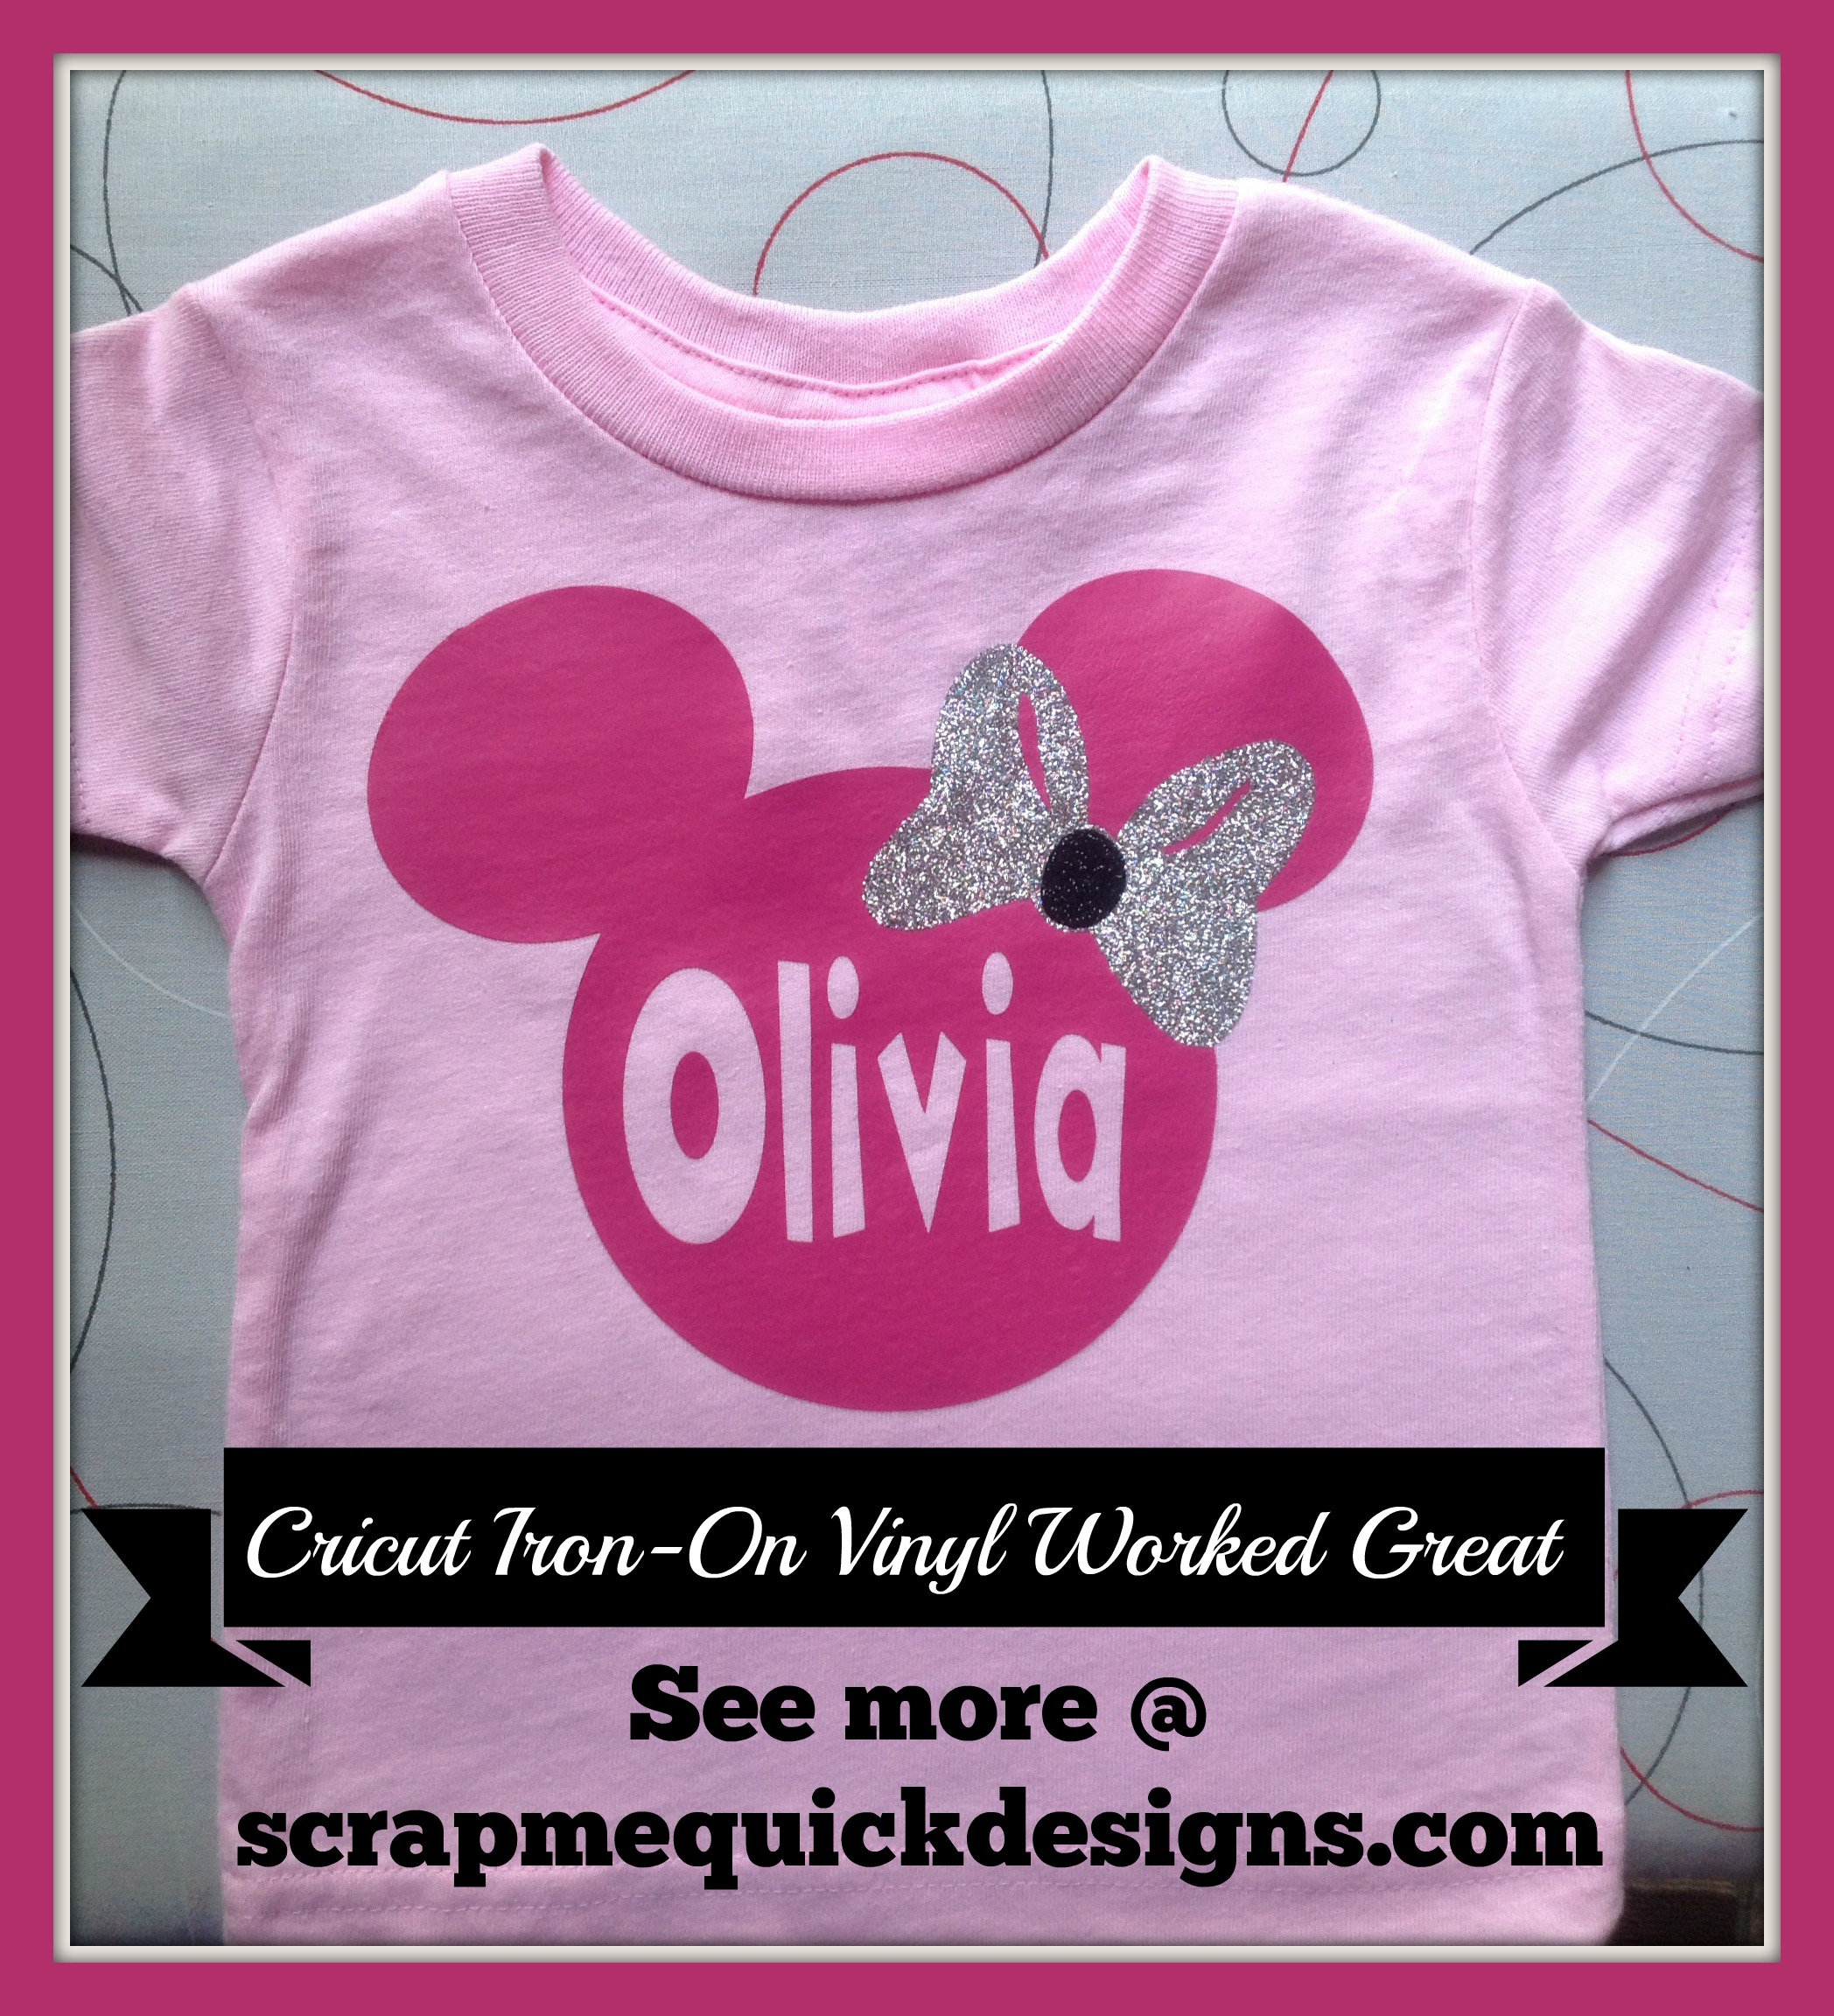
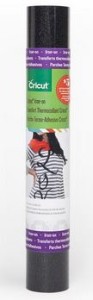
Using CRICUT IRON-ON VINYL, it was easy to make these shirts. Here are the steps I used to create these custom t-shirts.
DIRECTIONS:
1. Wash and Iron the t-shirt of your choice.
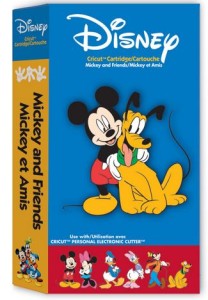
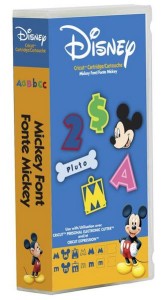
2. Select your Cricut image(s) you want to cut for your t-shirt. For these shirts I used images from the Cricut Disney and Friends cartridge.
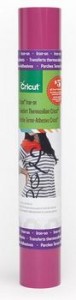
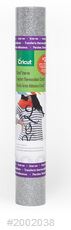
3. Select the Cricut Iron-On Vinyl for your project. I used the Pink, Silver Glitter and Black Glitter for the girl’s Minnie shirt.
4.Lay your vinyl piece for the image on the mat with the SHINY side down. Tip: If it looks like it might not stick well enough to cut it, I sometimes use painters tape to hold the edges in place on the mat.
5. Add your image to your design screen…I used Cricut Explore and Design Space for my project but you can do this on the other Cricut machines or in Cricut Craft Room. Size the image to fit the size of the shirt you are using. Tip: If you want to customize with a name, add the name using the Disney Mickey Font and attach to the Mickey head image like i have done.
6. Make sure and MIRROR the image on the screen BEFORE you start cutting. Tip: Since this is iron on, you will be actually flipping it over after you cut it so you can iron on to your project so make sure you have this part correct before moving forward with cutting.
7. Weed (remove the excess vinyl) you don’t want on your shirt design. Tip: I cut away a lot of the excess first before weeding to make it easier.
Here is what your image should look like after you have cut in MIRROR and weeded the image.
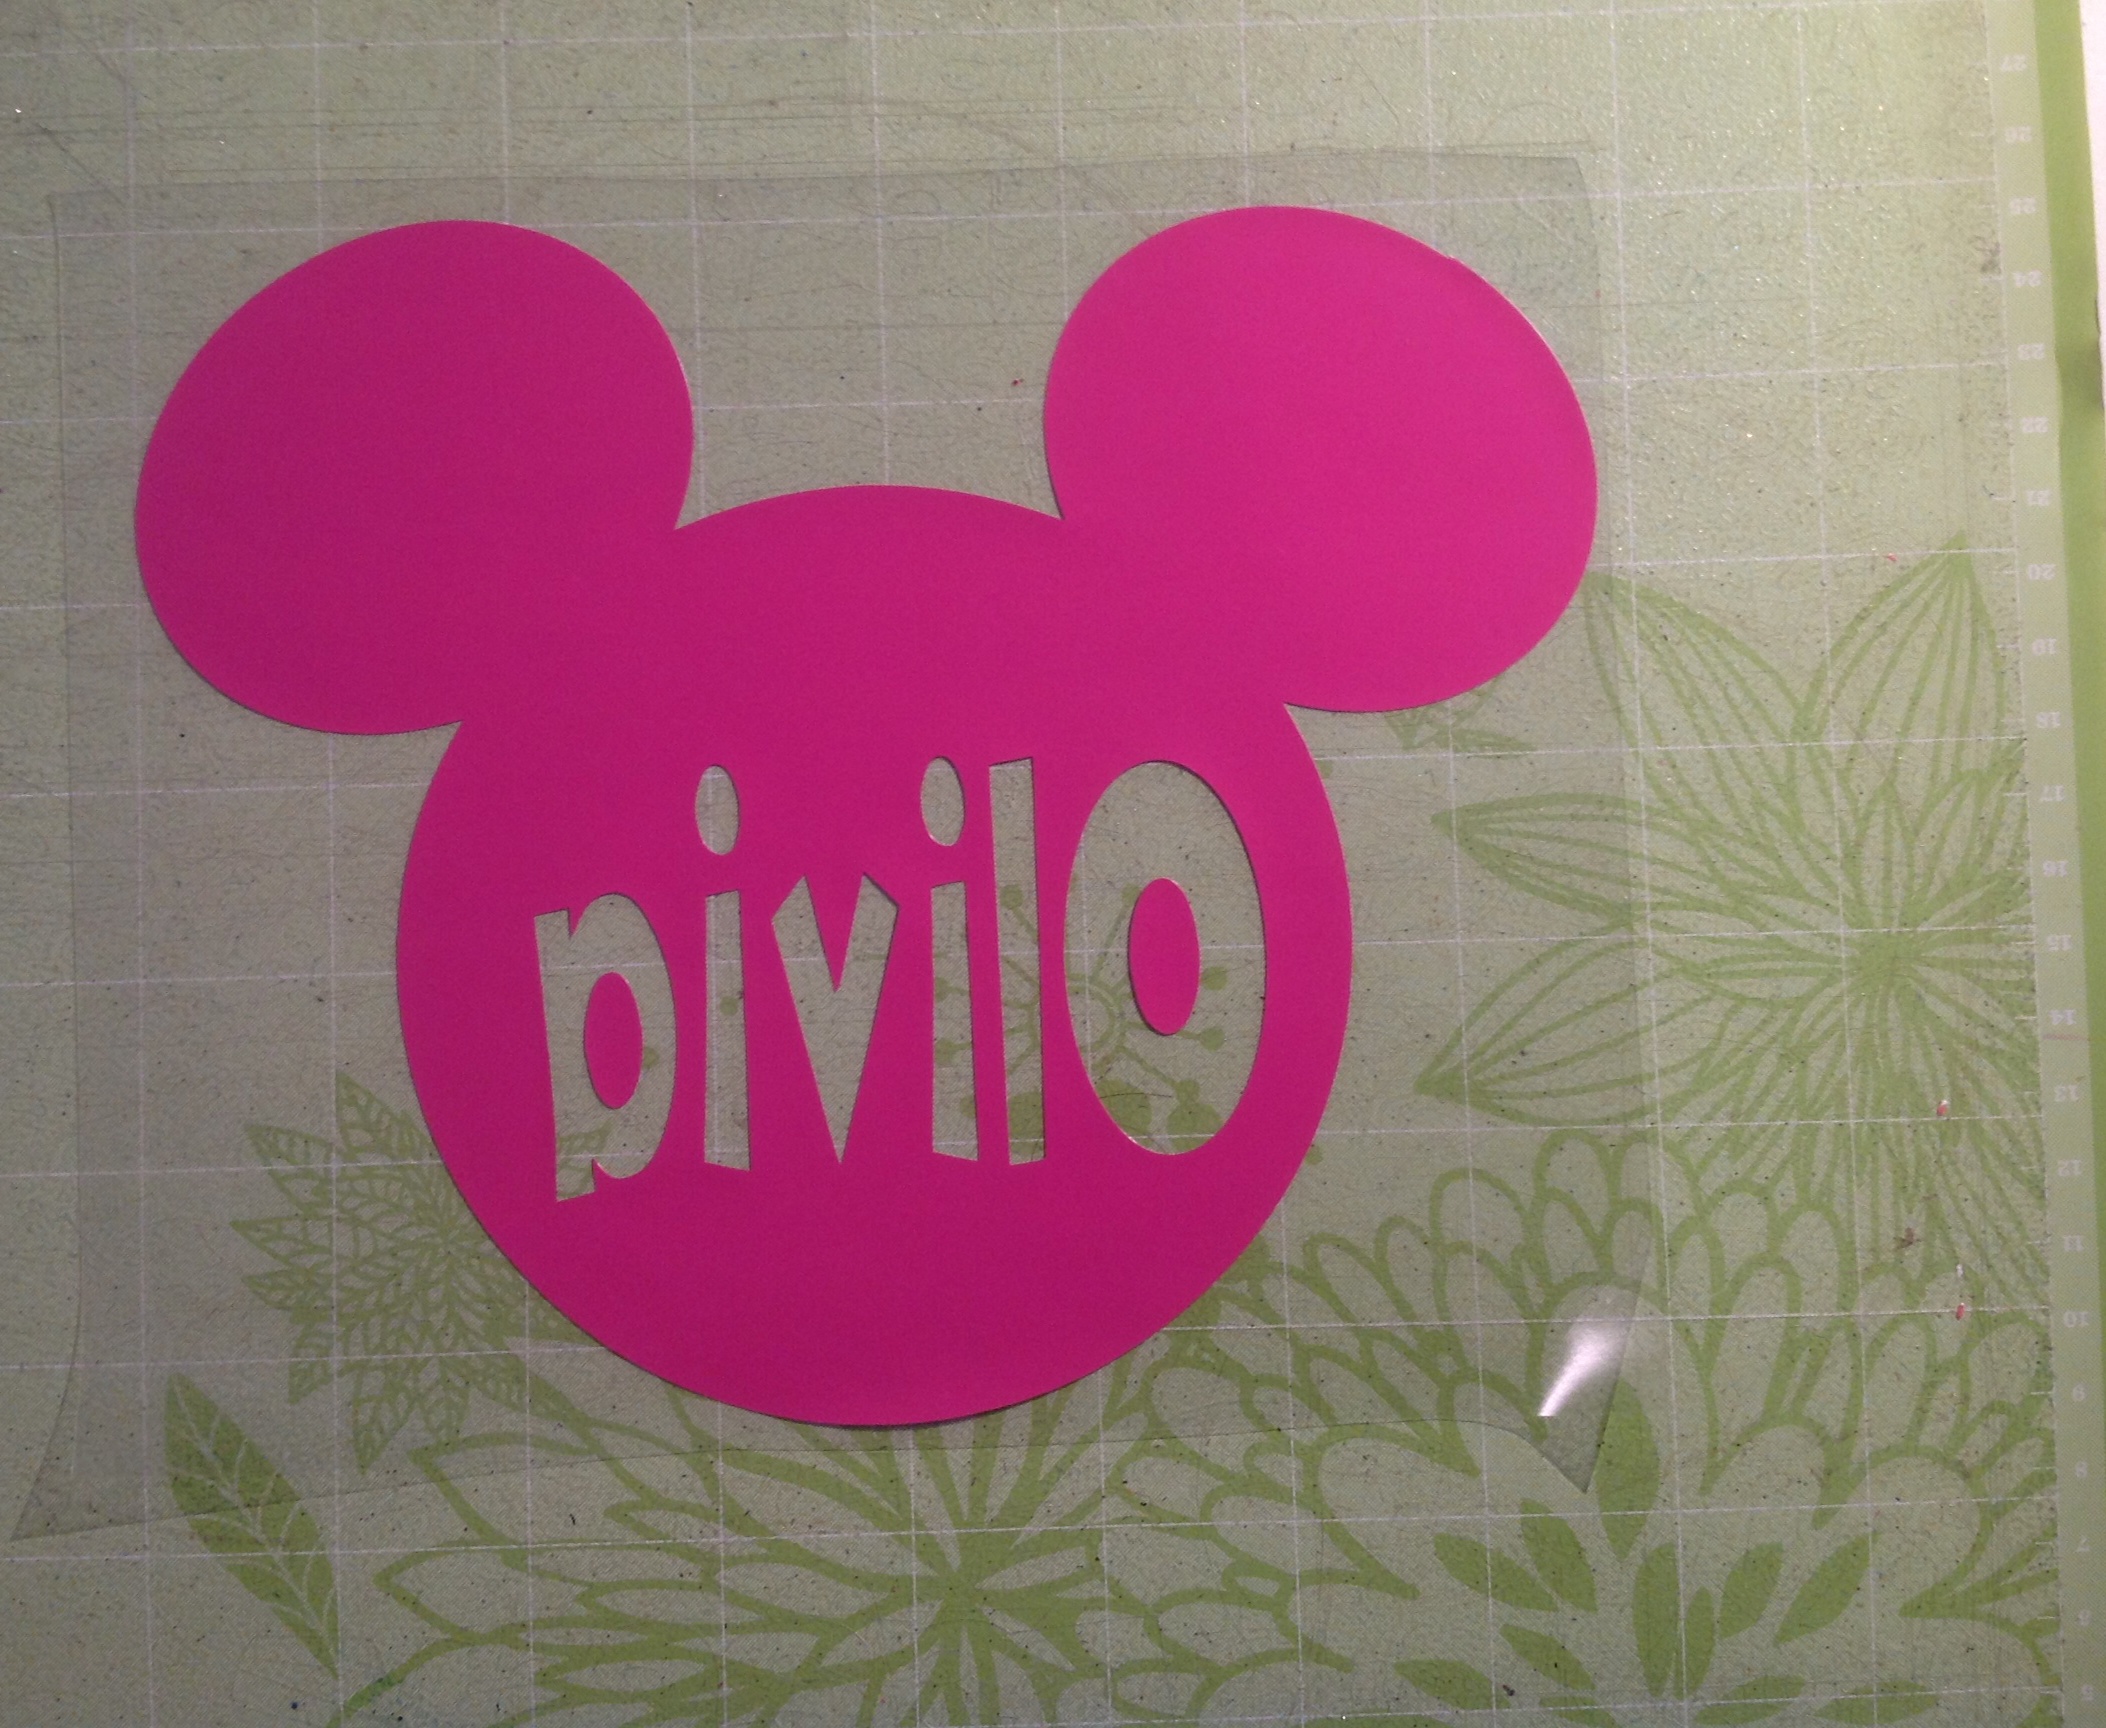
Note: In the photo above that the vinyl image is on the top side so to speak and the shiny liner part is against the mat.
8. You will remove the entire piece off the mat, flip it over and iron on your shirt following the directions provided with the Cricut Iron-On Vinyl. You will be ironing on the shiny lining part. Tip: I use a household iron to do my shirts. Just make sure that it is dry and no water in it before you do this.
9. Repeat the process if you are layering (adding more images on to your design) like I did with adding the Silver Bow and the Black center for the Bow.
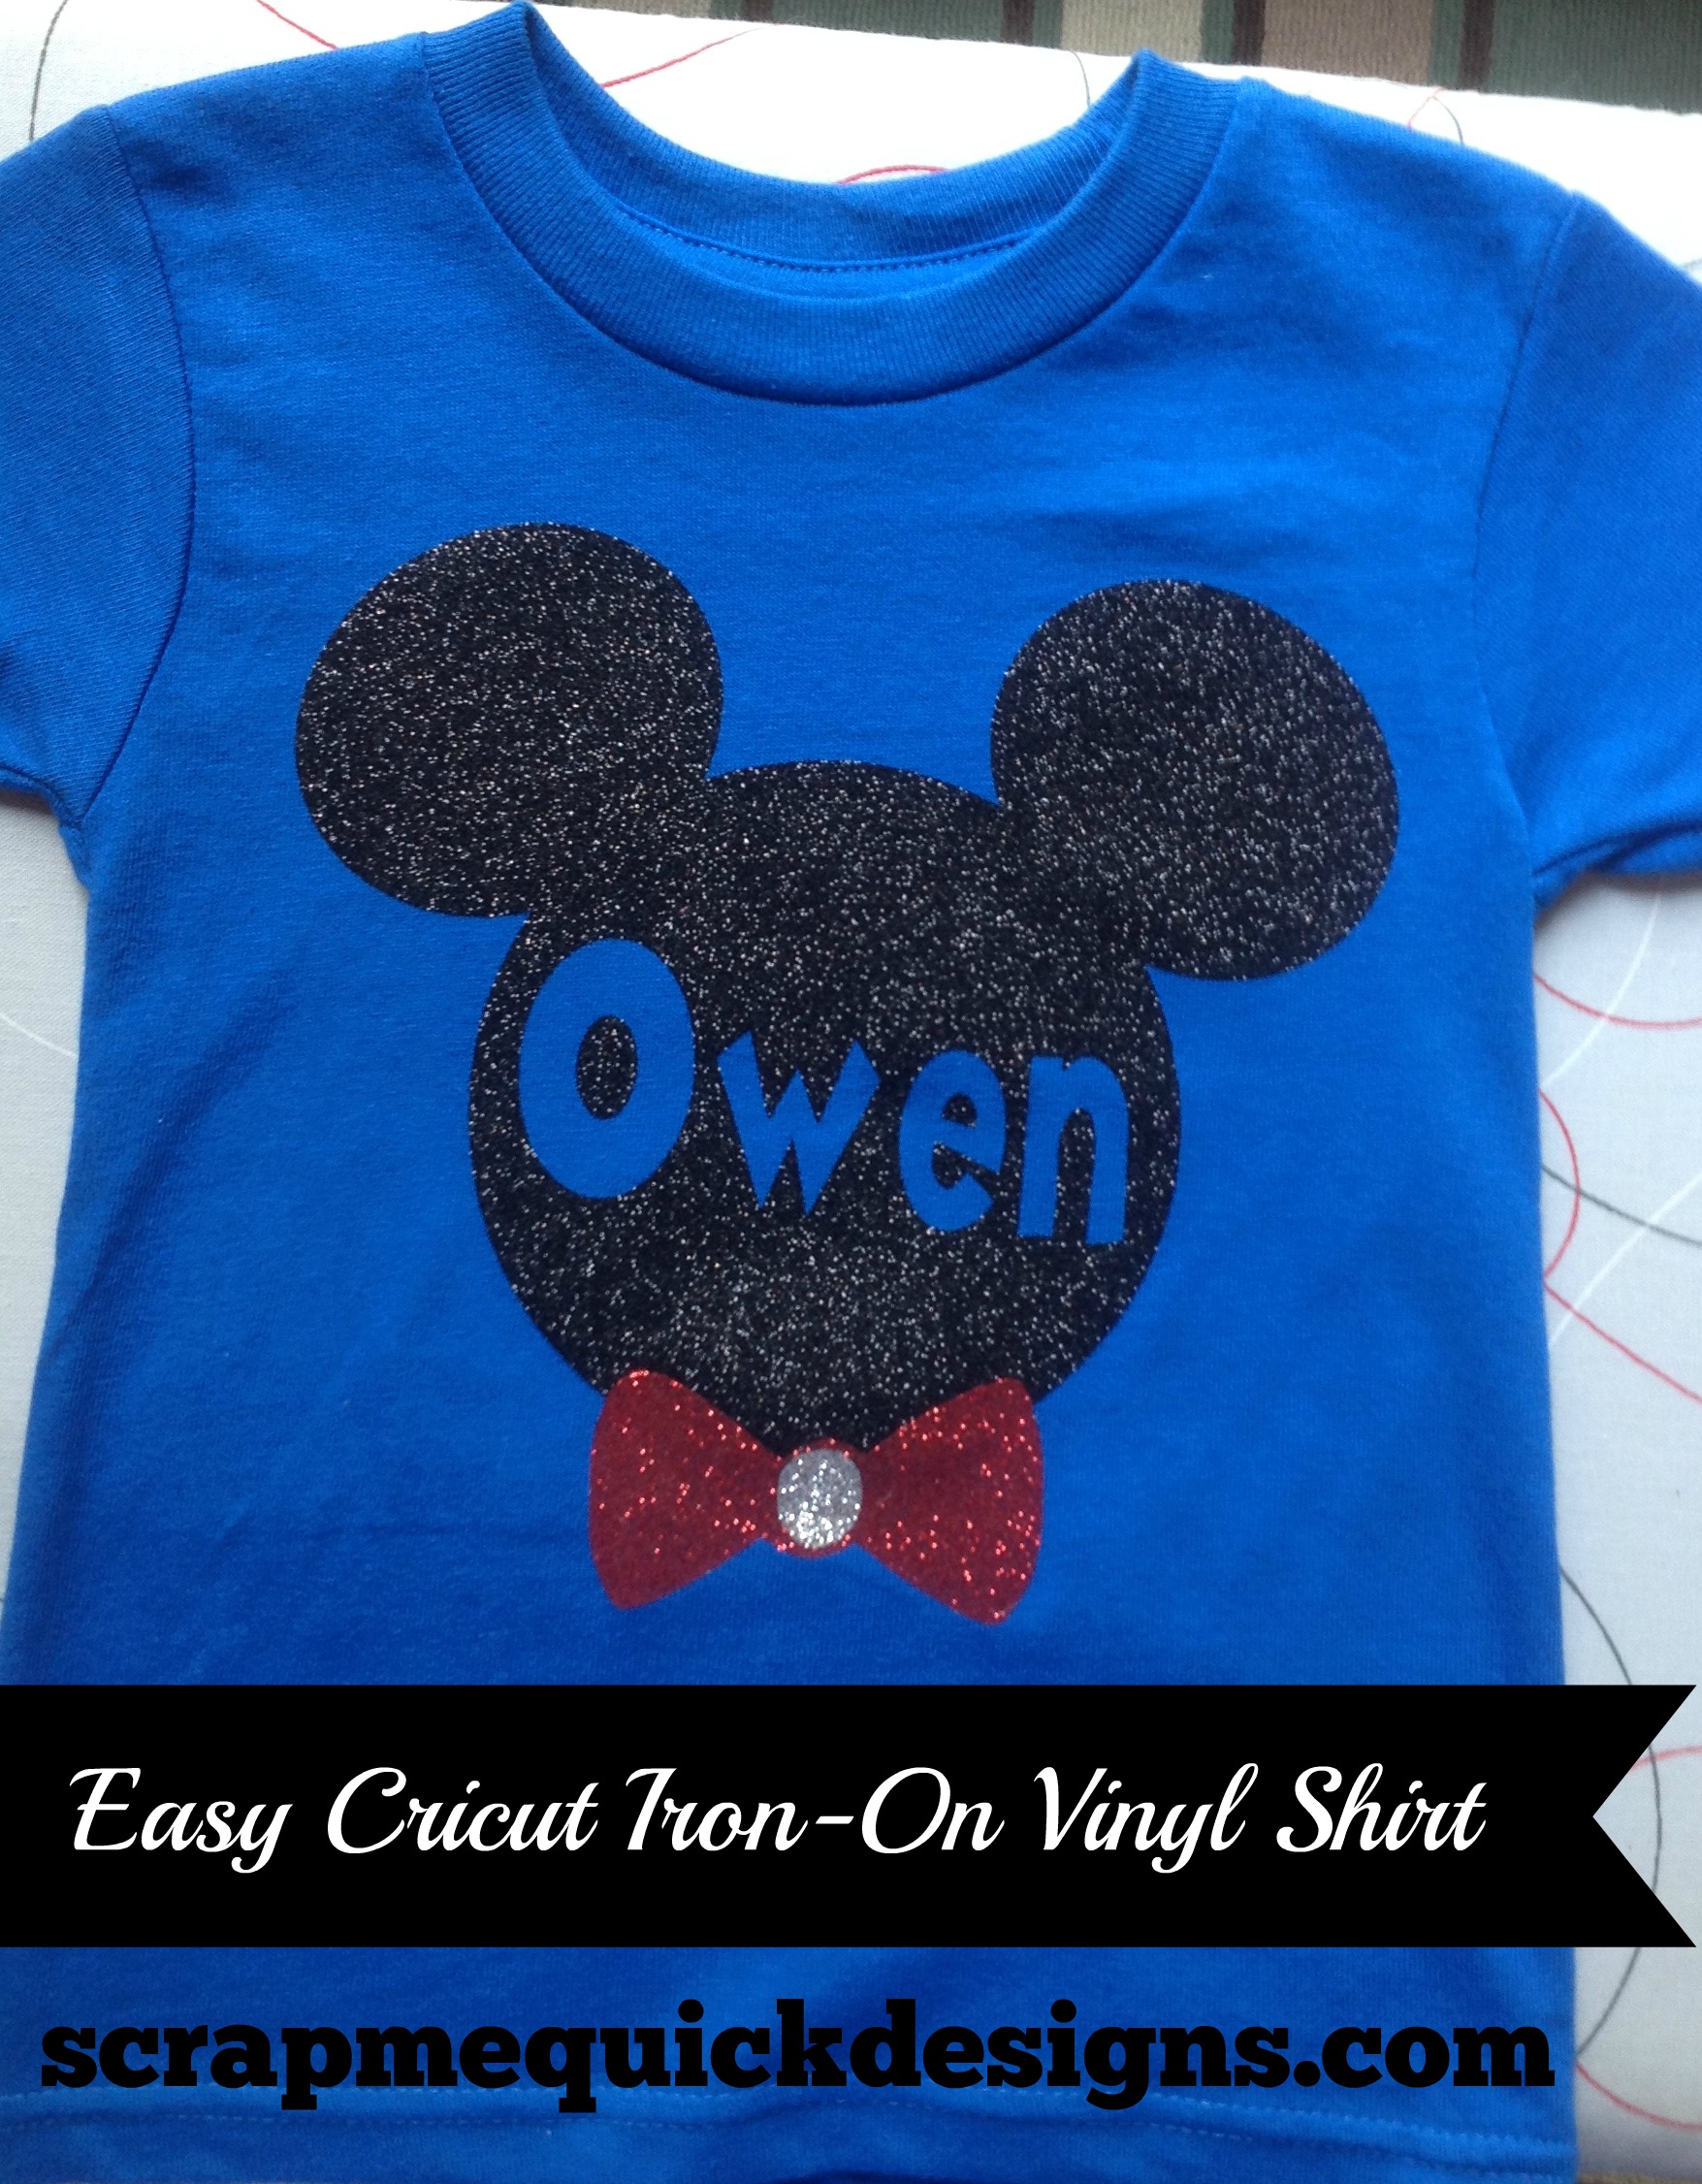
For Owen’s Mickey Shirt I used the Cricut Iron On Black Glitter and Cricut Iron On Silver Glitter Vinyl. The Red is from a different vendor.
So are you ready to try making your own customized shirt? I promise it is easy to do !

Debbie, these are so cute! I have not tried vinyl yet. You make it look so easy! Thanks for the great info!
Love the Micky shirts? I may attempt this for the grandkids before our Disney trip!
Wonderful Karen ! They were so easy to do. Have fun on your trip with the grandkids 🙂
Thanks Karen . Have fun making some for yourself…the kiddos loved them !
I’m having a hart time putting text inside the Mickey head. I have the cartridge and have my font but when it comes time to cut the Mickey head with font, it doesn’t cut together.
HI Jasmine – Are you putting the font over the image and then selecting all and using the slice feature ? it should work for you. Give me a little more detail on what steps you are taking so I can help. Debbie