

The Post and Photos within may contain Amazon or other affiliate links. If you purchase using links in this post I do earn a small commission but without additional charge to you. Thank you for your support!
Welcome to DAY THREE in my series “Time to Create for the Graduate Using Design Space” where each day I am creating new projects using the Graduation Category images in Design Space. If you don’t know how to find the Graduation Category in Design Space, check out my video HERE. And don’t miss DAY ONE in the series for Cards for the graduate HERE and DAY TWO for Unique Gift for the graduate HERE.
DAY THREE: SET OF THANK YOU CARDS FOR GRADUATE
Every graduate you know will appreciate receiving some handmade thank you cards to send out after they raked in all their loot, right? The Graduation Category in Design Space has some fabulous cards you can use. Better than store bought and whipped up in minutes with your Cricut Explore. Make a set of cards and tie up in a ribbon, include some stamps and a pen and these could be a nice gift for you to give the graduate along with our Day TWO project of the Graduate Money Box.
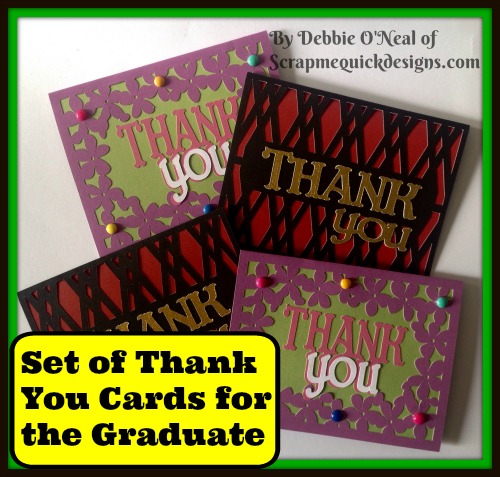
You can customize the cards any way you like…colors, papers, embellishments etc. to fit your graduates preferences. I used two different styles to inspire you. The Geometric Card #M21133F and the Flower Card #M21136F are both from the Decorate! Celebrate! Cartridge that is available exclusively in the Design Space Subscription in May. When you add the cards to your Design Space mat, you will notice that the cards import in at a very small size. If you were to cut these at this size, they would be super tiny…cute but too small to be of much use, right ?

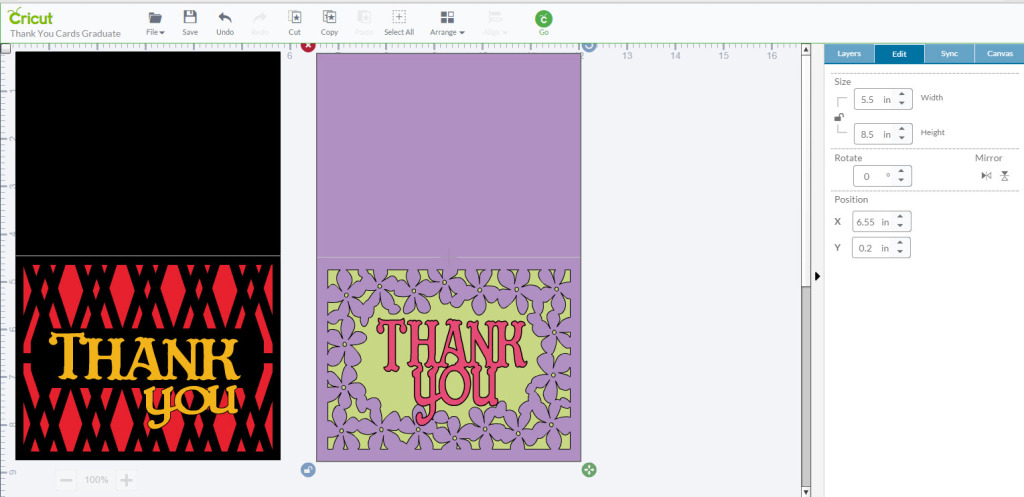
So, to get them to the correct size for thank you cards, you will need to re-size them. To make them a standard A2 card size, in the Edit Panel change the dimensions to 5.5 Width
and 8.5 height. You will need to “unlock” the size by clicking on the lock icon. Now they are the perfect size to cut and use. Note: The Design Space file I share below has already been sized correctly for you. But if you want to make any of the other cards in the Graduation Category, keep this tip in mind.
FLOWER THANK YOU CARD:
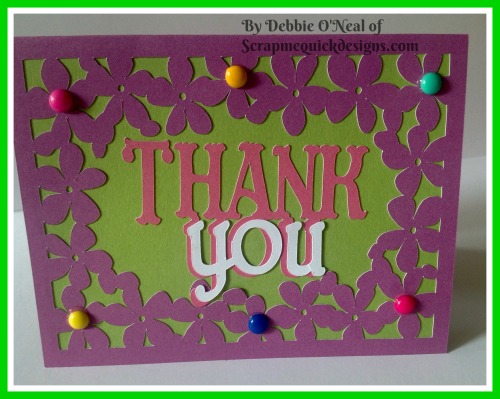
Perfect for the girl graduate, I decided to make this adorable Flower Thank You Card. I used CTMH Cardstock to create the #M21136F Card and the Thank You #M3A979. To add a pop of color, I added handmade enamel dots to a few of the flowers. You could use store bought enamel dots instead. I used a Zig Two Way Glue to adhere the layers of the cardstock together.
FLOWER THANK YOU CARD INGREDIENTS:
Design Space Images: Flower Card #M21136F, Thank You #M
Design Space File by Debbie O’Neal : https://us.cricut.com/design/#/canvas/27963127
Products Used:
CTMH Cardstock http://goo.gl/YZCfjc
Zig 2 Way Glue Pen http://amzn.to/1S2lNCe
Enamel Dots http://amzn.to/1cOY1sN
GEOMETRIC THANK YOU CARD:
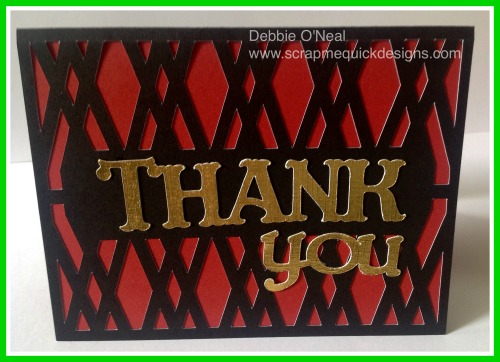
For a more masculine or modern looking Thank You Card, I used this Geometric #M21133F card base. The Thank You is #M3A979. CTMH Cardstock and a DCWV Gold Foil Cardstock for the sentiment make this card really stand out. Again, I used the Zig 2 Way Glue Pen to adhere the layers together.
GEOMETRIC THANK YOU CARD INGREDIENTS:
Design Space Images: Geometric Card #M21133F, Thank You #M3A979
Design Space File by Debbie O’Neal : https://us.cricut.com/design/#/canvas/27963127
Products Used:
CTMH Cardstock http://goo.gl/YZCfjc
DCWV Gold Foil Cardstock http://amzn.to/1BcHsNm
Zig 2 Way Glue Pen http://amzn.to/1S2lNCe
As you can see, these cards were easy to make but look so nice. You can even fit two of the card bases on a 12X12 sheet of cardstock so it’s easy to make several at one time. If you don’t want to make these as a graduation gift, you can certainly make these for your own stash of thank you cards too. Check back tomorrow for Day Four in the series of Celebrate the Graduate with Design Space…I have a vinyl gift project to share.
As usual, I appreciate your using the links I provided if you wish to purchase products I show. Those purchases help keep me in crafting supplies and sharing project ideas with you.
If you make a project, I’d love to see it! Please share in our Facebook Group Community where you will find others sharing their projects, tips and inspiration.
One Comment